19 January 2026
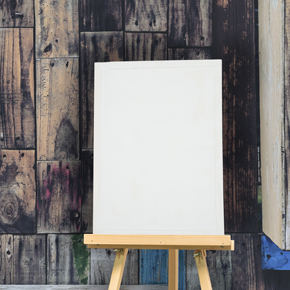
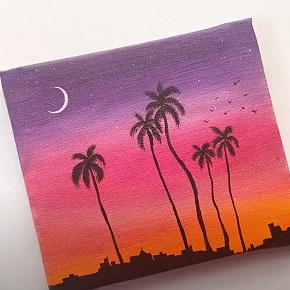
An iridescent circle painting is a small but beautiful art project you can create in just a few minutes. It does not need advanced skills or complex tools. All you need is a steady setup, basic paints, and a little bit of patience. The result is a soft, glowing artwork that brings calm to your space.
What You Need
● A canvas or thick paper
● Paints in light, soft shades
● A circular object to trace
● A brush or sponge
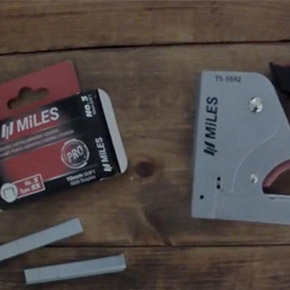
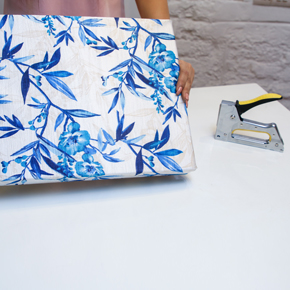
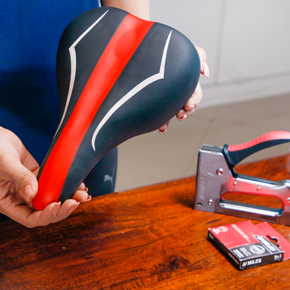
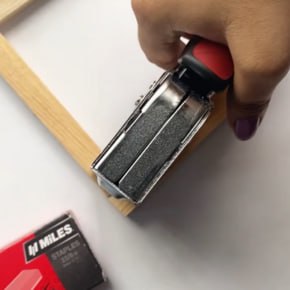
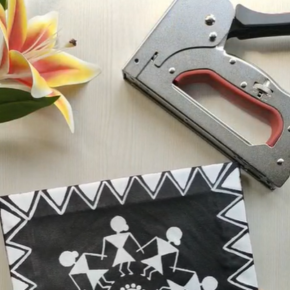
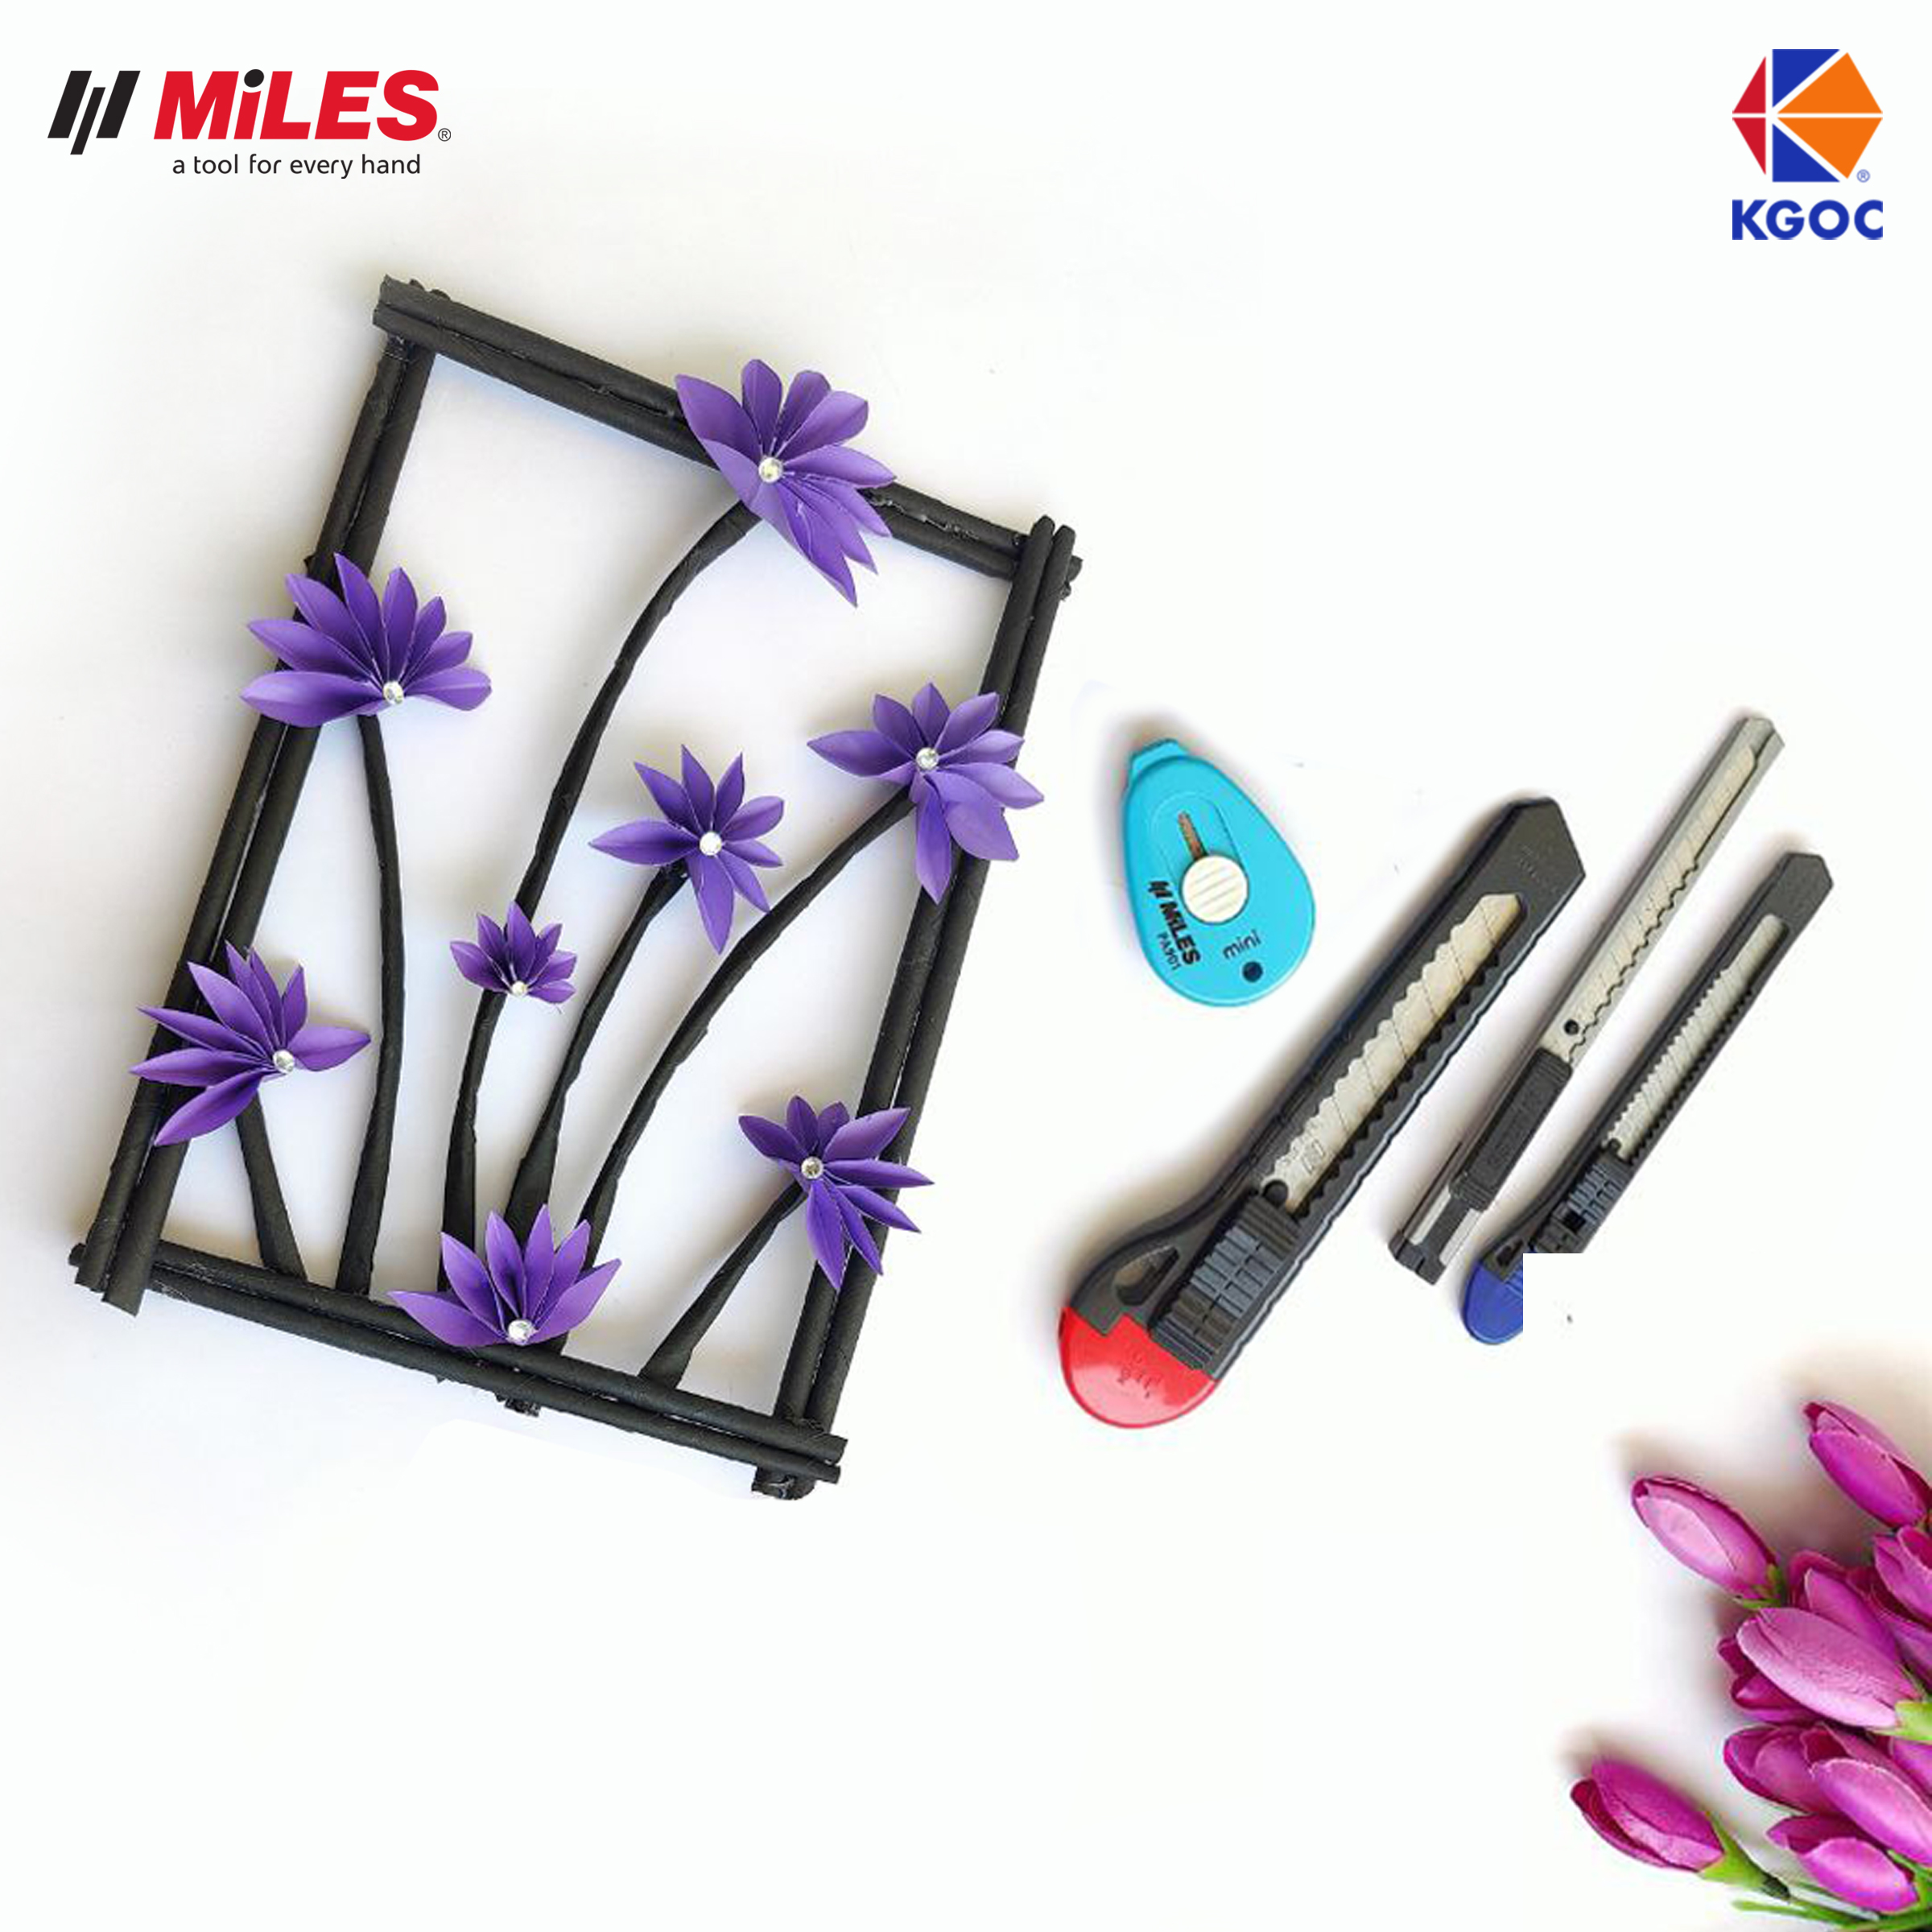
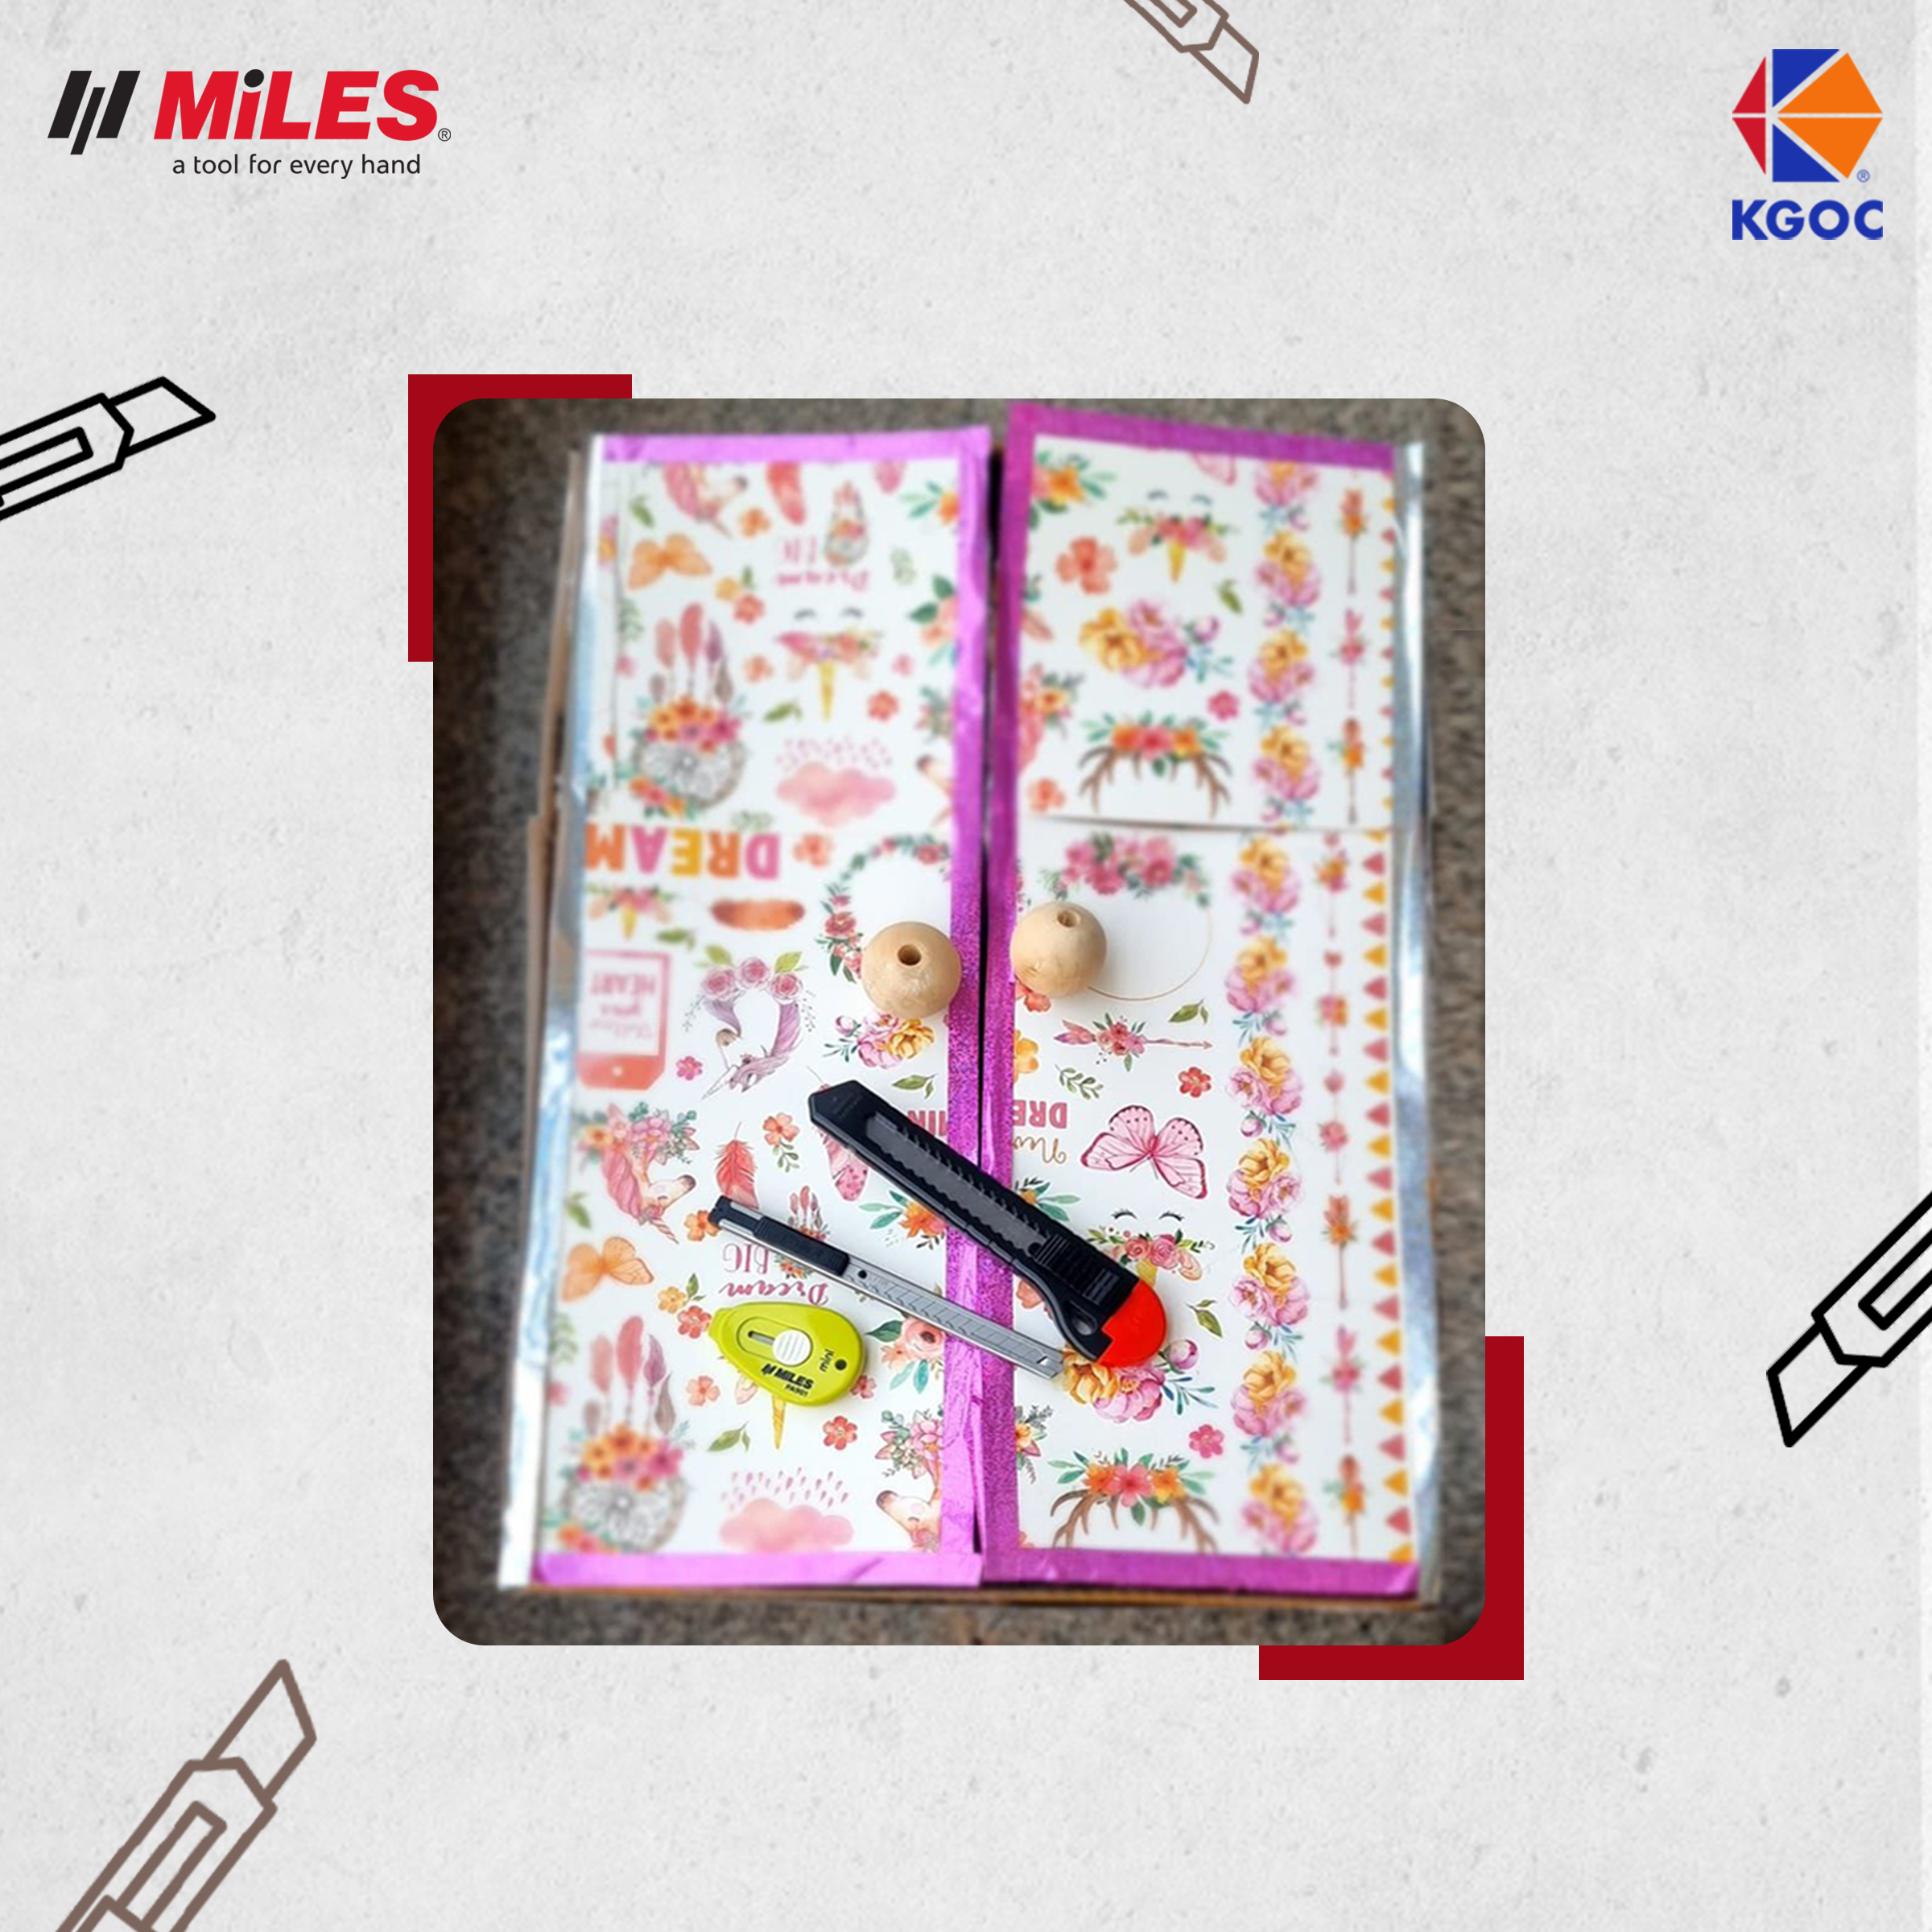
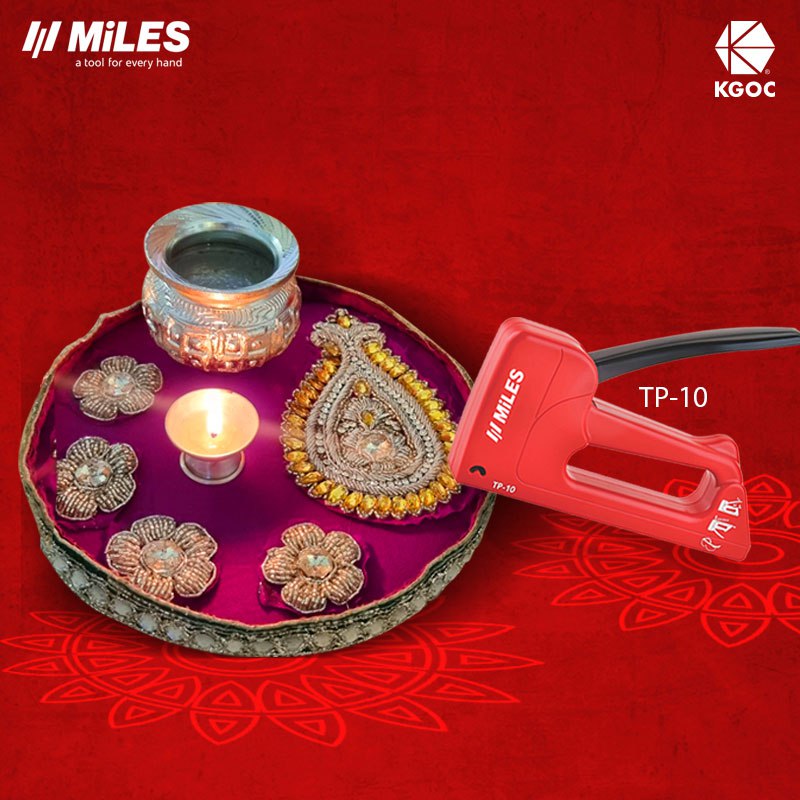
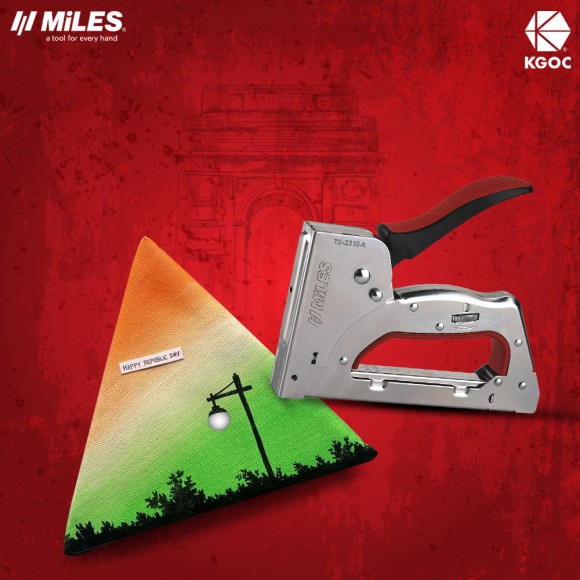
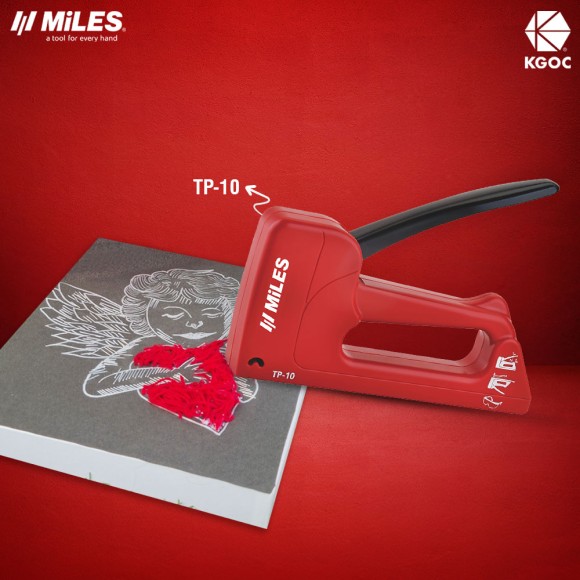
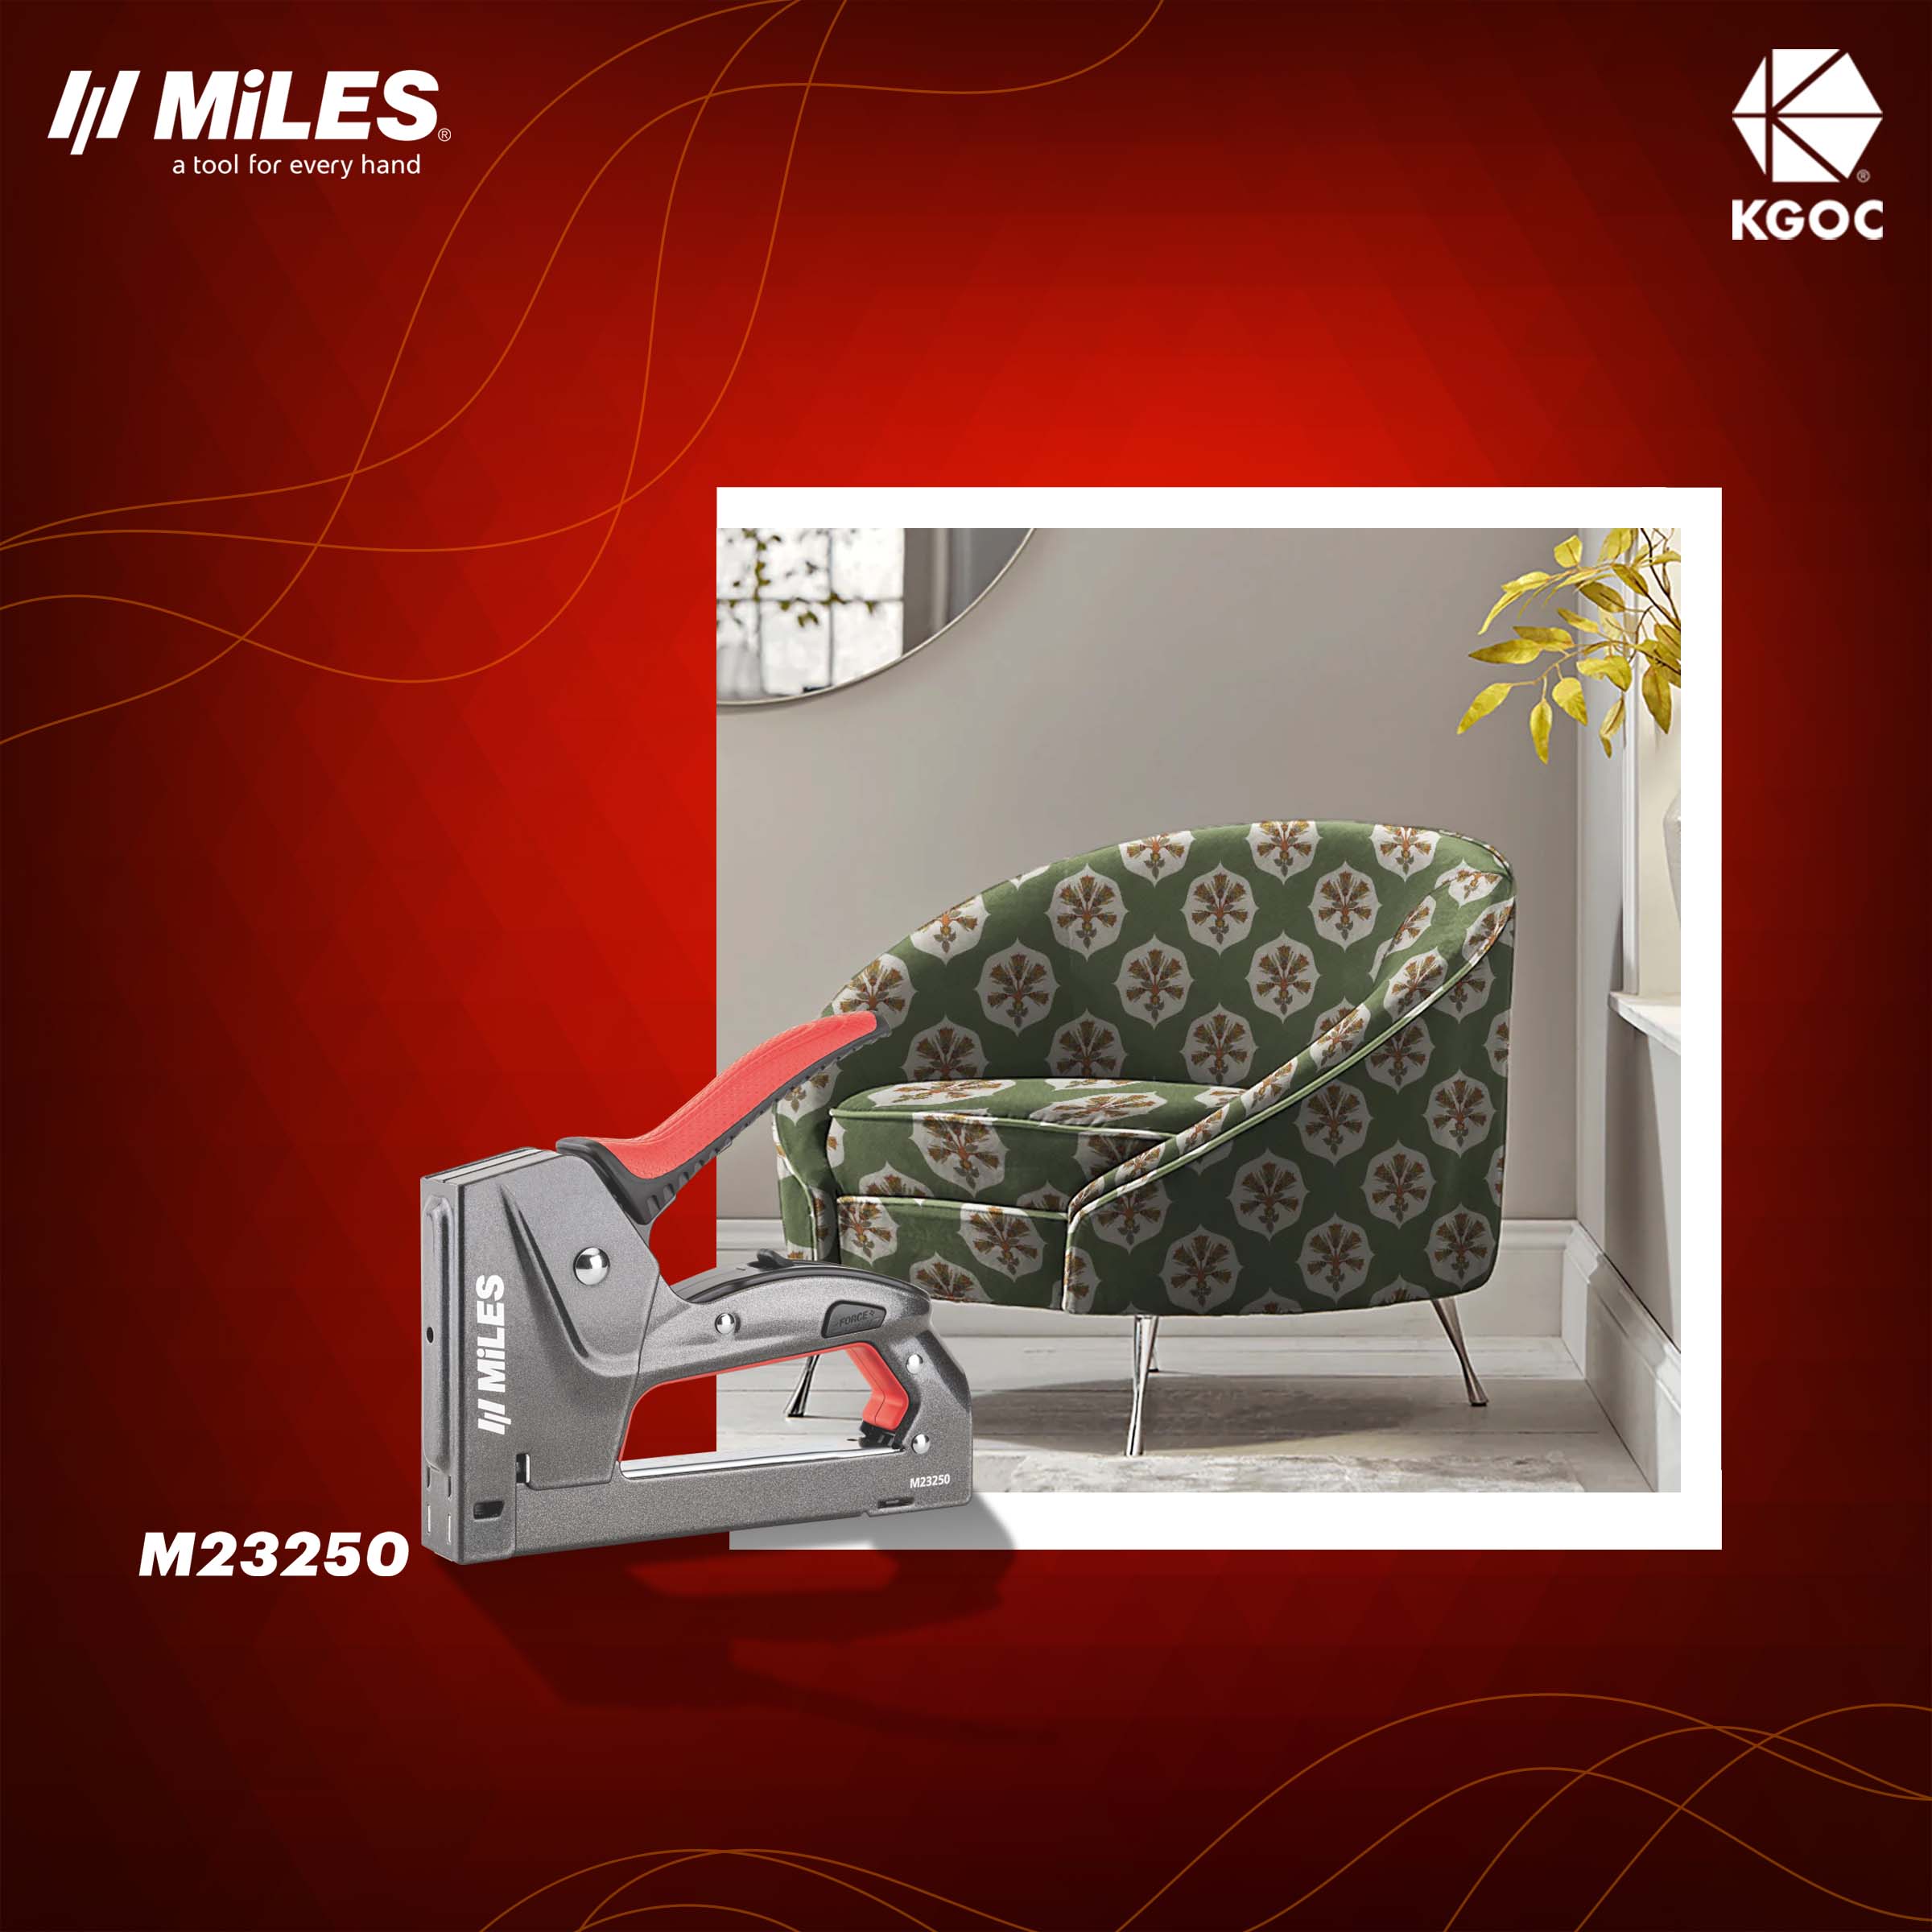
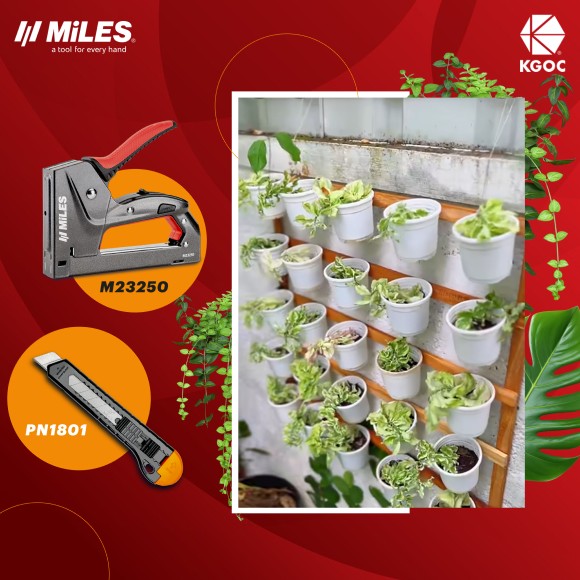
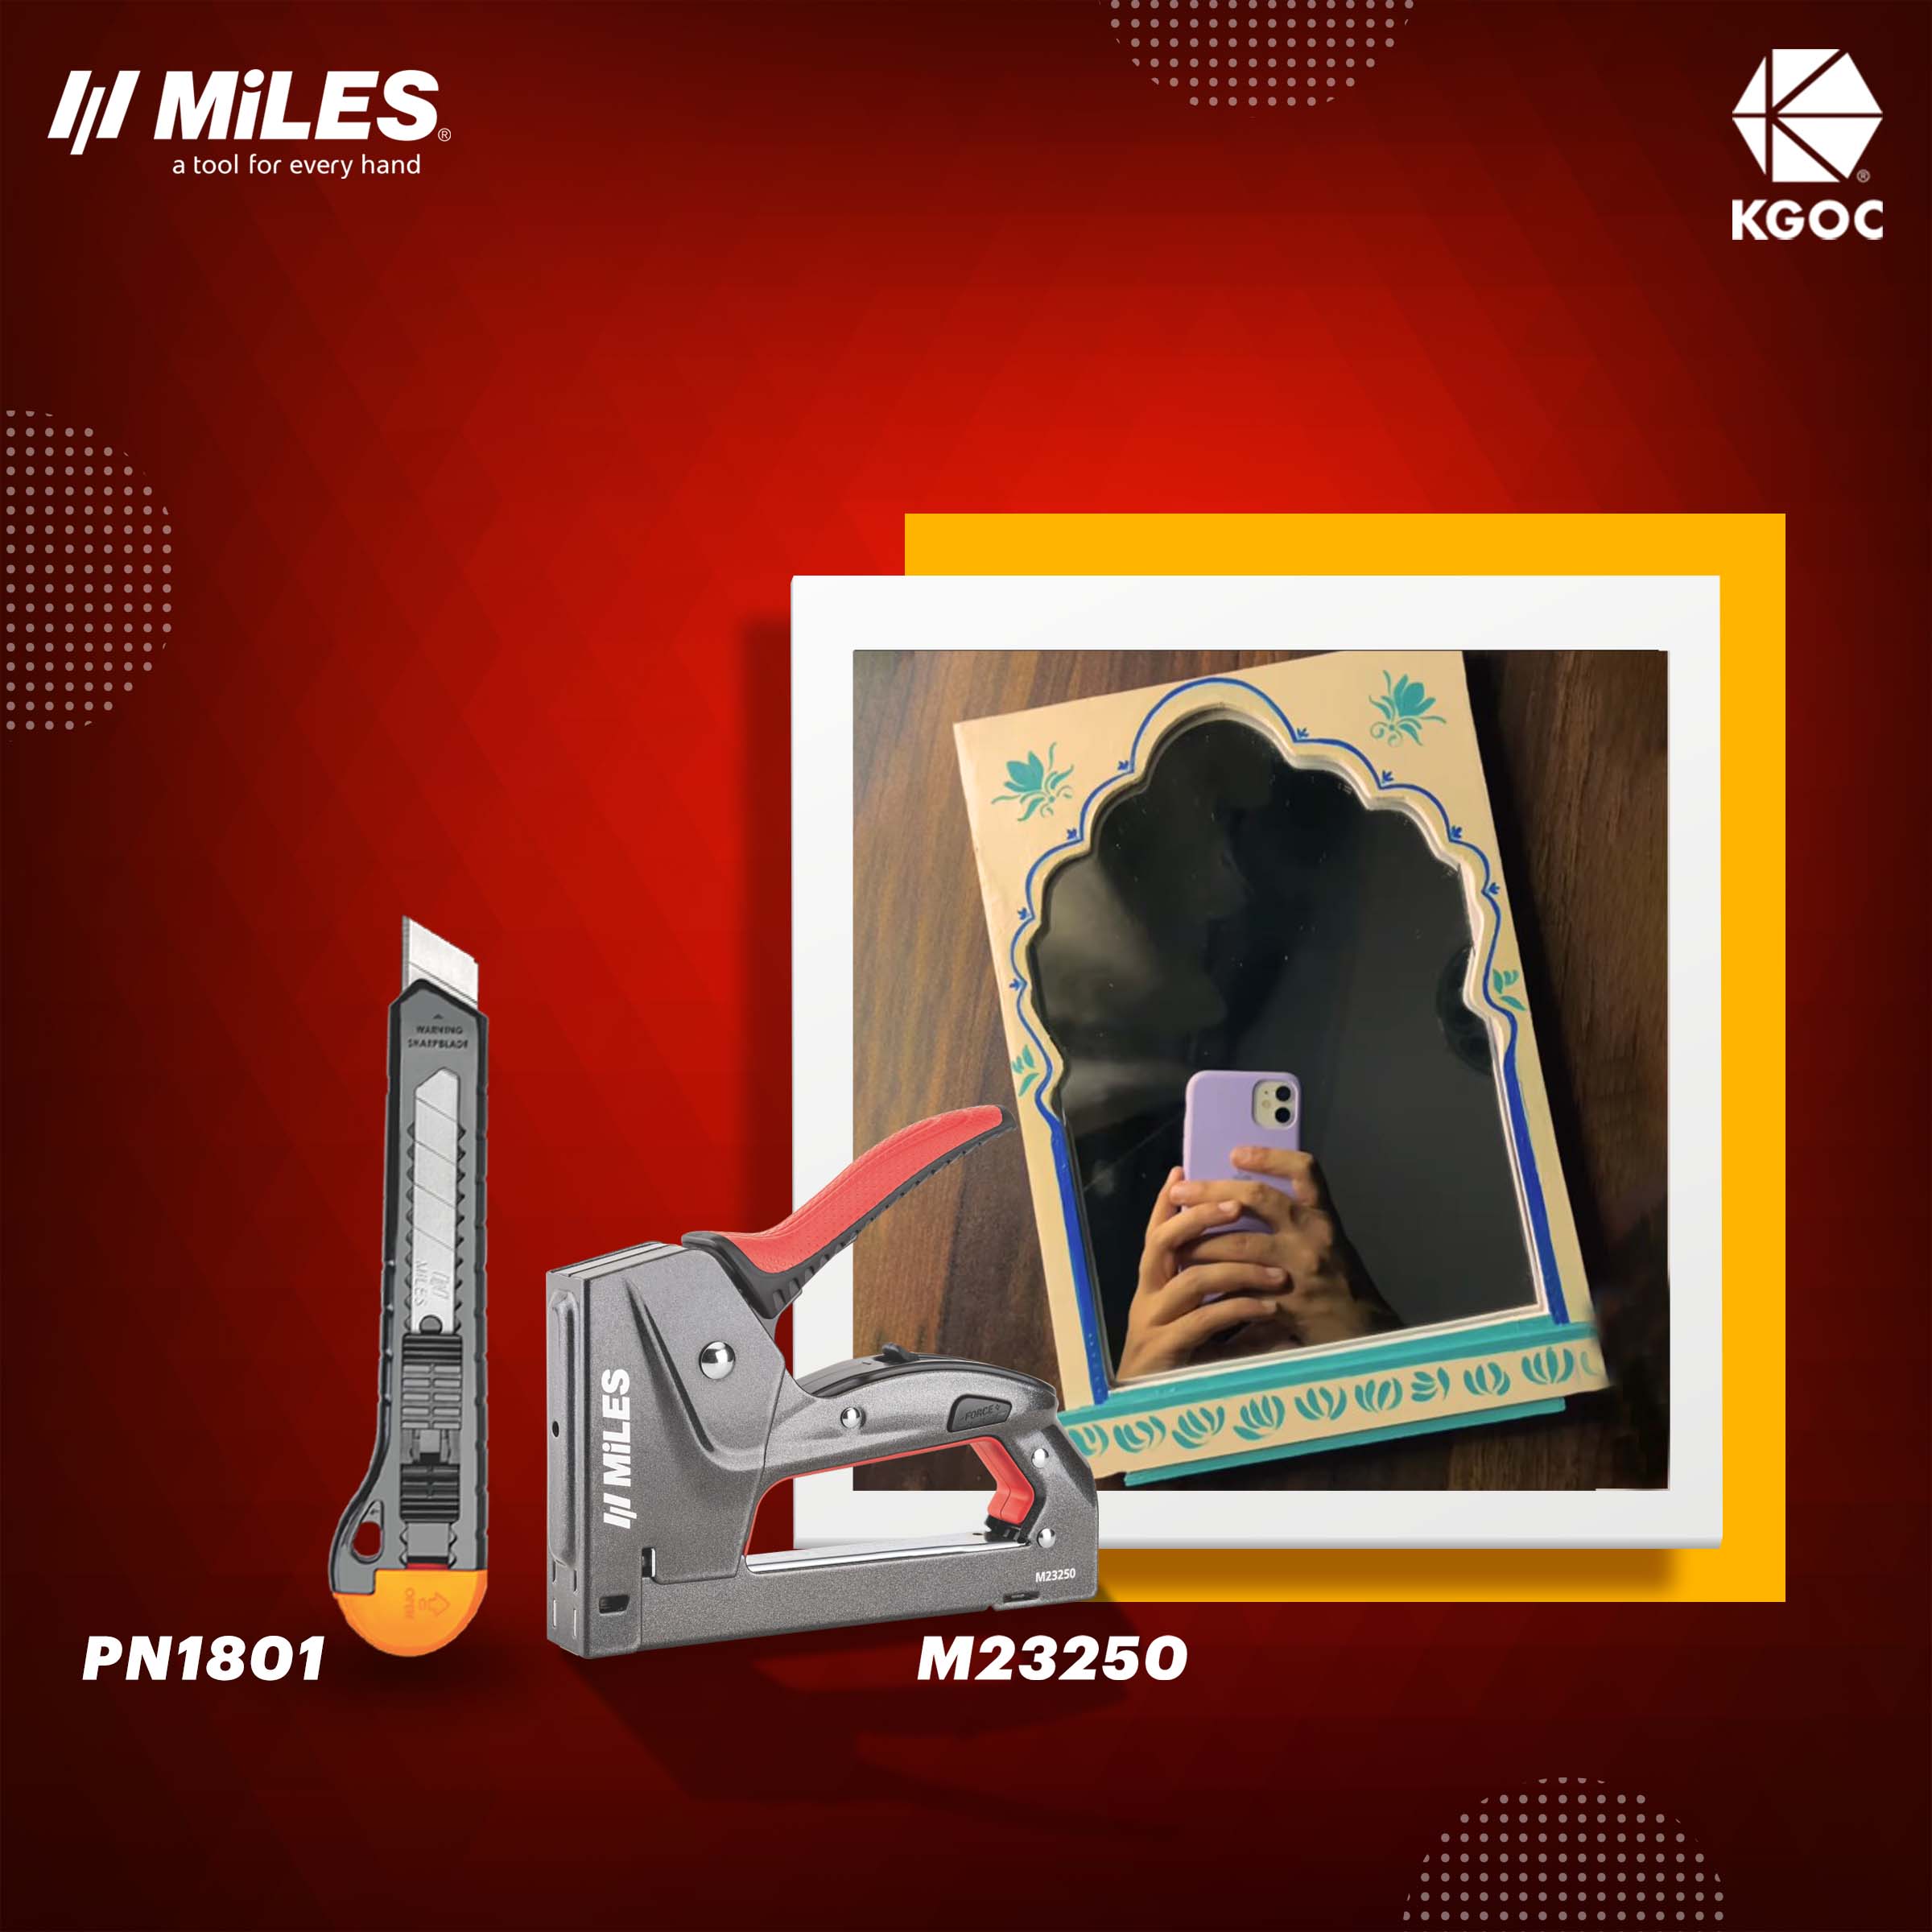
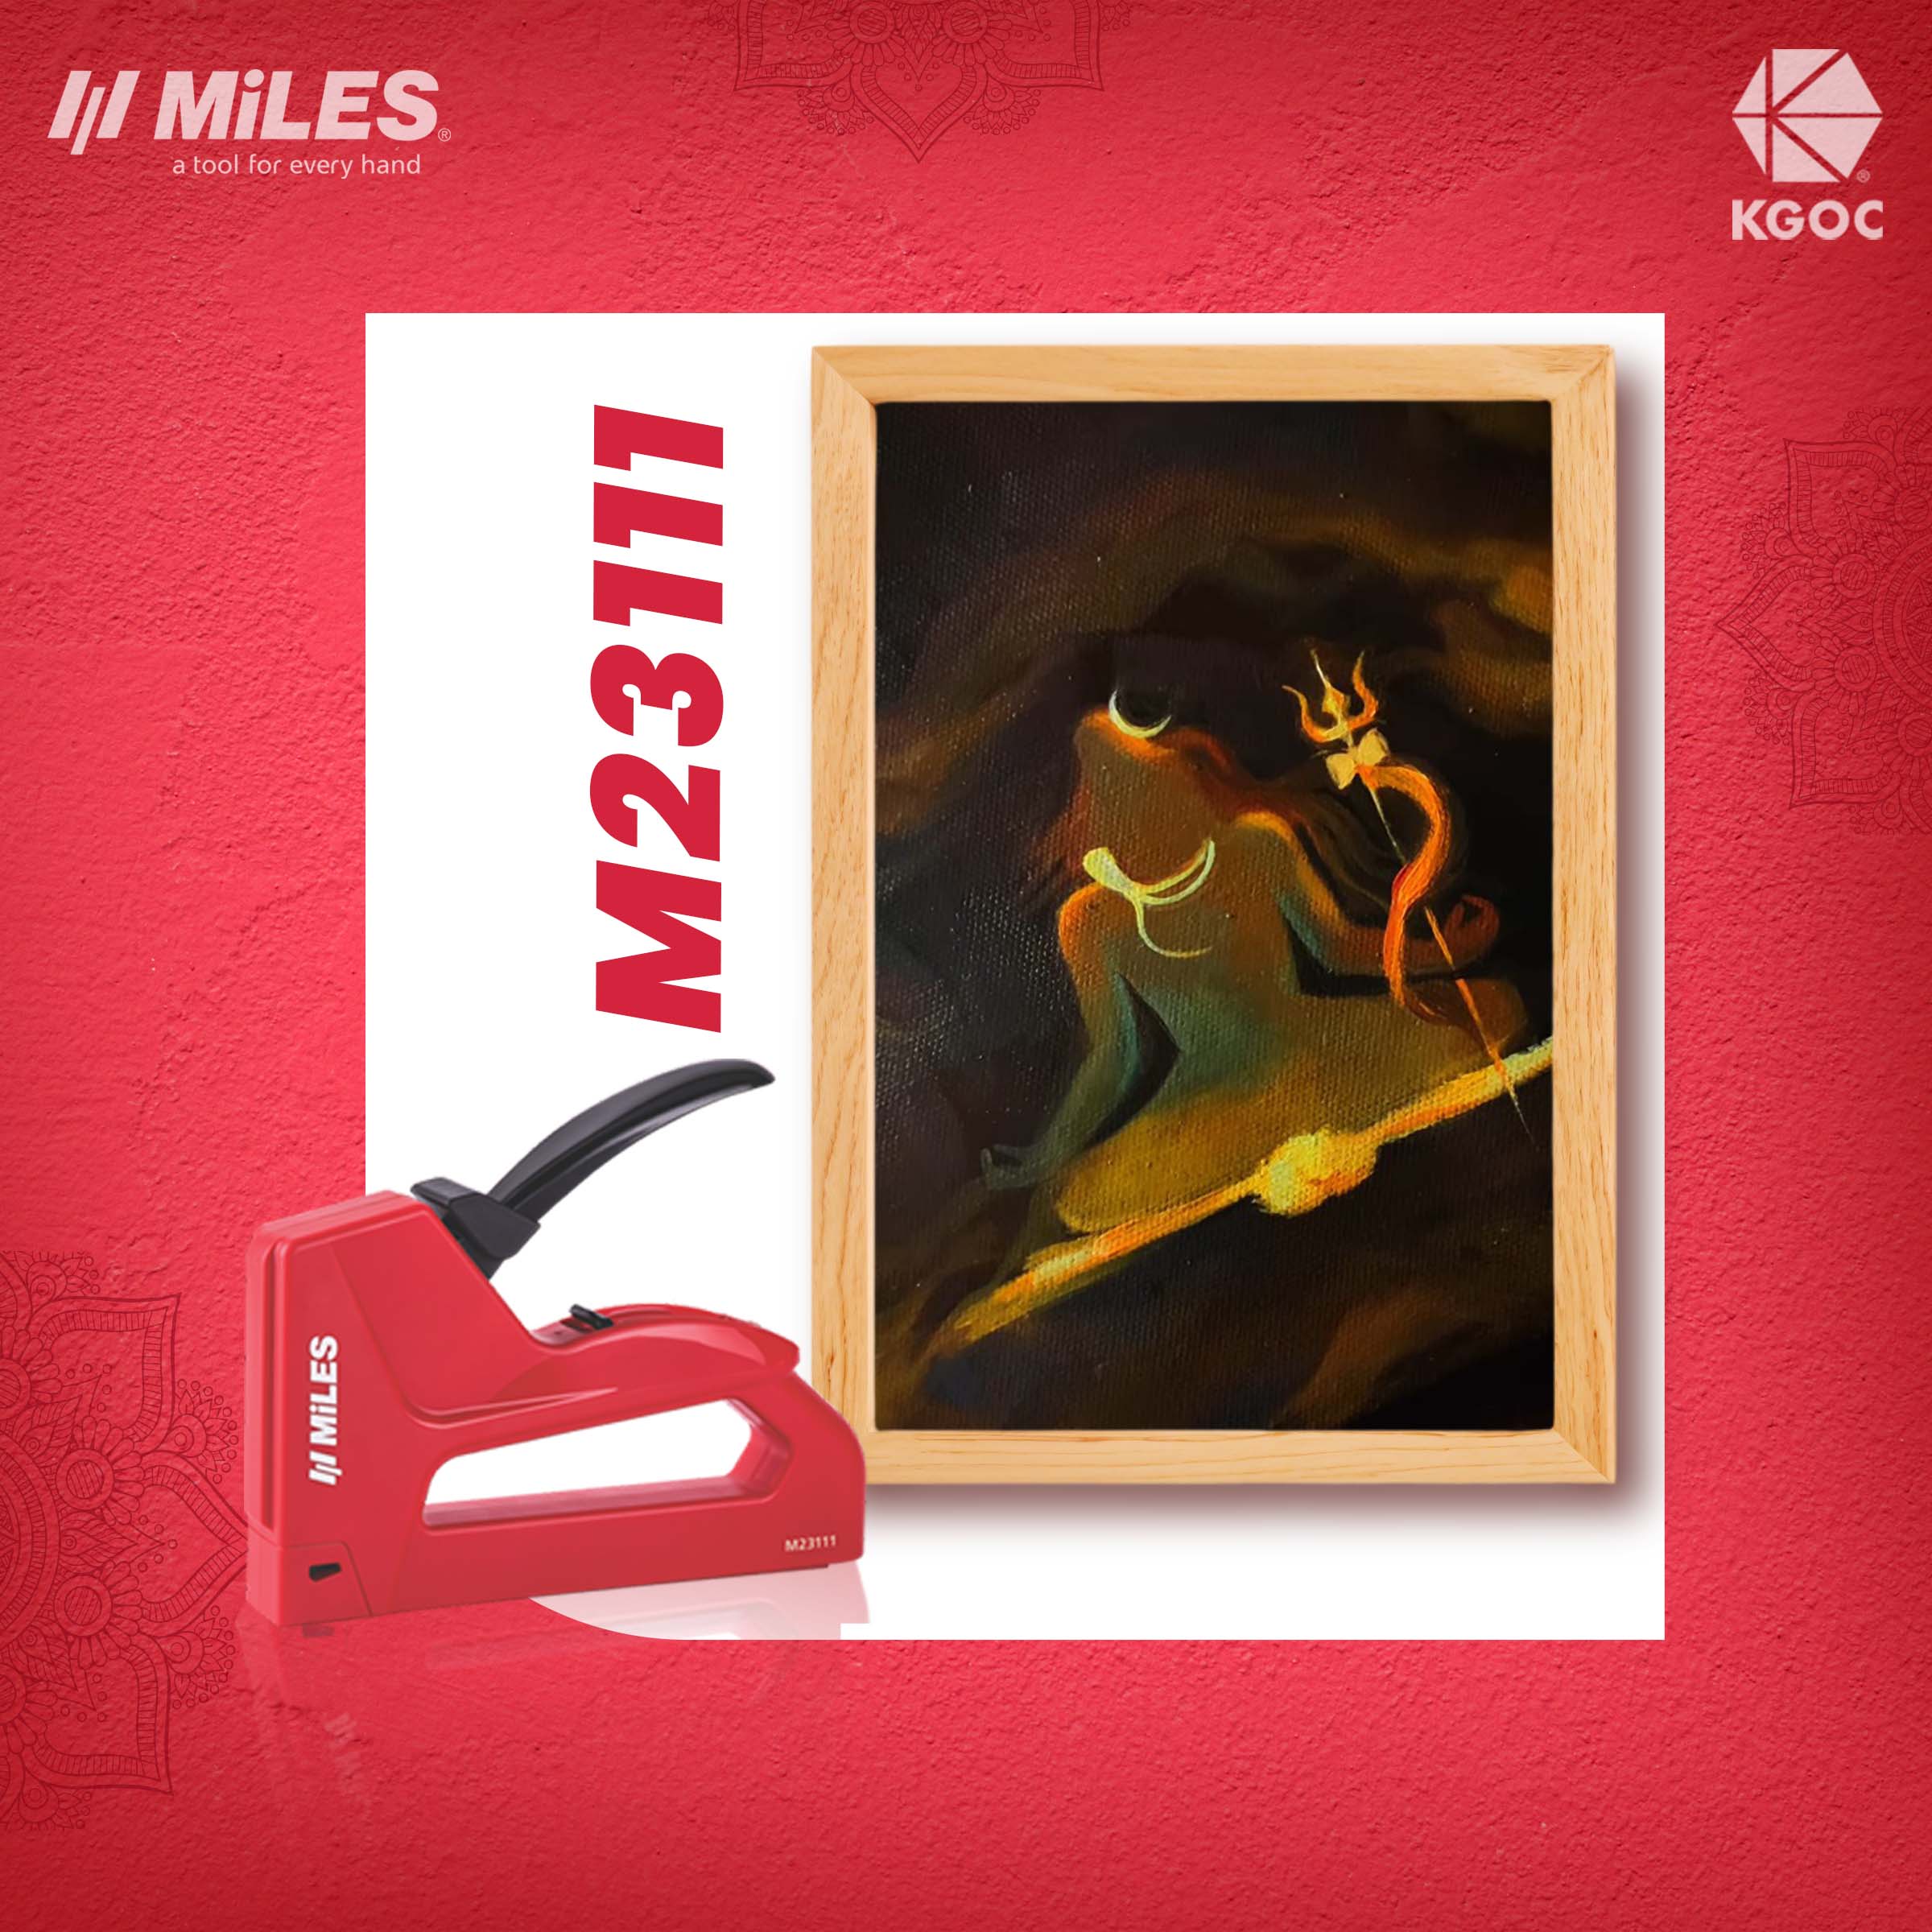
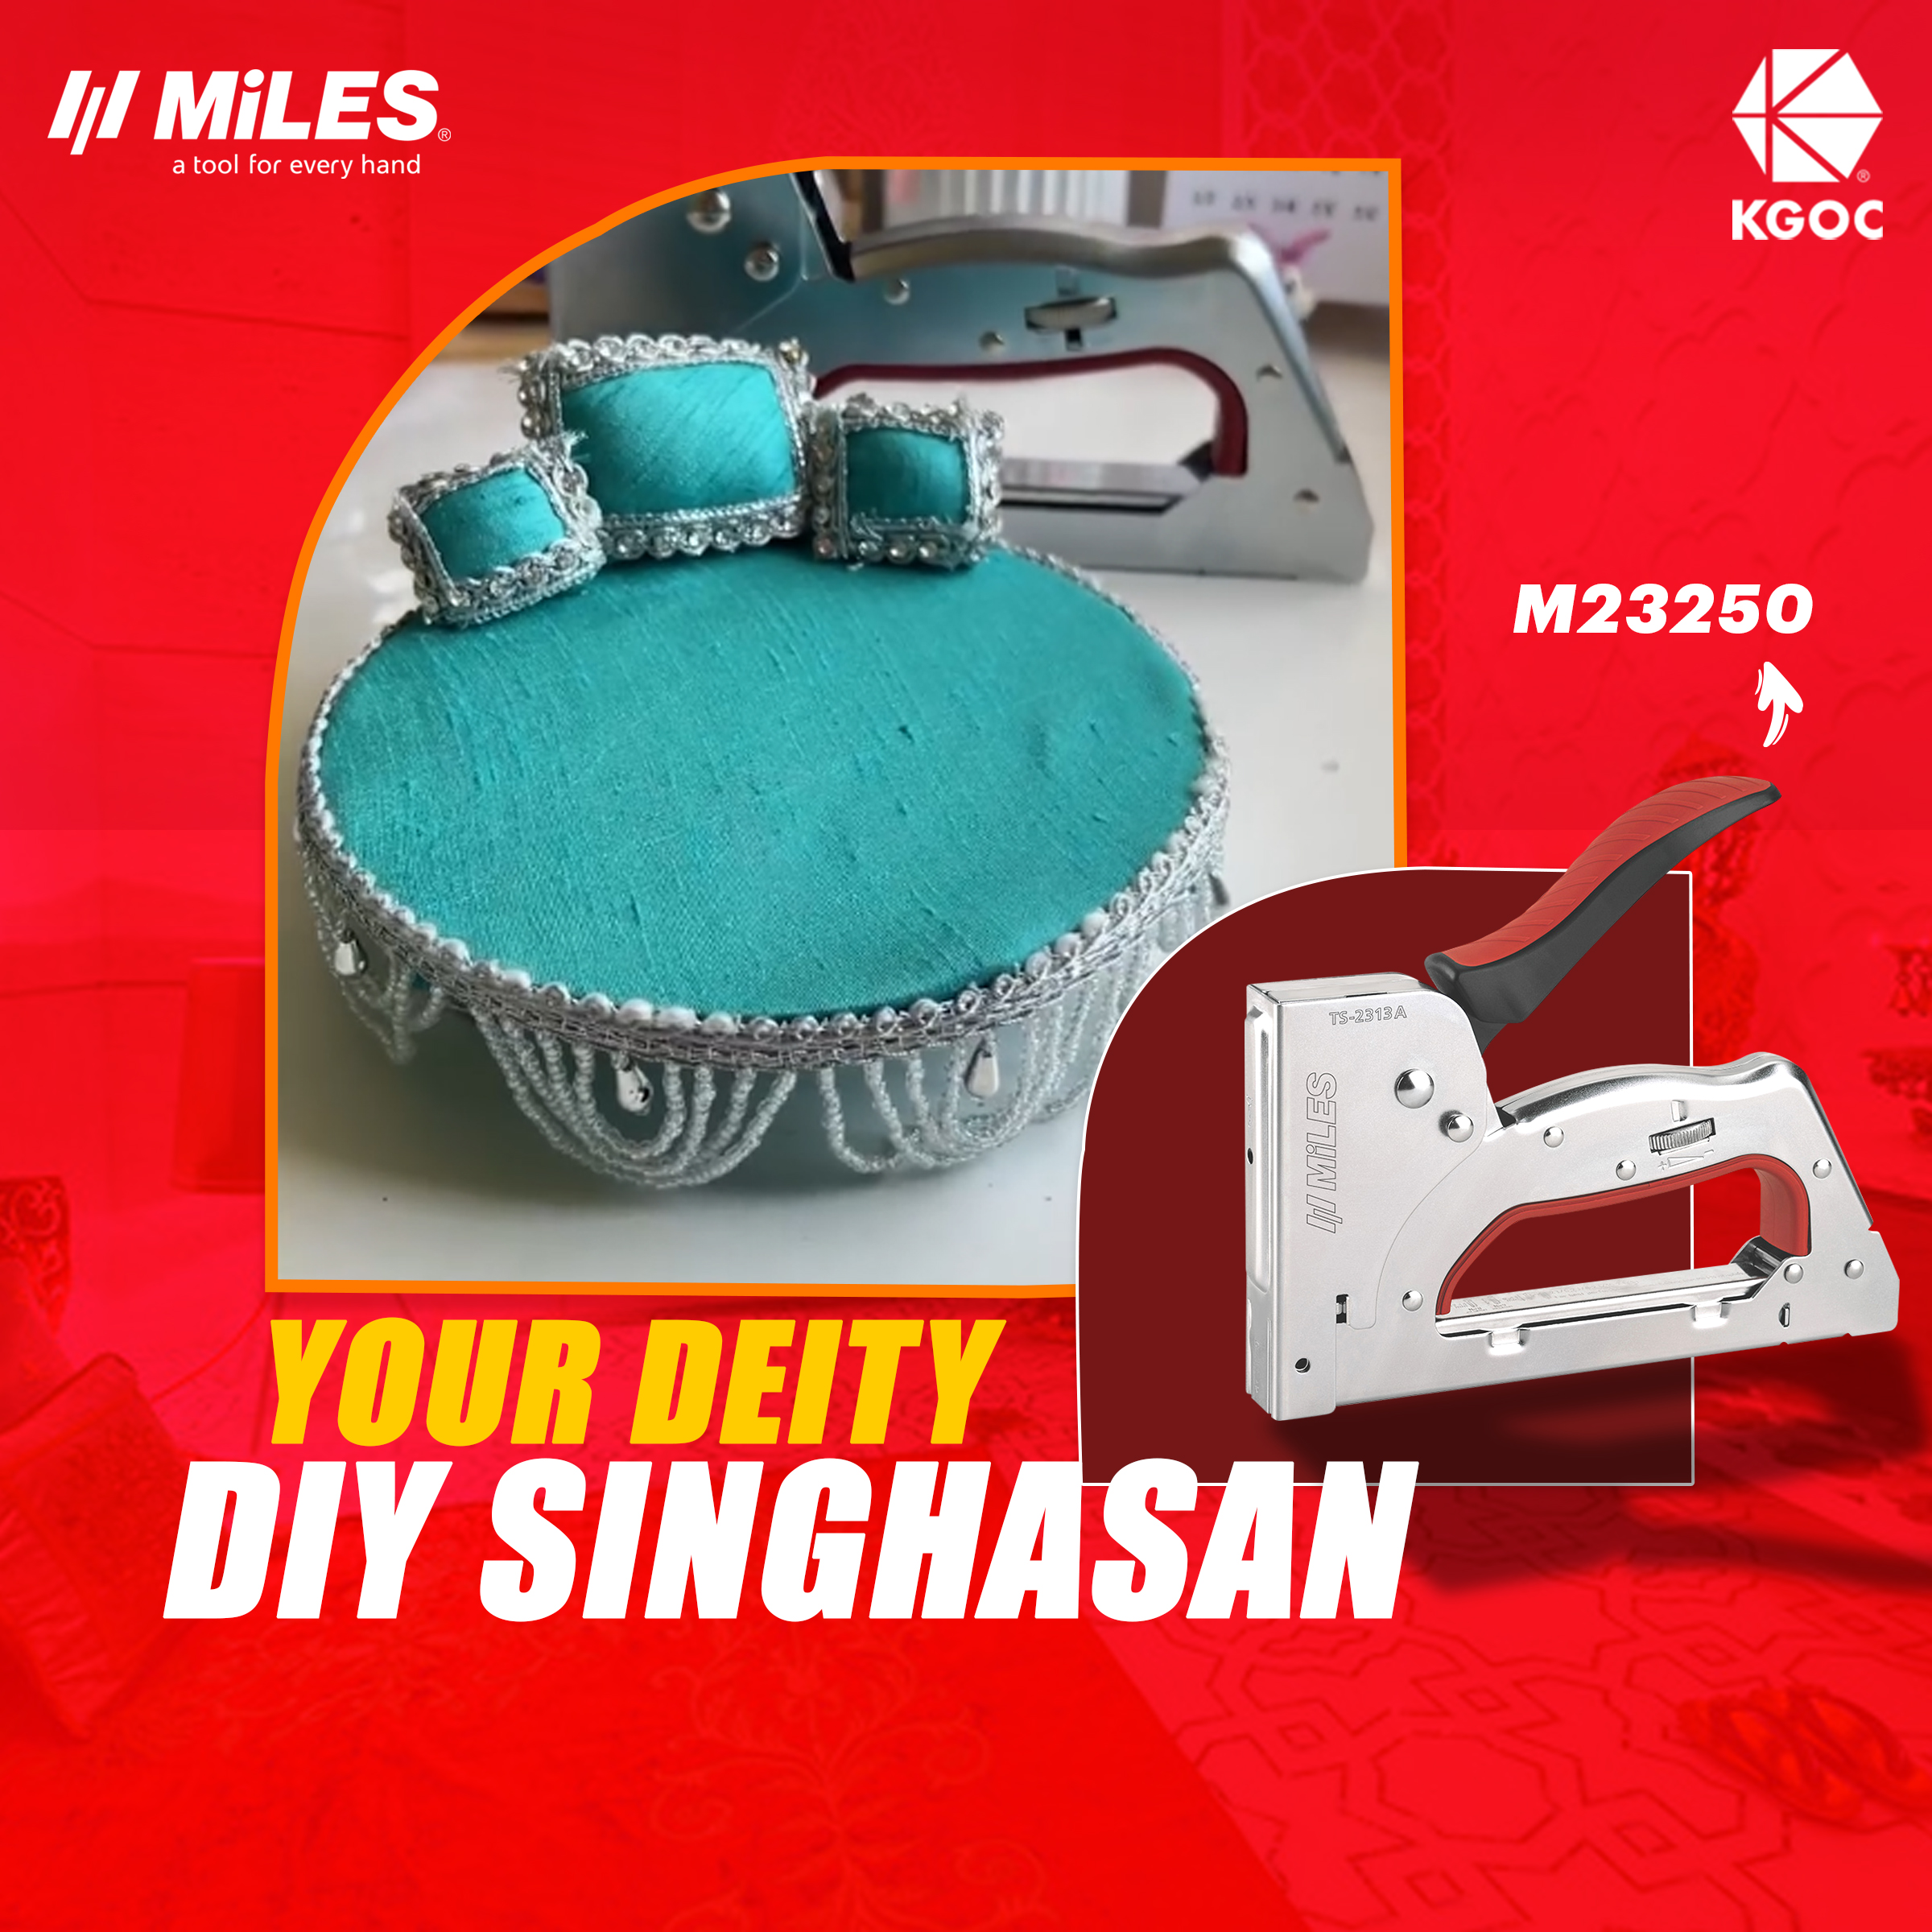
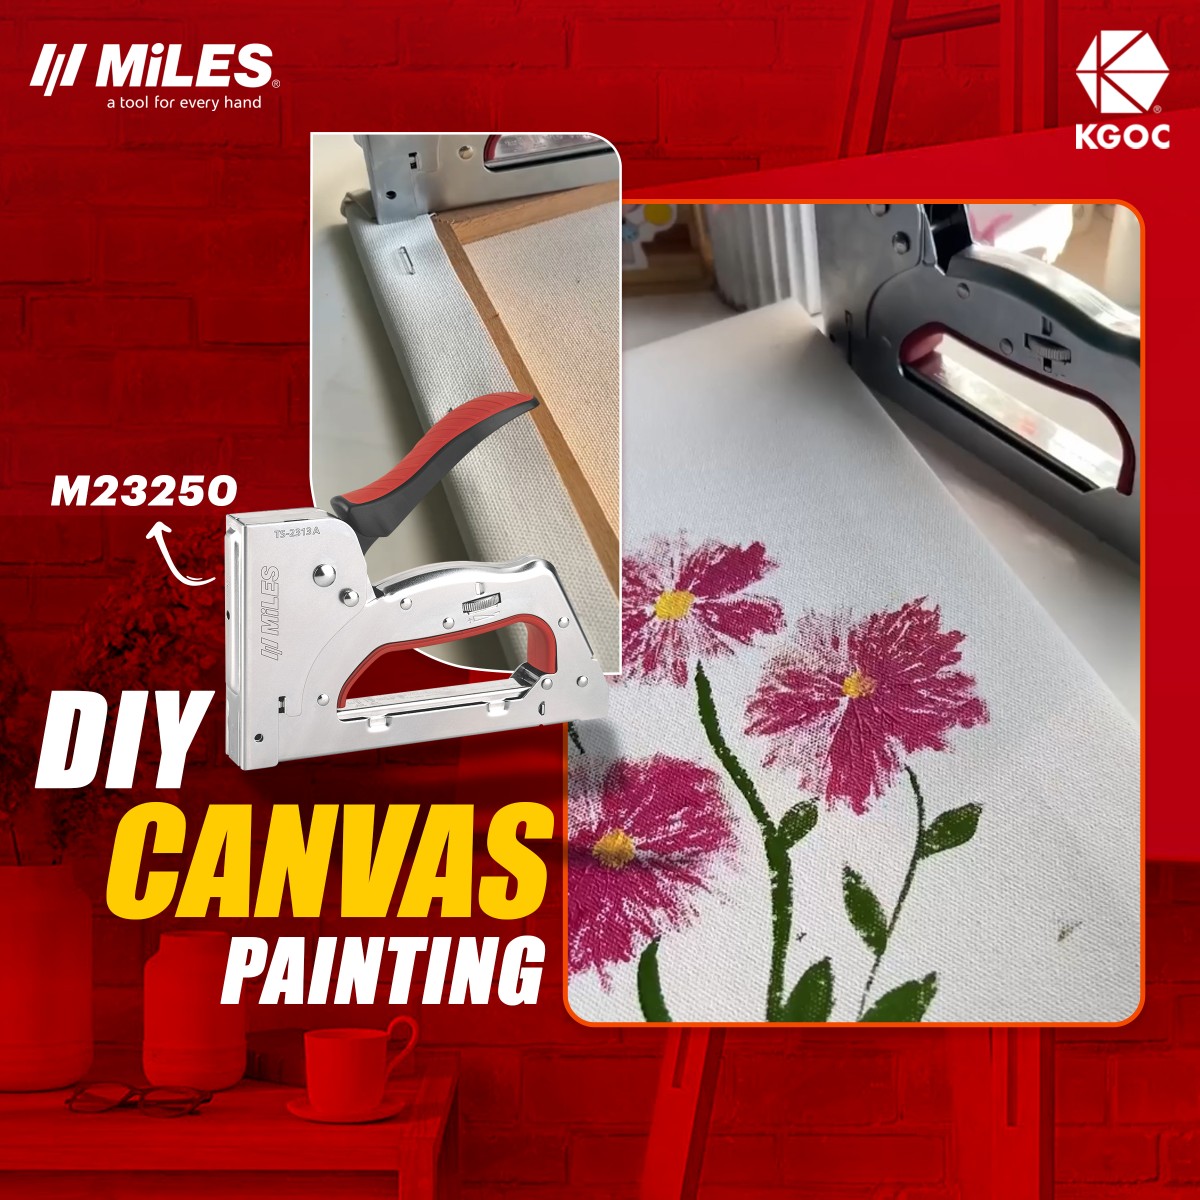
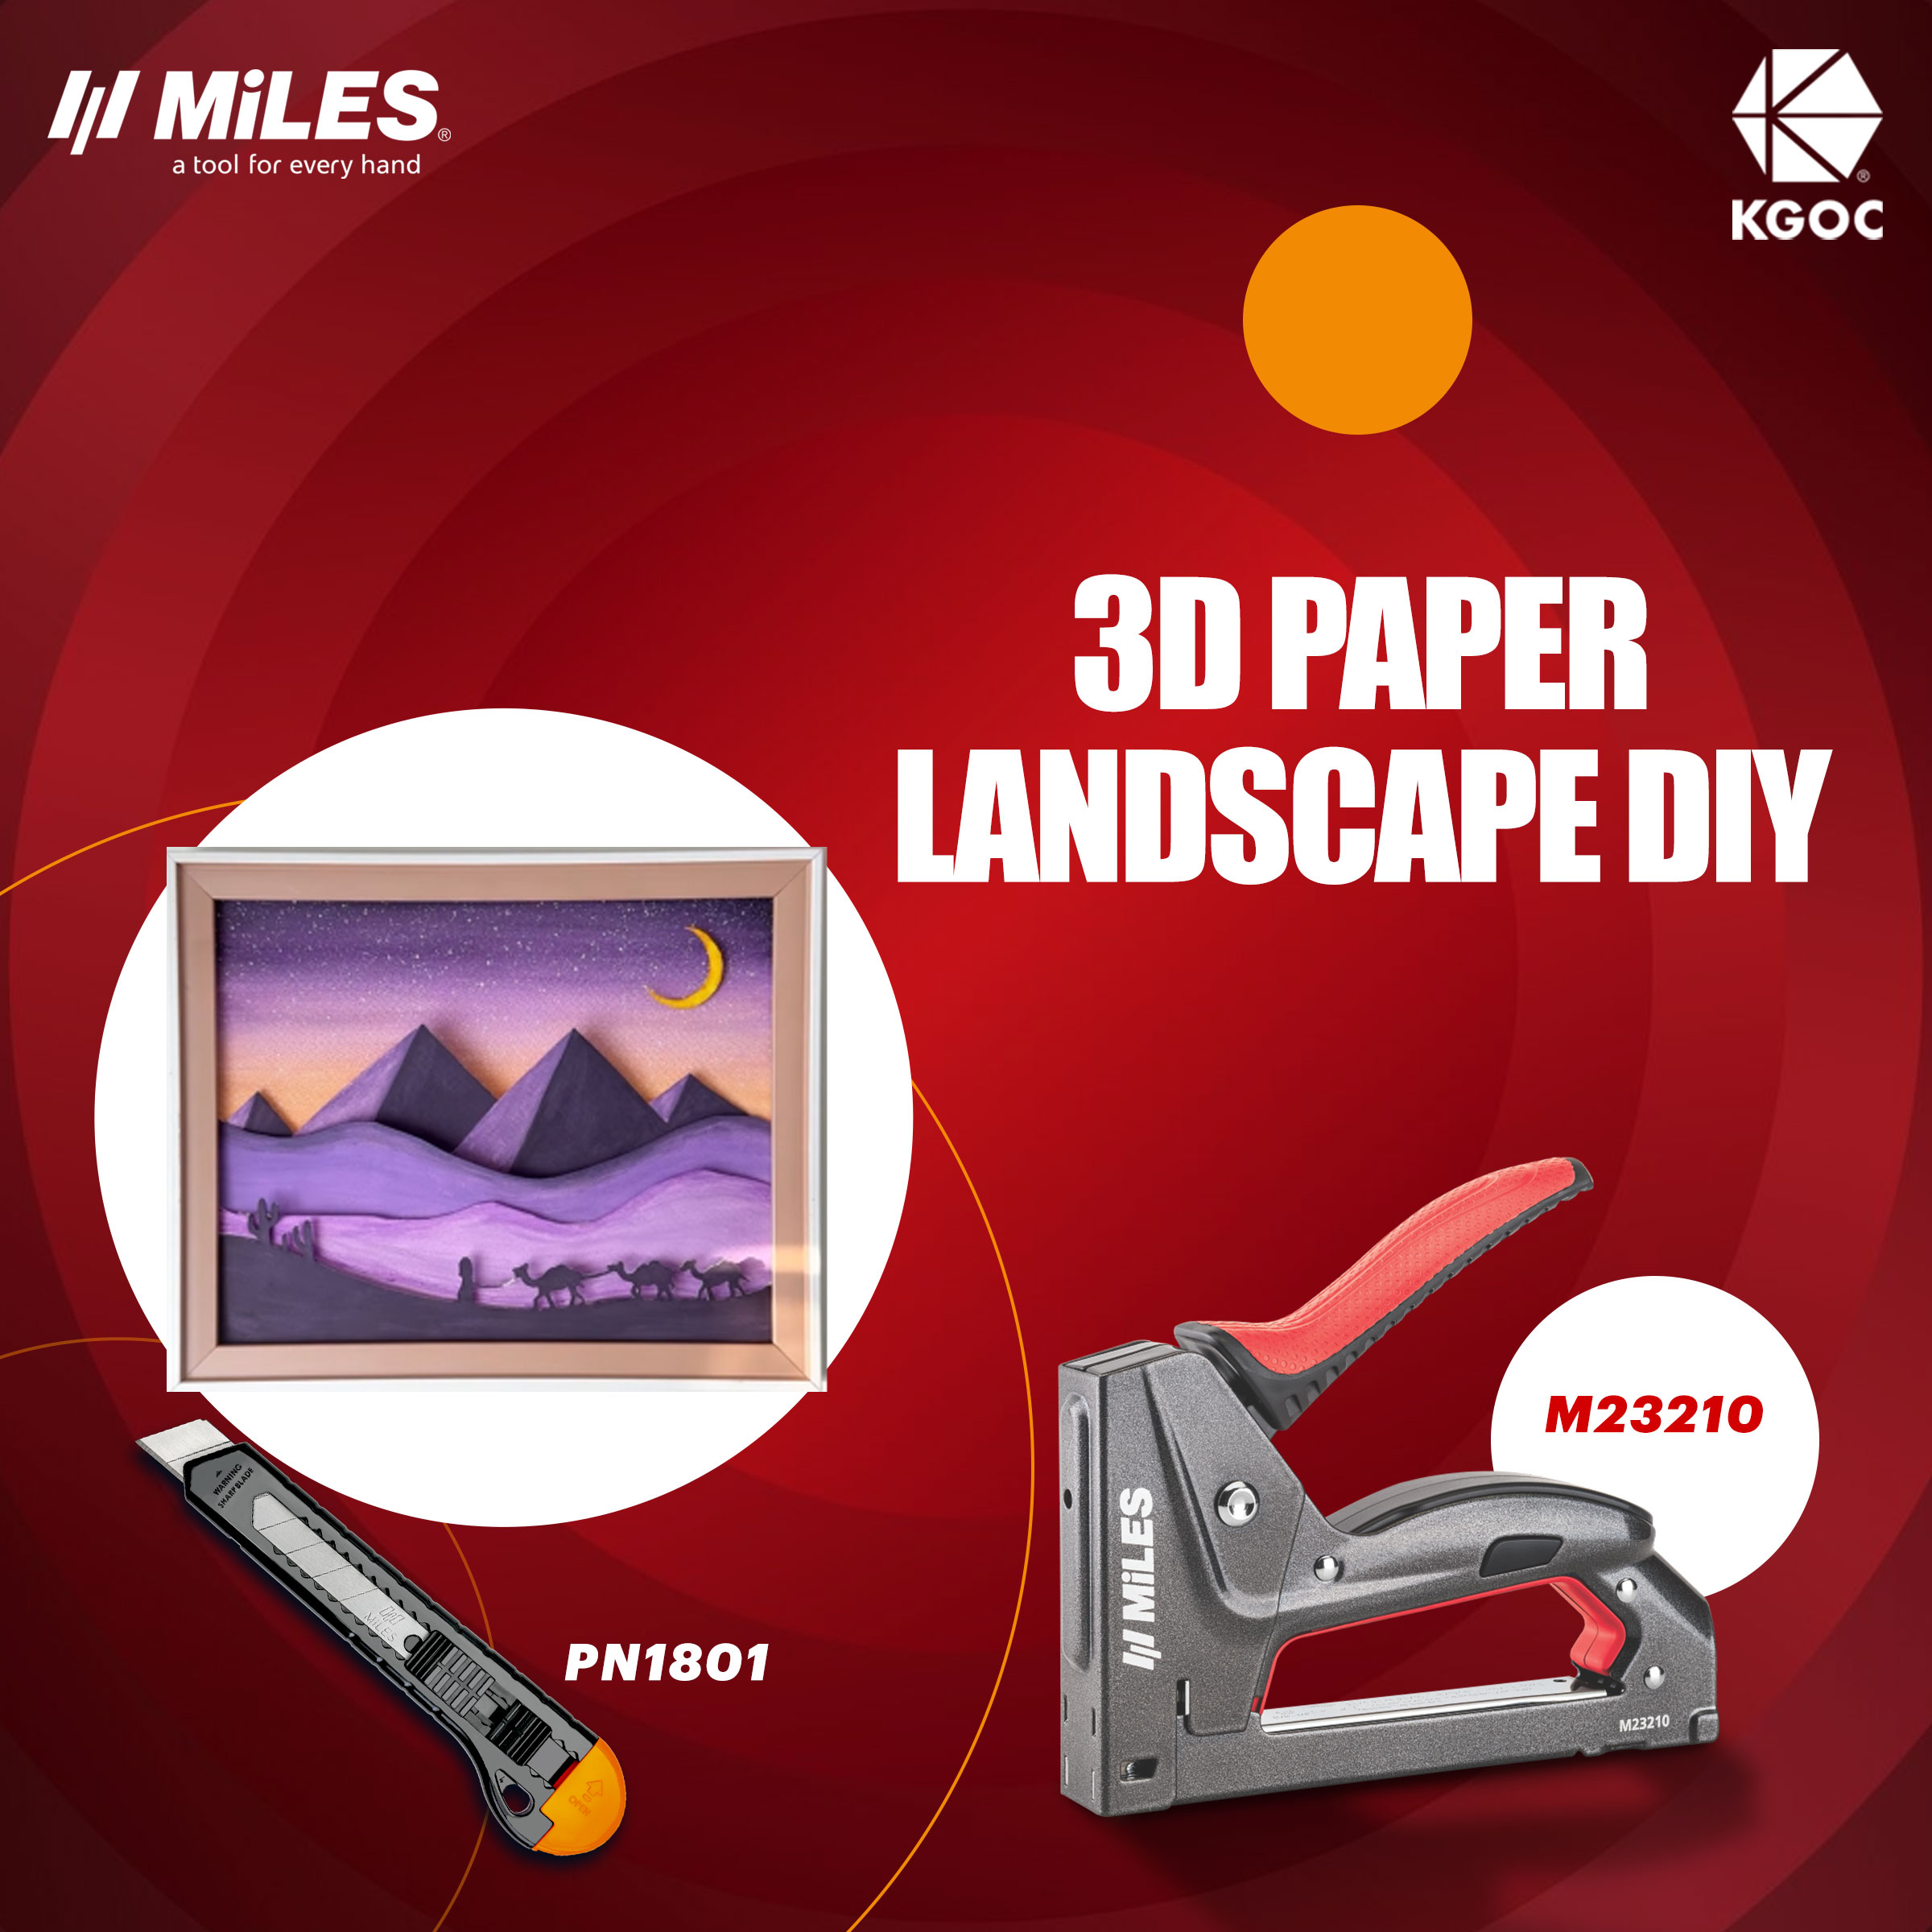
● Miles gun tacker (to secure your setup)
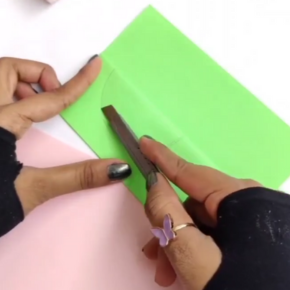
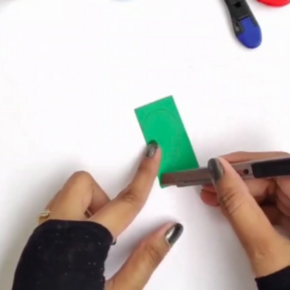
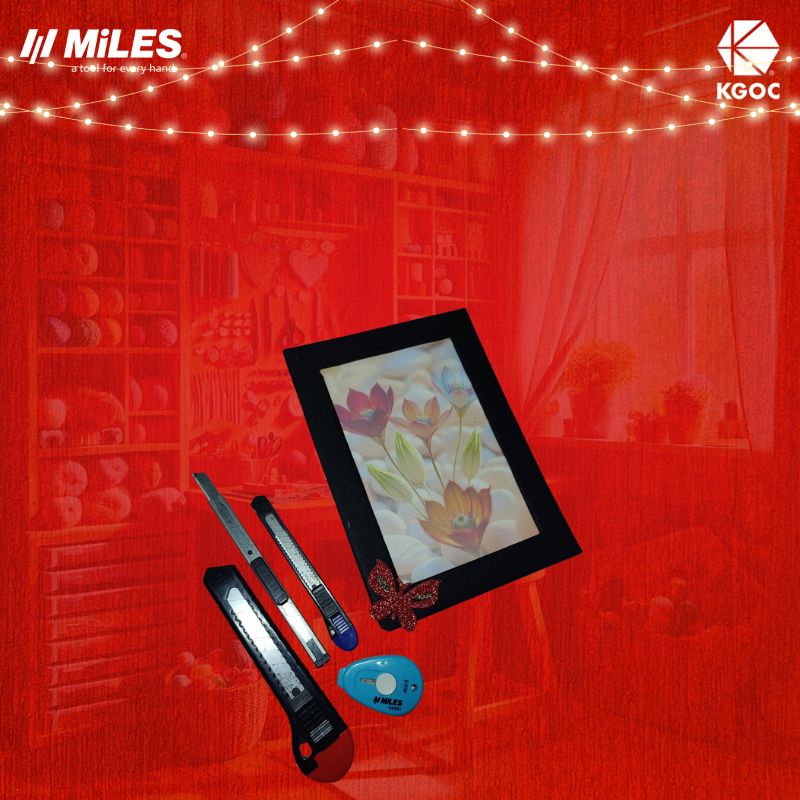
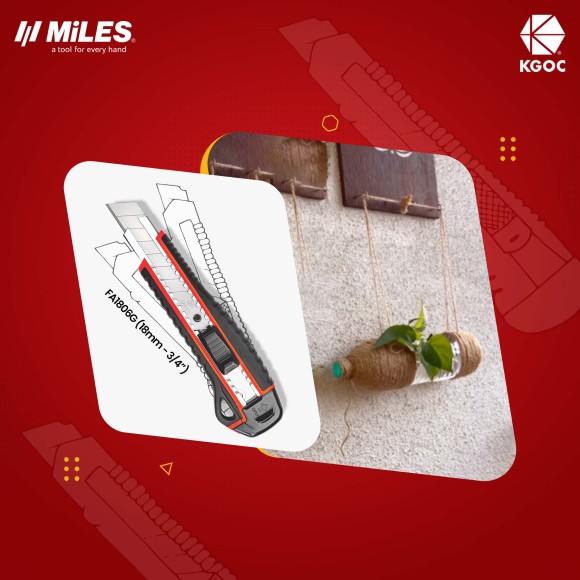
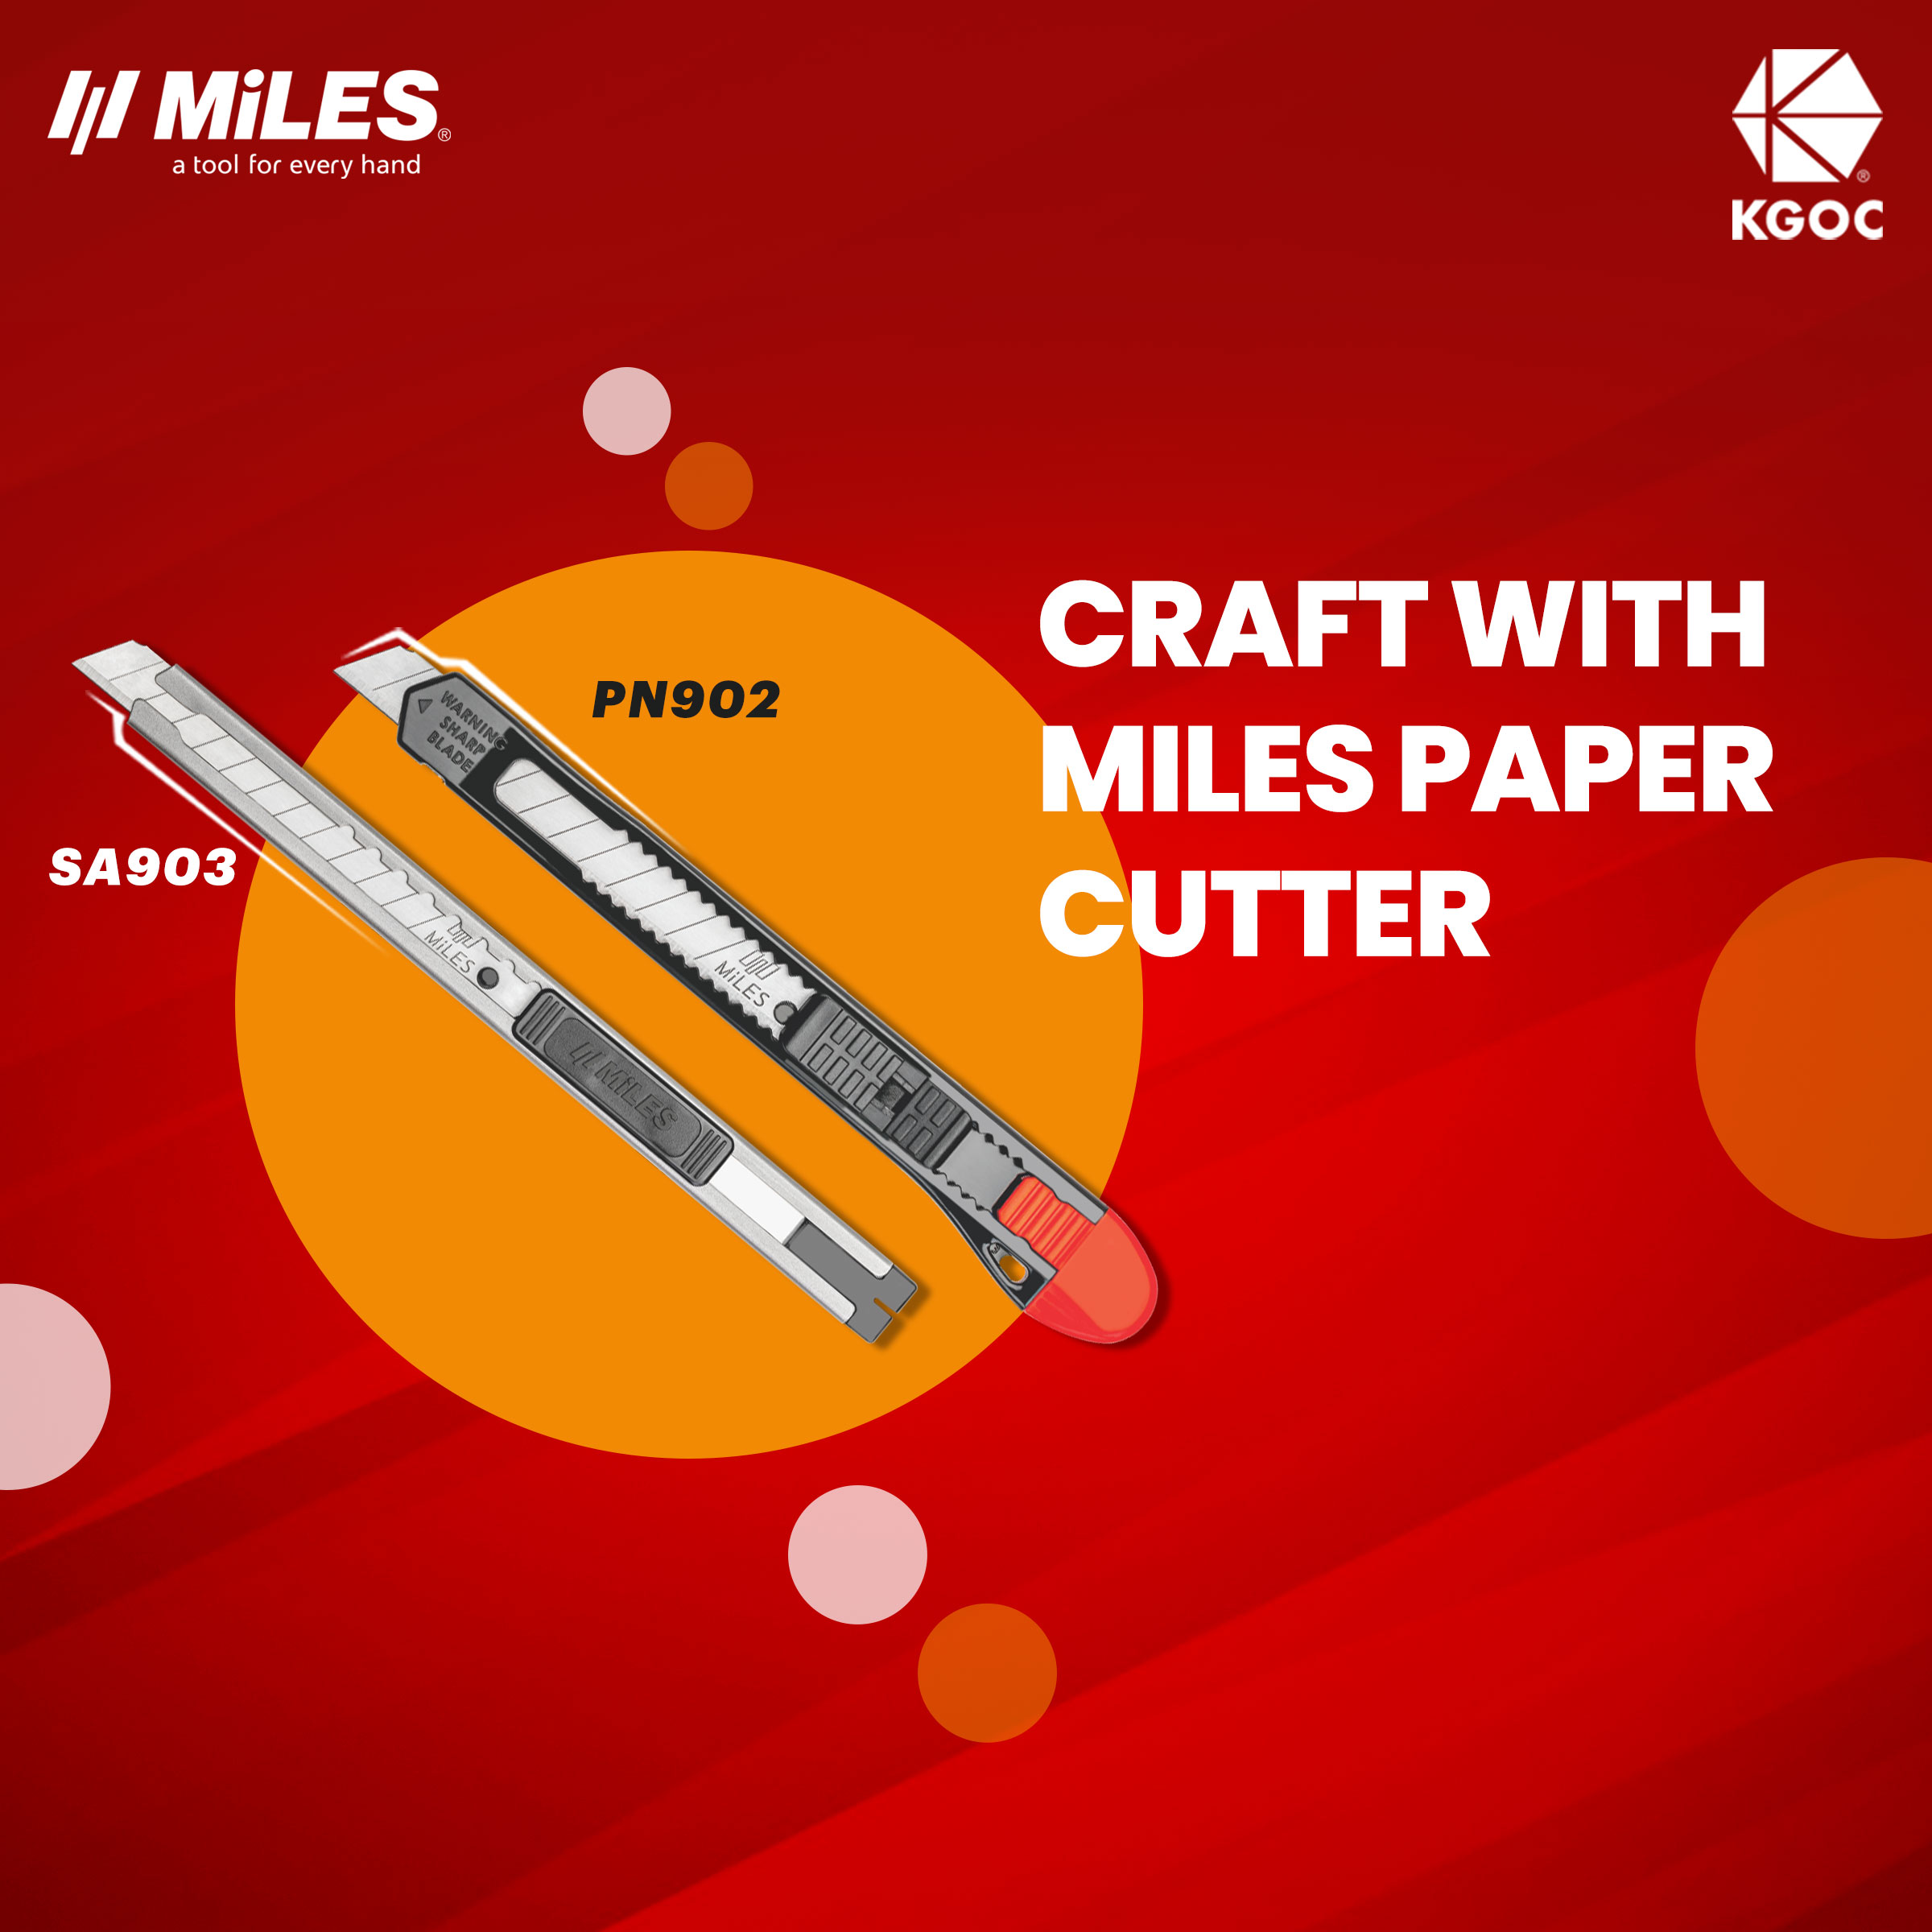
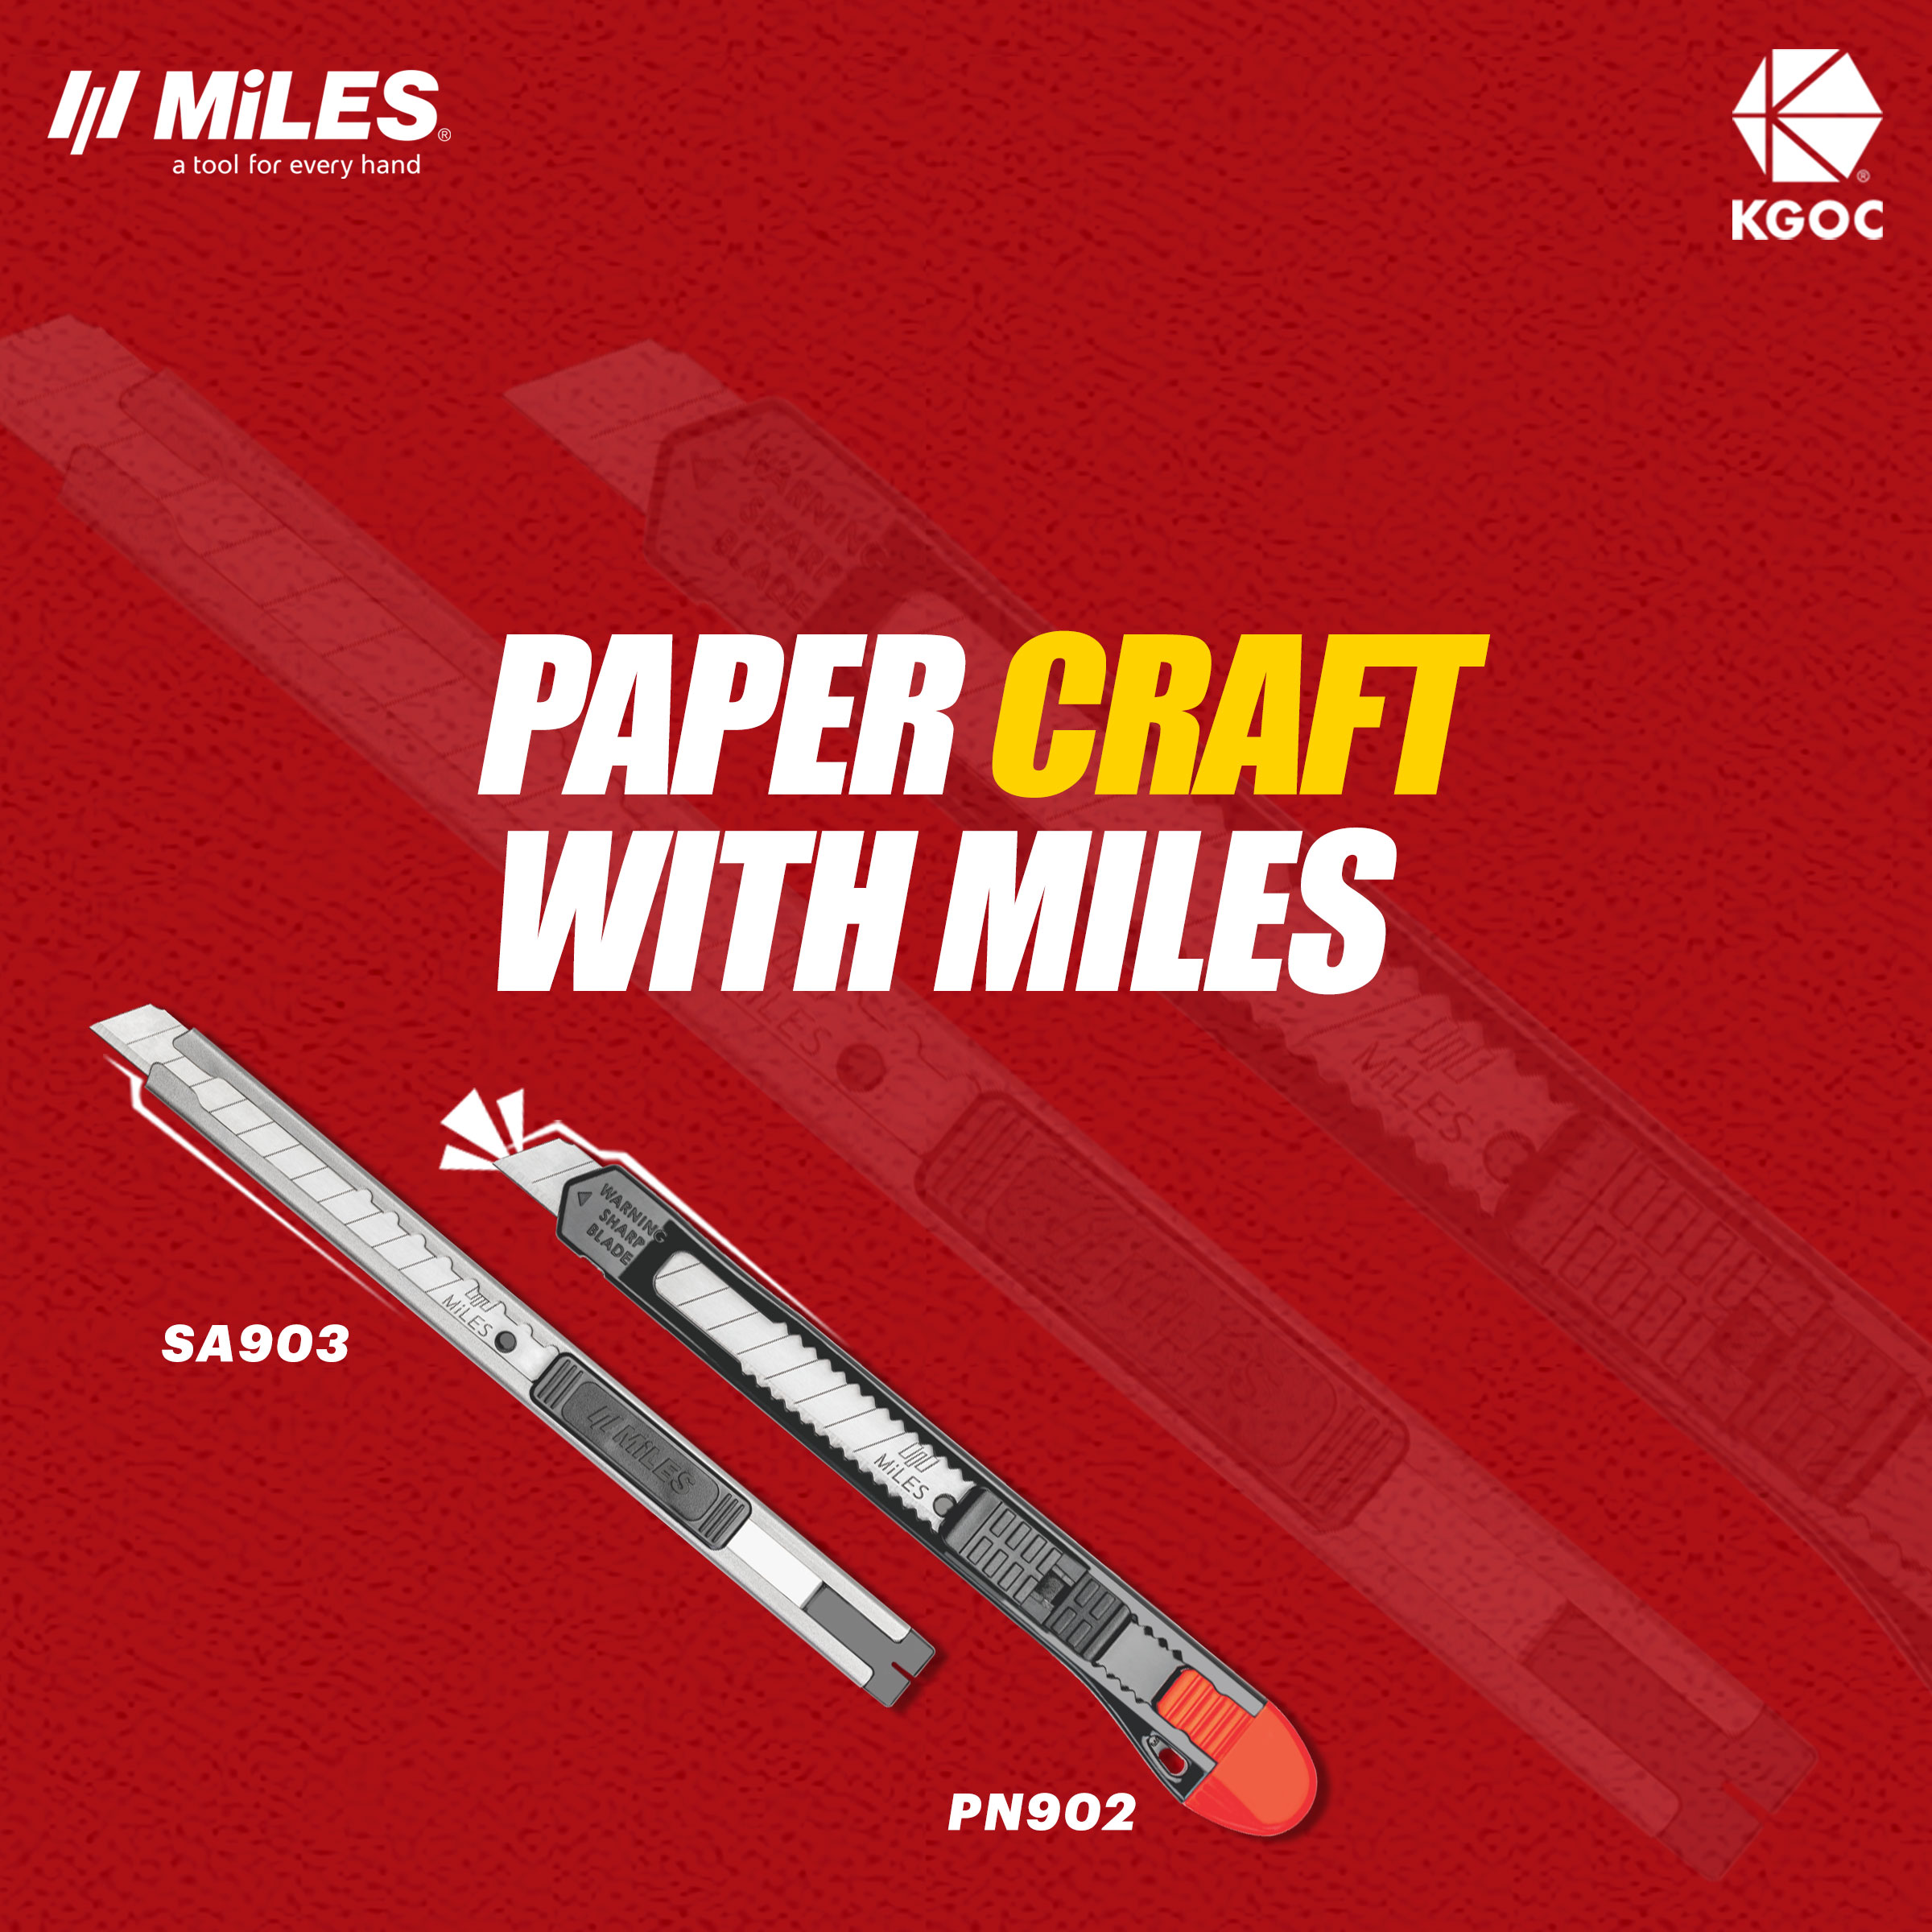
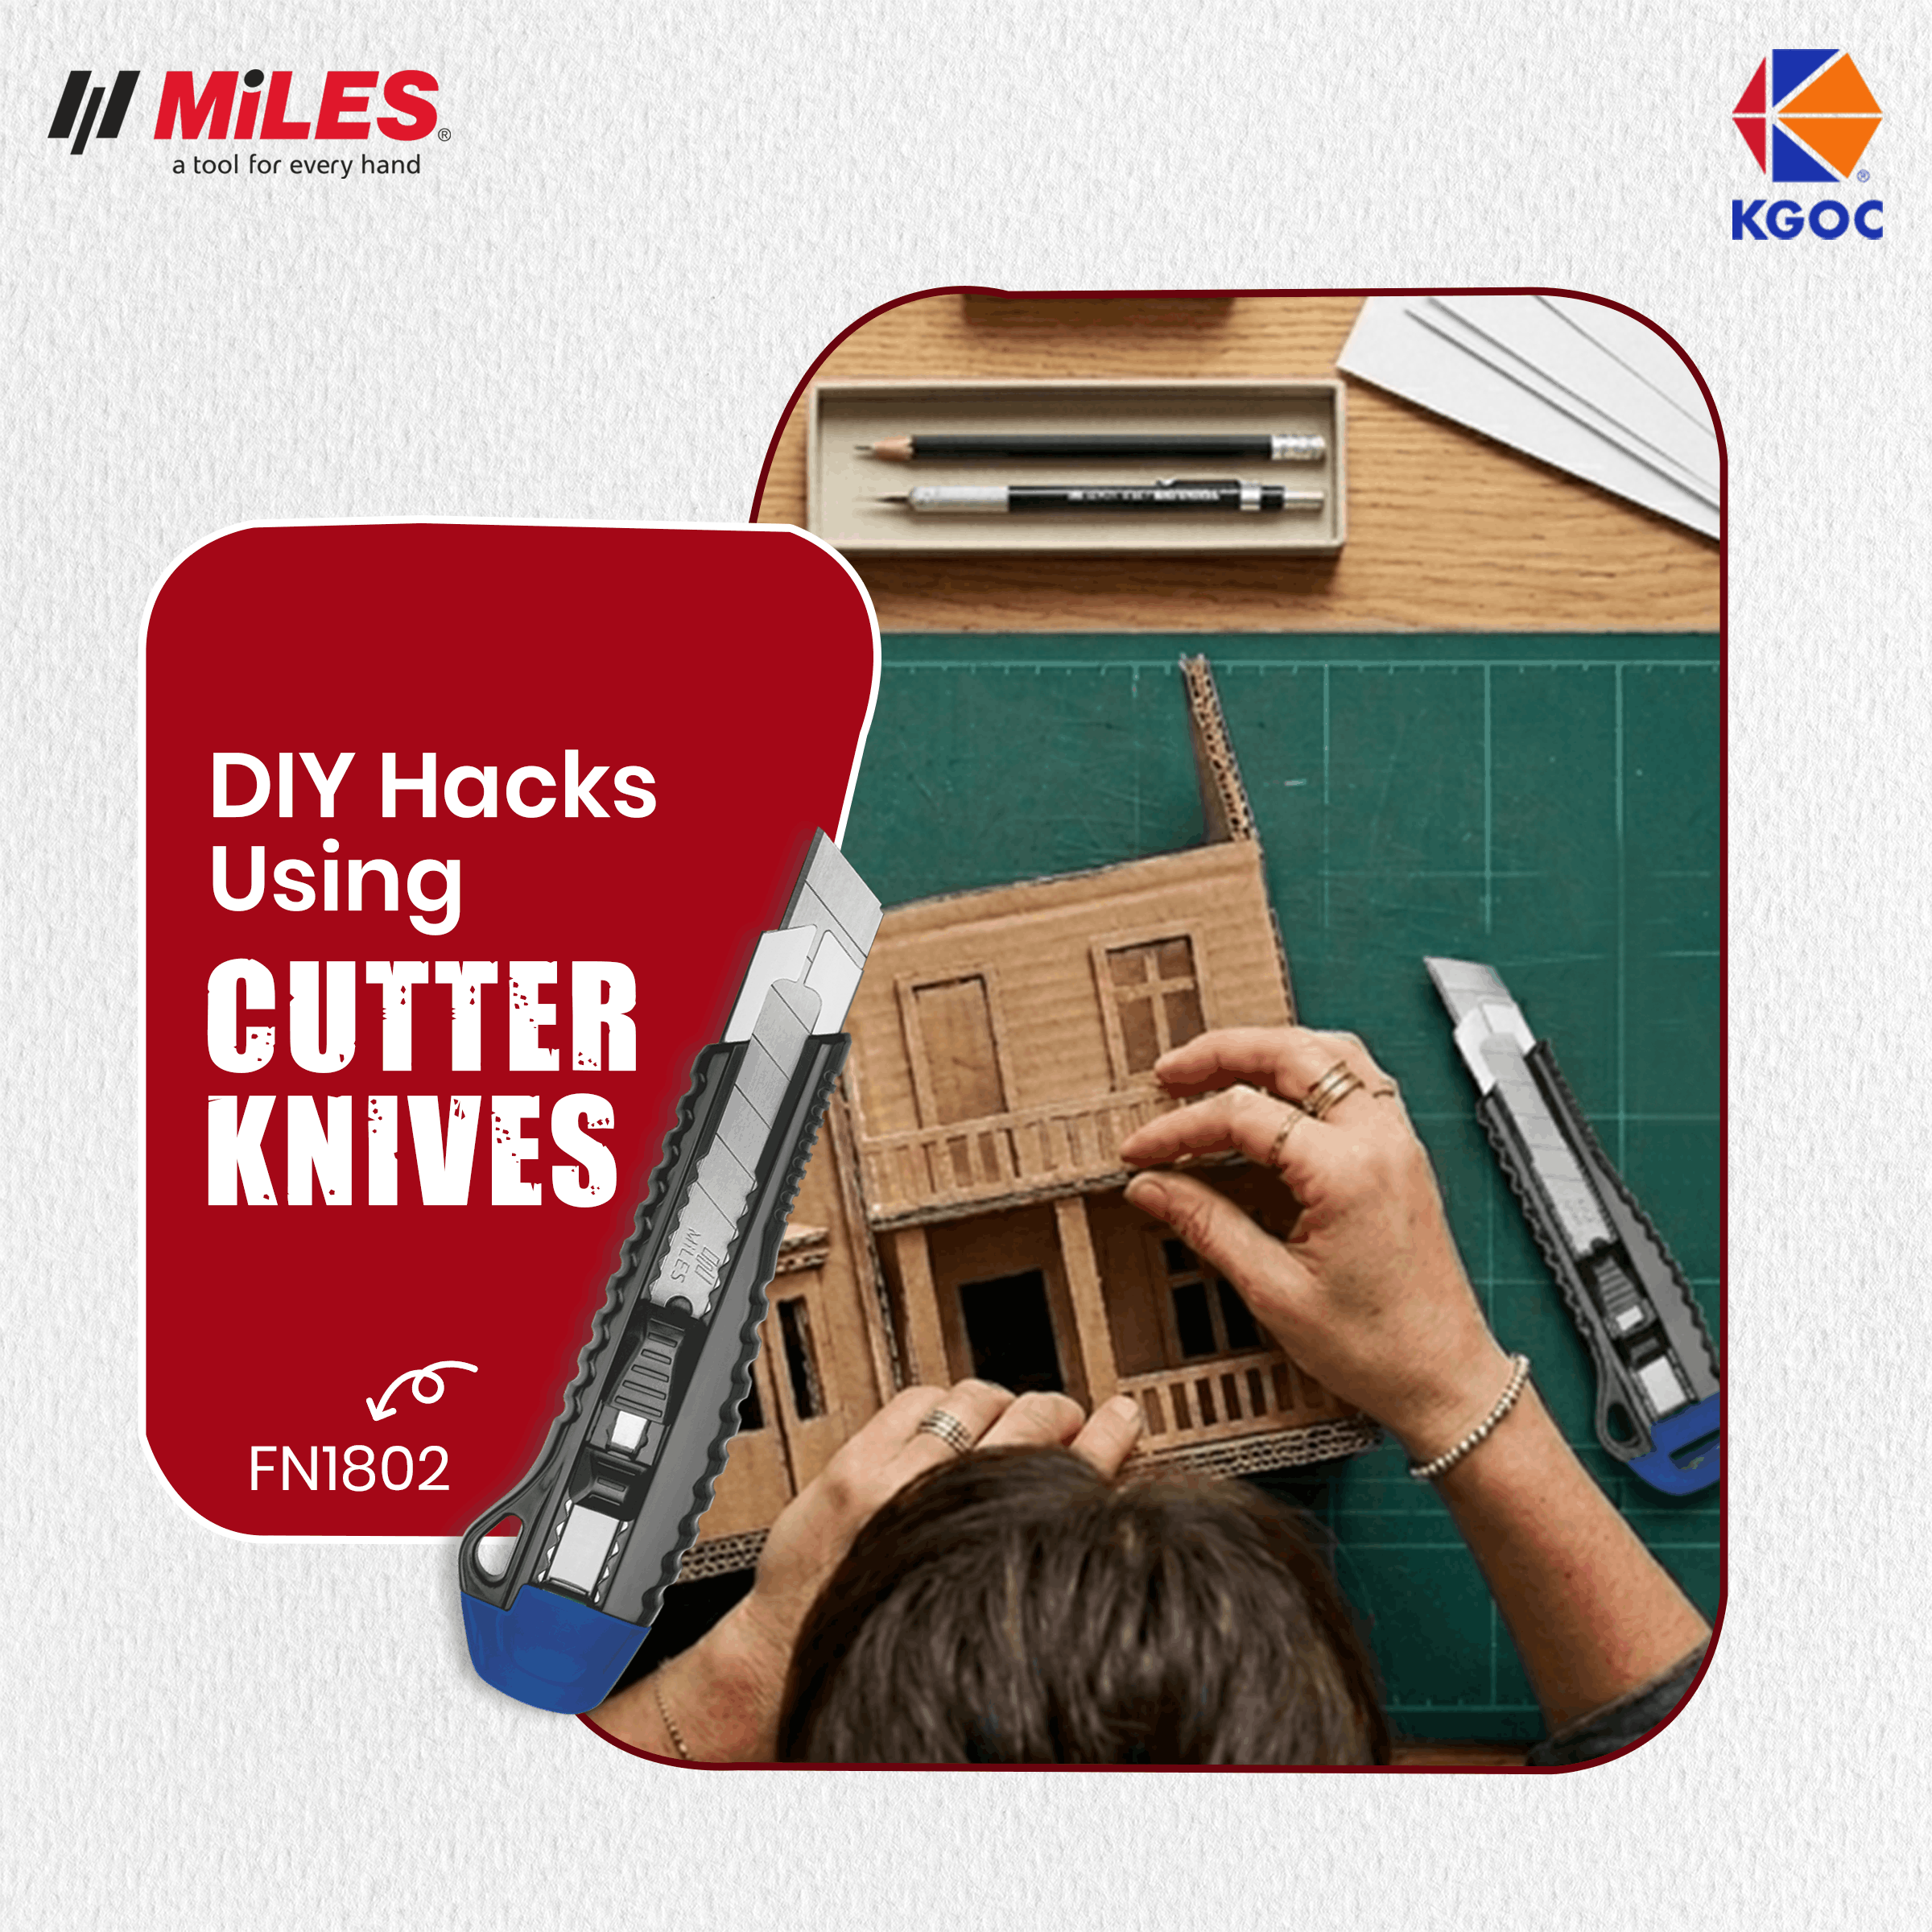
● Miles cutter (if you want to trim your paper)
Steps to Make the Painting
1. Set Up Your Base
Fix the canvas or paper on a board using the Miles gun tacker. This keeps it steady and prevents slipping while you paint.
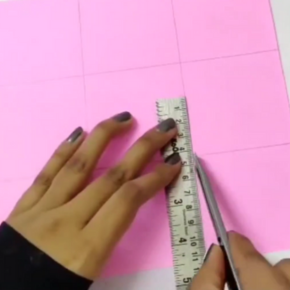
2. Trace the Circle
Use any round object to trace a clean circle. You can choose a big or small size depending on your design.
3. Add the Colours
Start with the lightest shade in the center and slowly move outward with darker tones. Blend gently to create a smooth, glowing, iridescent effect.
4. Create Soft Edges
Use a dry brush or sponge to soften the edges and make the colours melt into each other. This is what gives the painting its dreamy look.
5. Trim the Borders
If needed, use the Miles cutter to clean up the edges of your paper or canvas. A neat border makes the artwork look polished and ready to frame.
6. Let It Dry
Leave the painting untouched for a while. Once dry, the colours settle beautifully and the soft shine becomes more visible.
Final Look
An iridescent circle painting is simple but surprisingly calming. The blending, the soft tones, and the round shape create a peaceful visual effect. With the Miles gun tacker holding your base steady and the Miles cutter helping with clean finishing, the entire process feels smooth and effortless.
Why This Project Works
● It is beginner friendly.
● It requires very few supplies.
● It looks elegant, even when kept minimal.
● It adds a soft artistic touch to any corner of your home.