04 September 2026
Video Link: https://www.instagram.com/p/Dcpy8MpytRQ/
Give those leftover pieces of scrap wood a new purpose with this simple DIY lamp project. Instead of letting unused wood pieces take up space or throwing them away, turn them into a warm and stylish corner lamp for your home.
With a few easily available materials and the right tools, you can create a rustic lamp that adds a cosy touch to a reading corner, bedroom, or living space.
• Scrap wood pieces
• Bulb holder, wire, and LED bulb
• Cane webbing or rattan mesh
• Two wooden embroidery hoops
• Brown spray paint
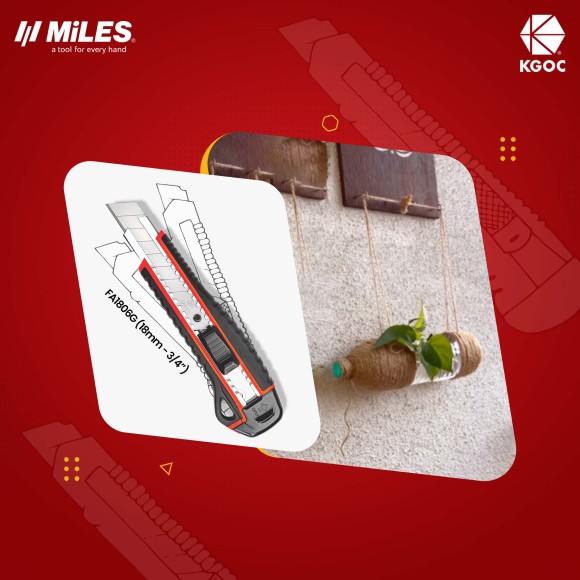
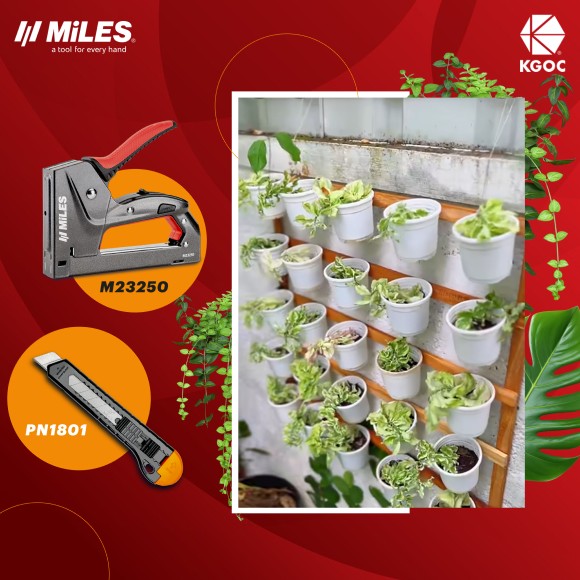
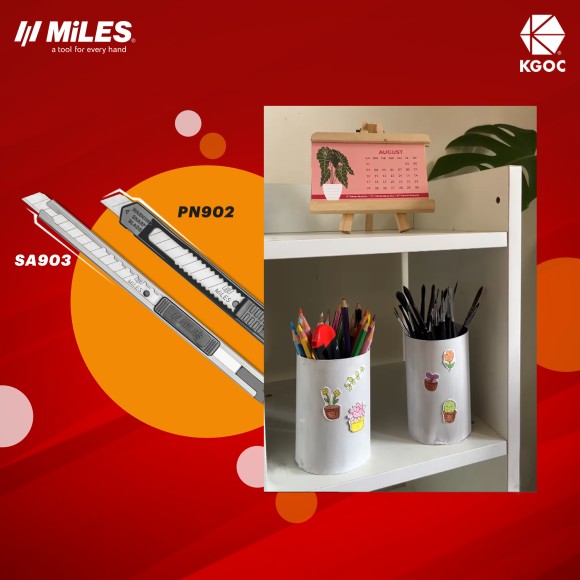
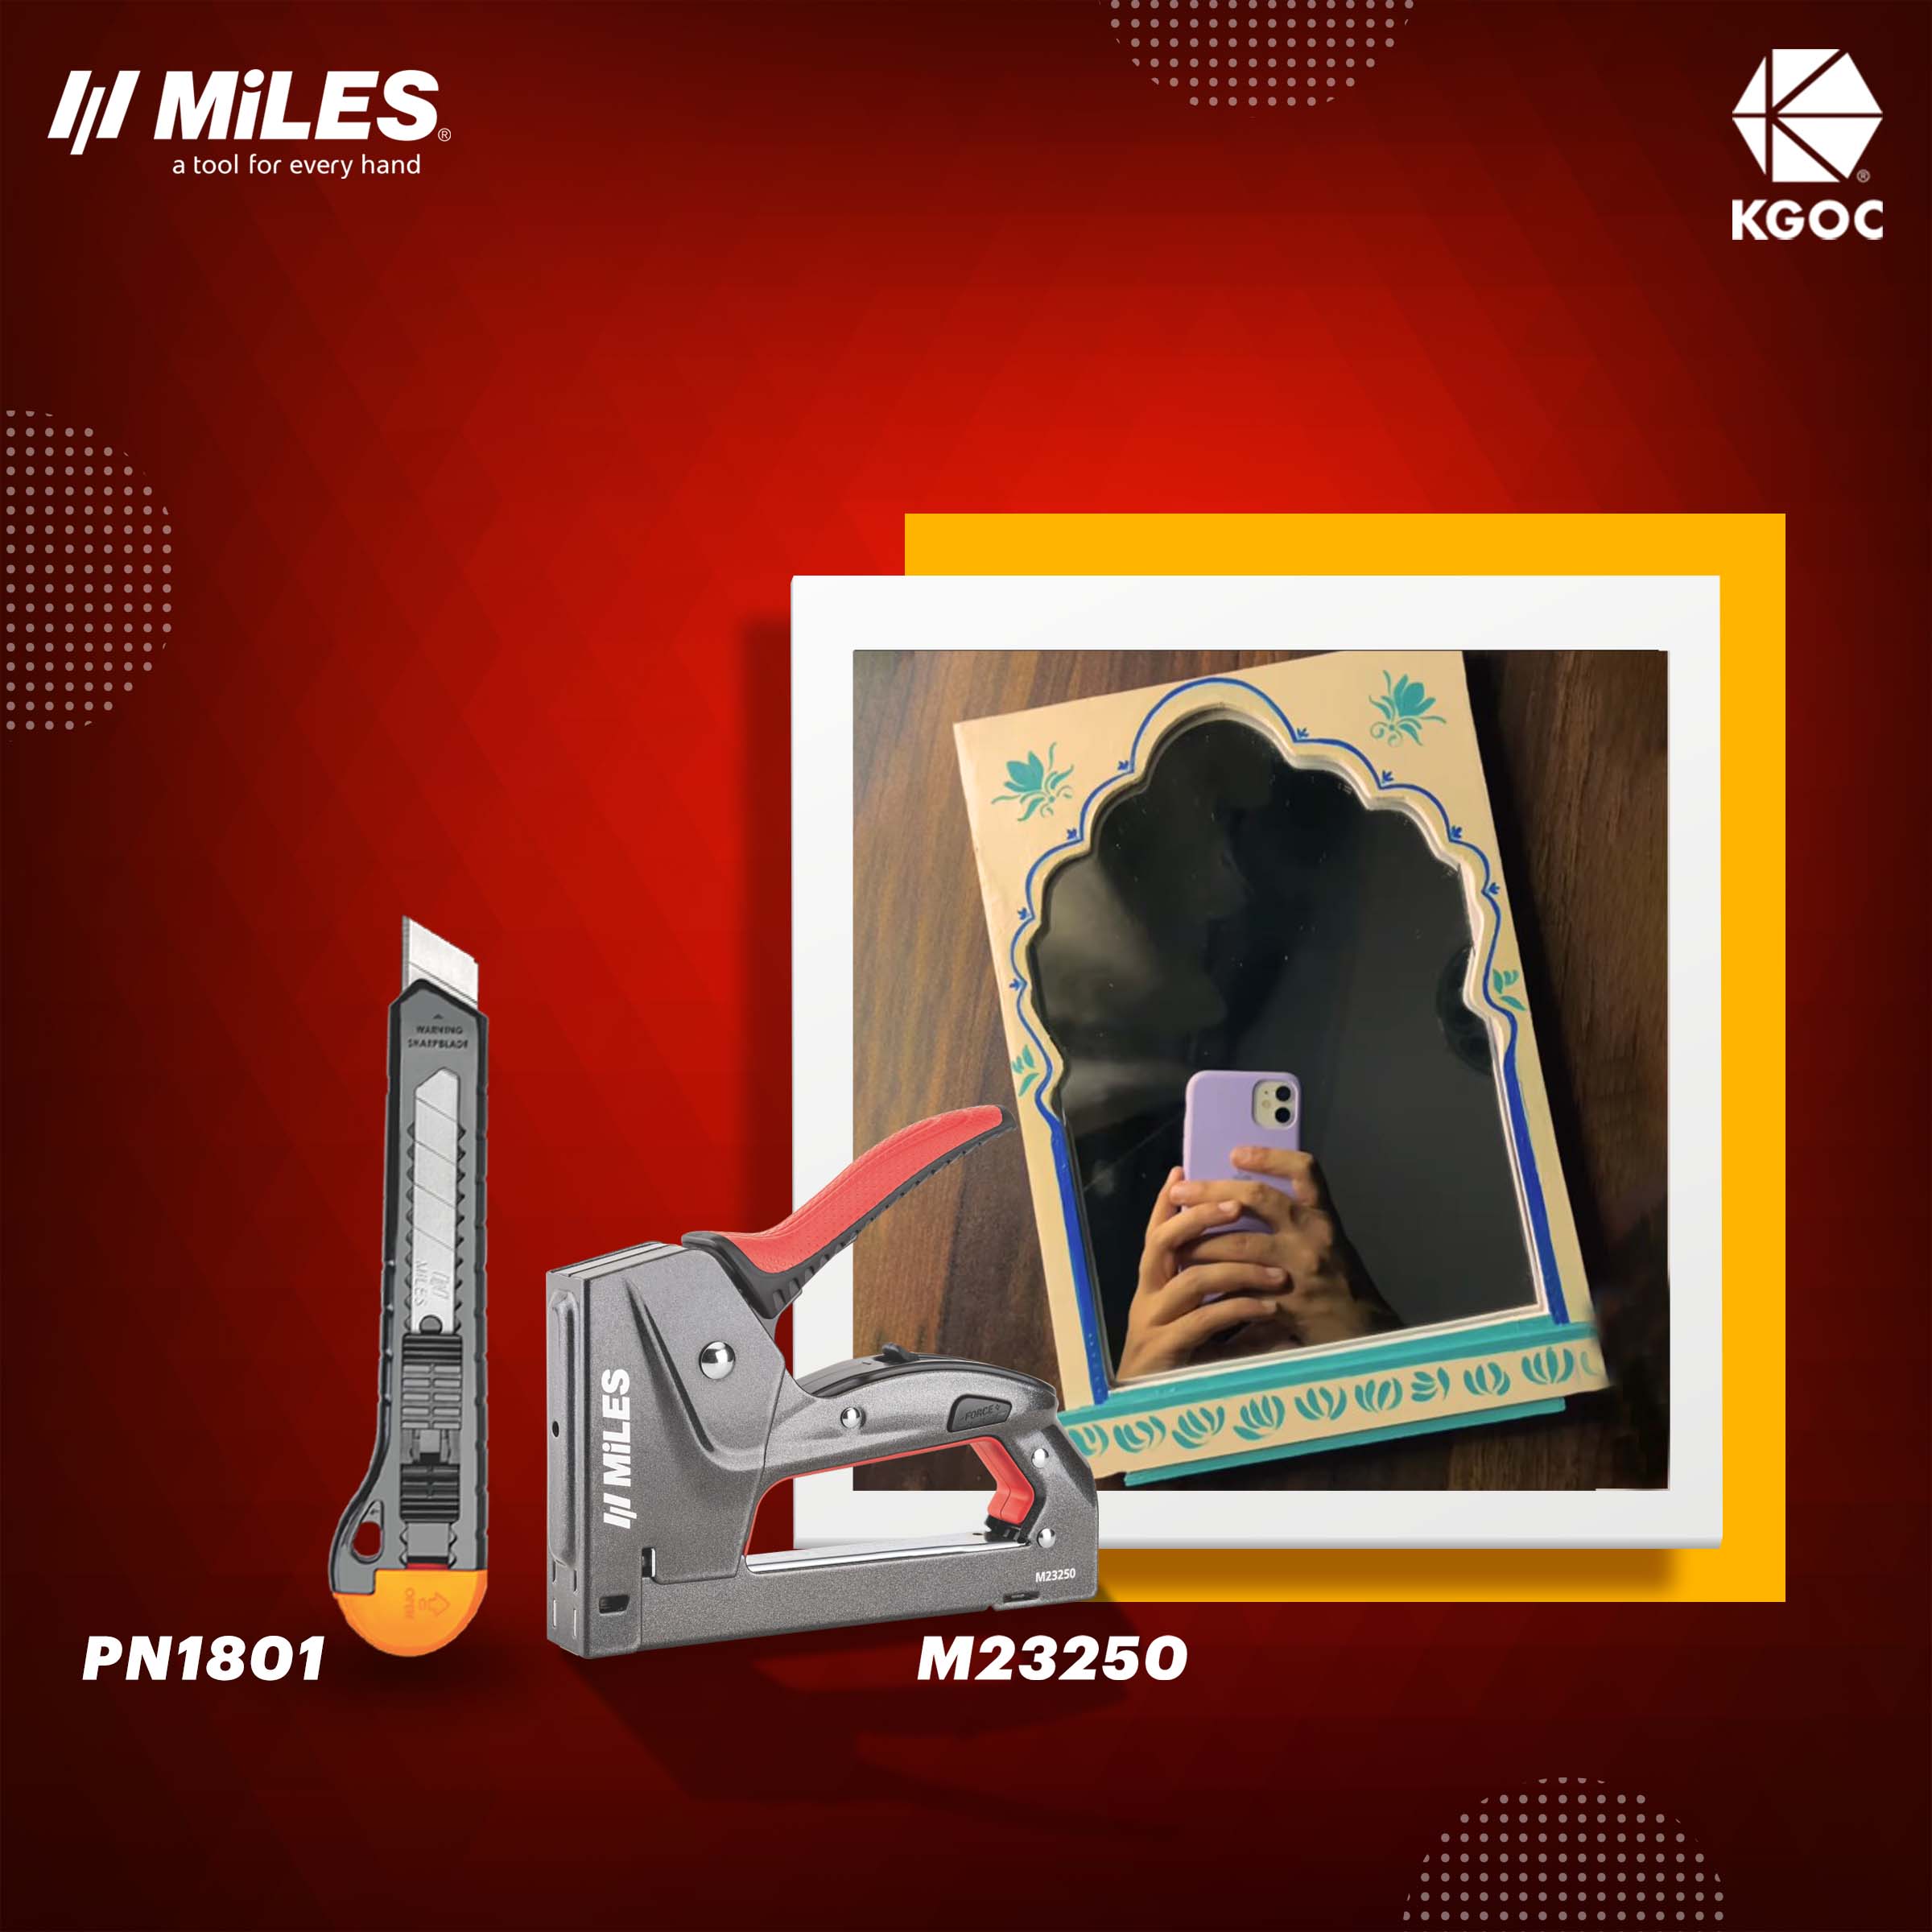
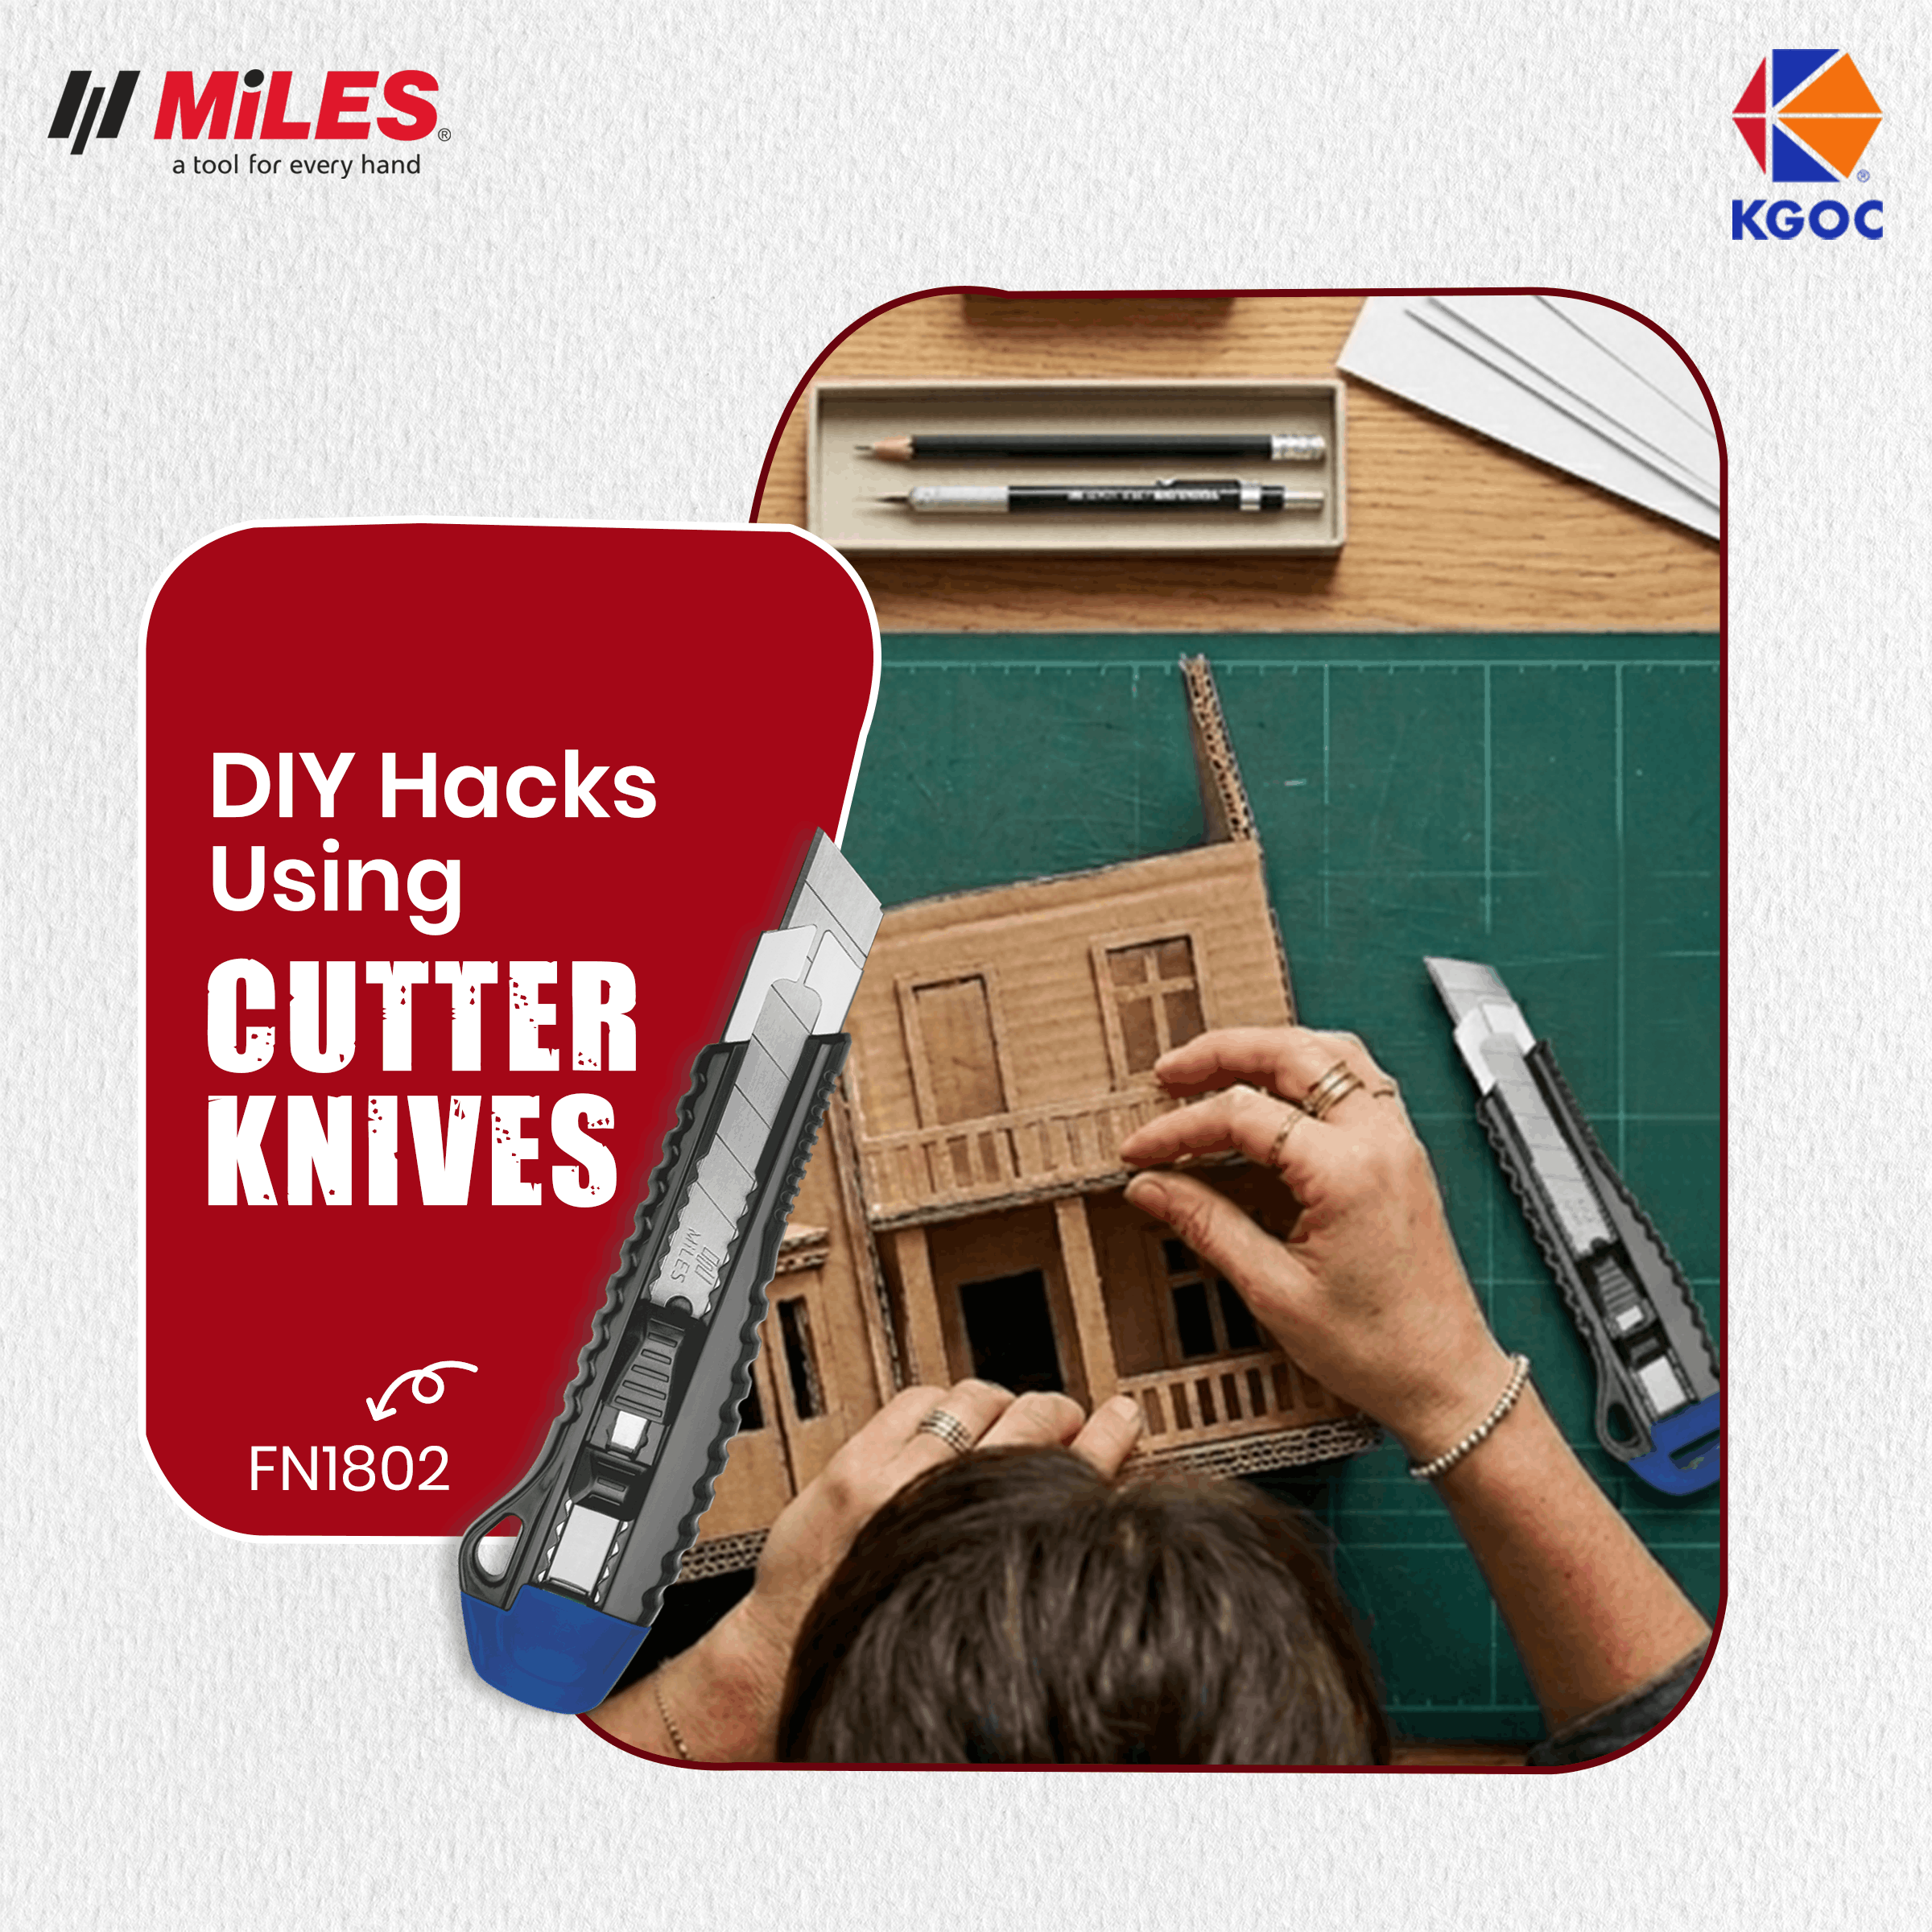
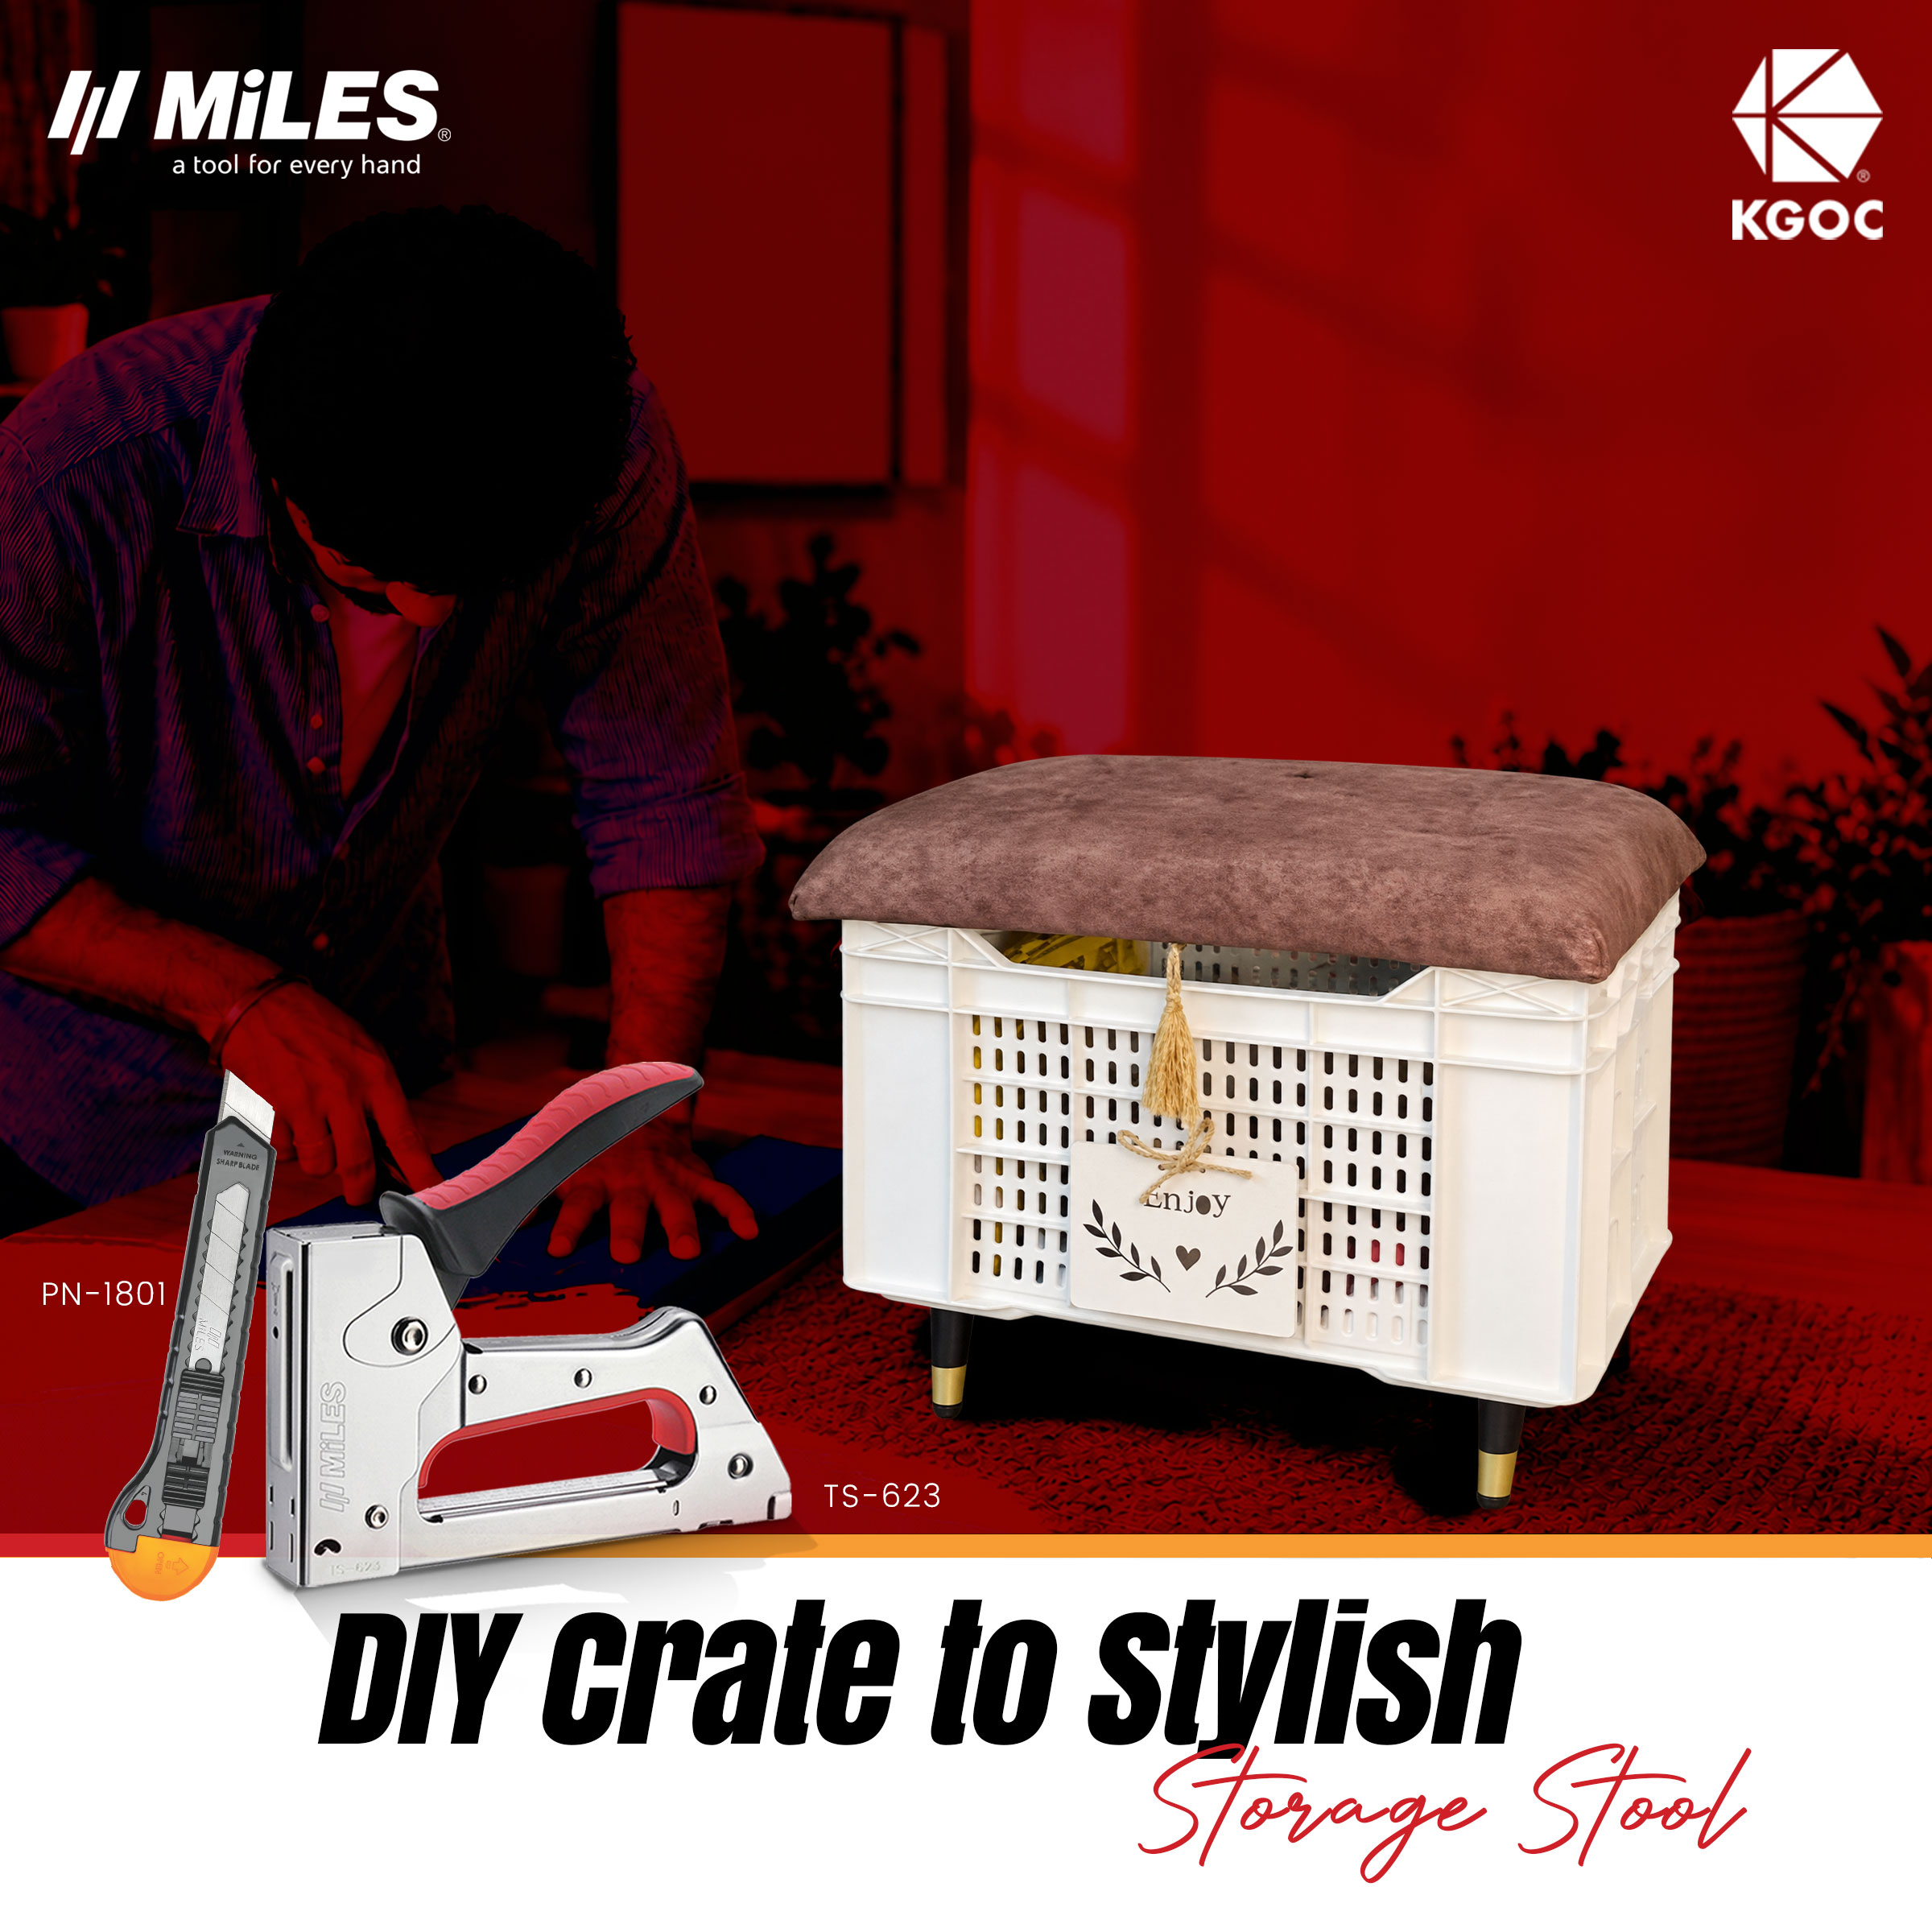
• Miles Cutter
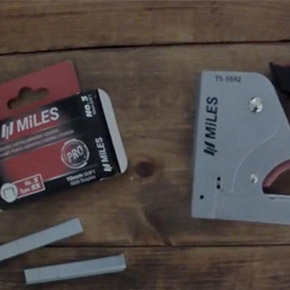
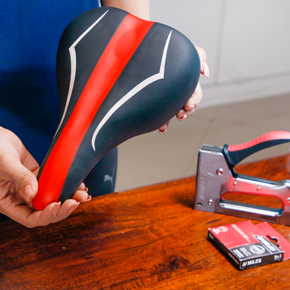
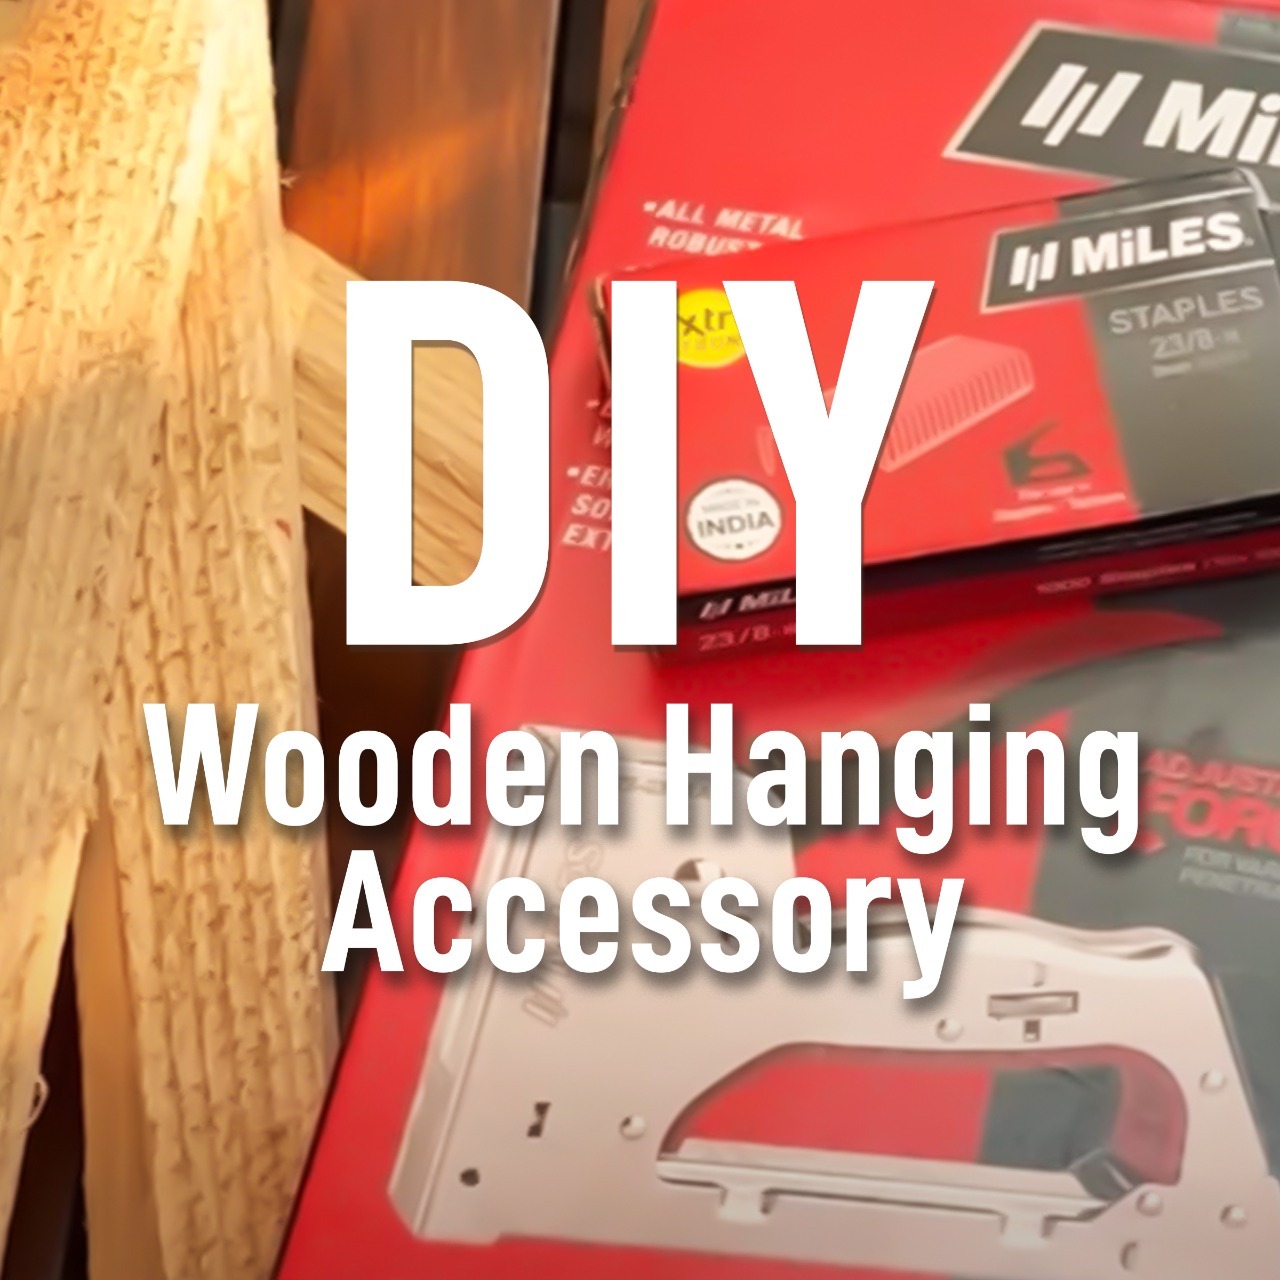
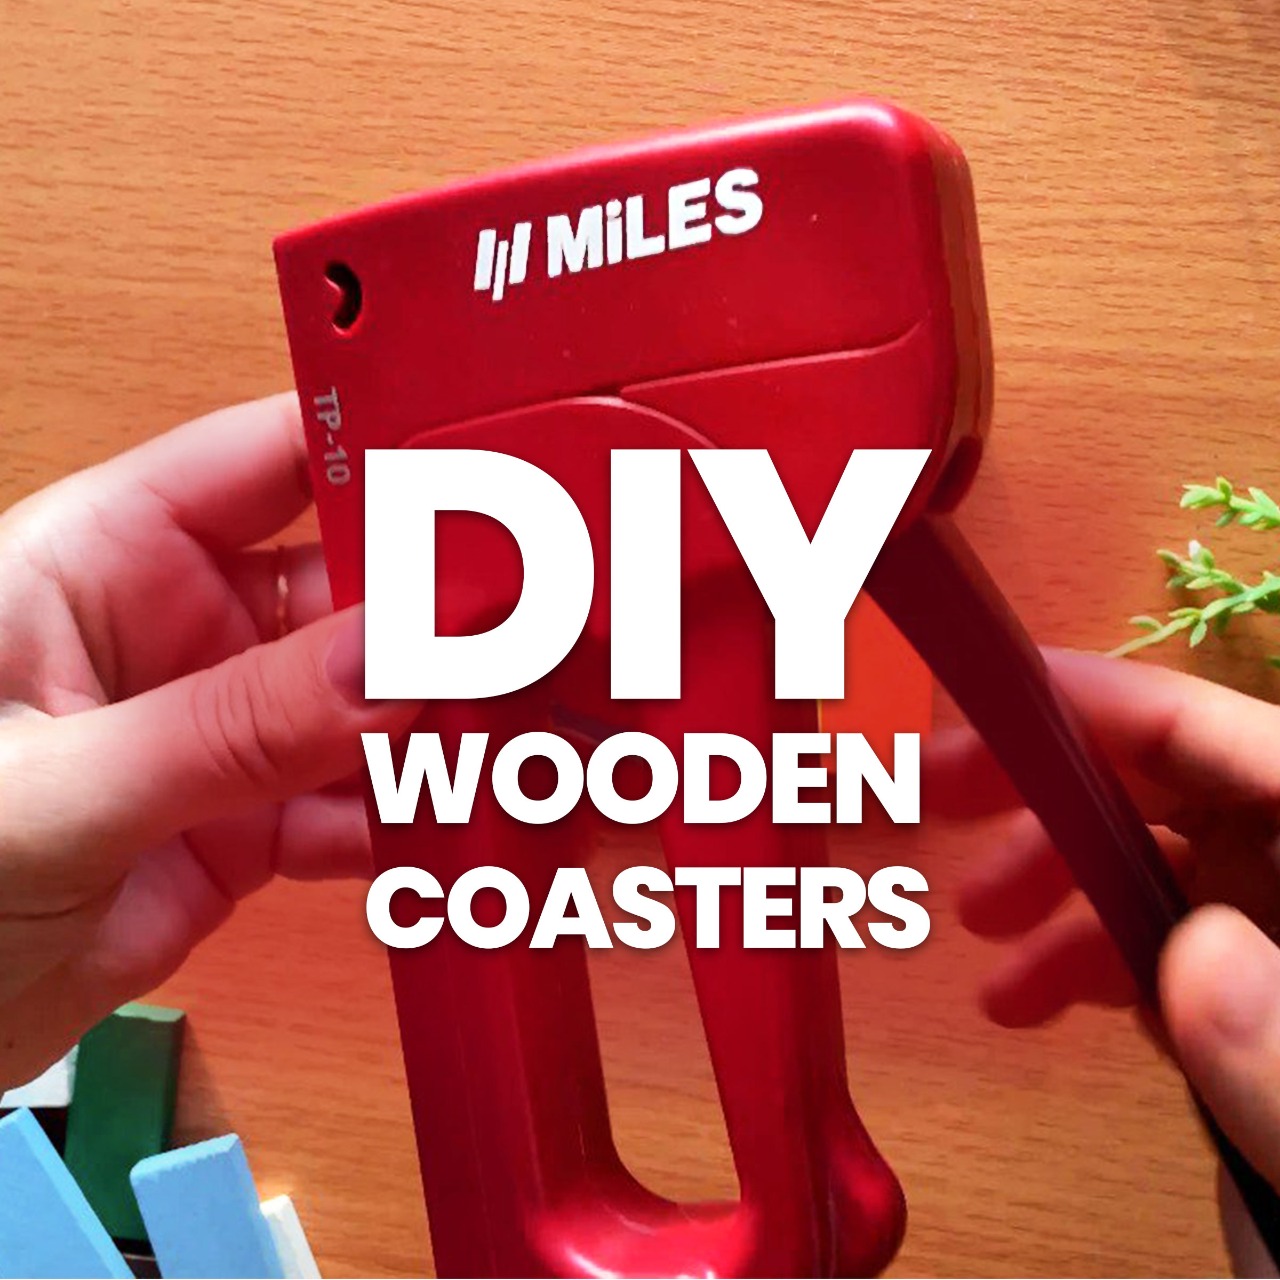
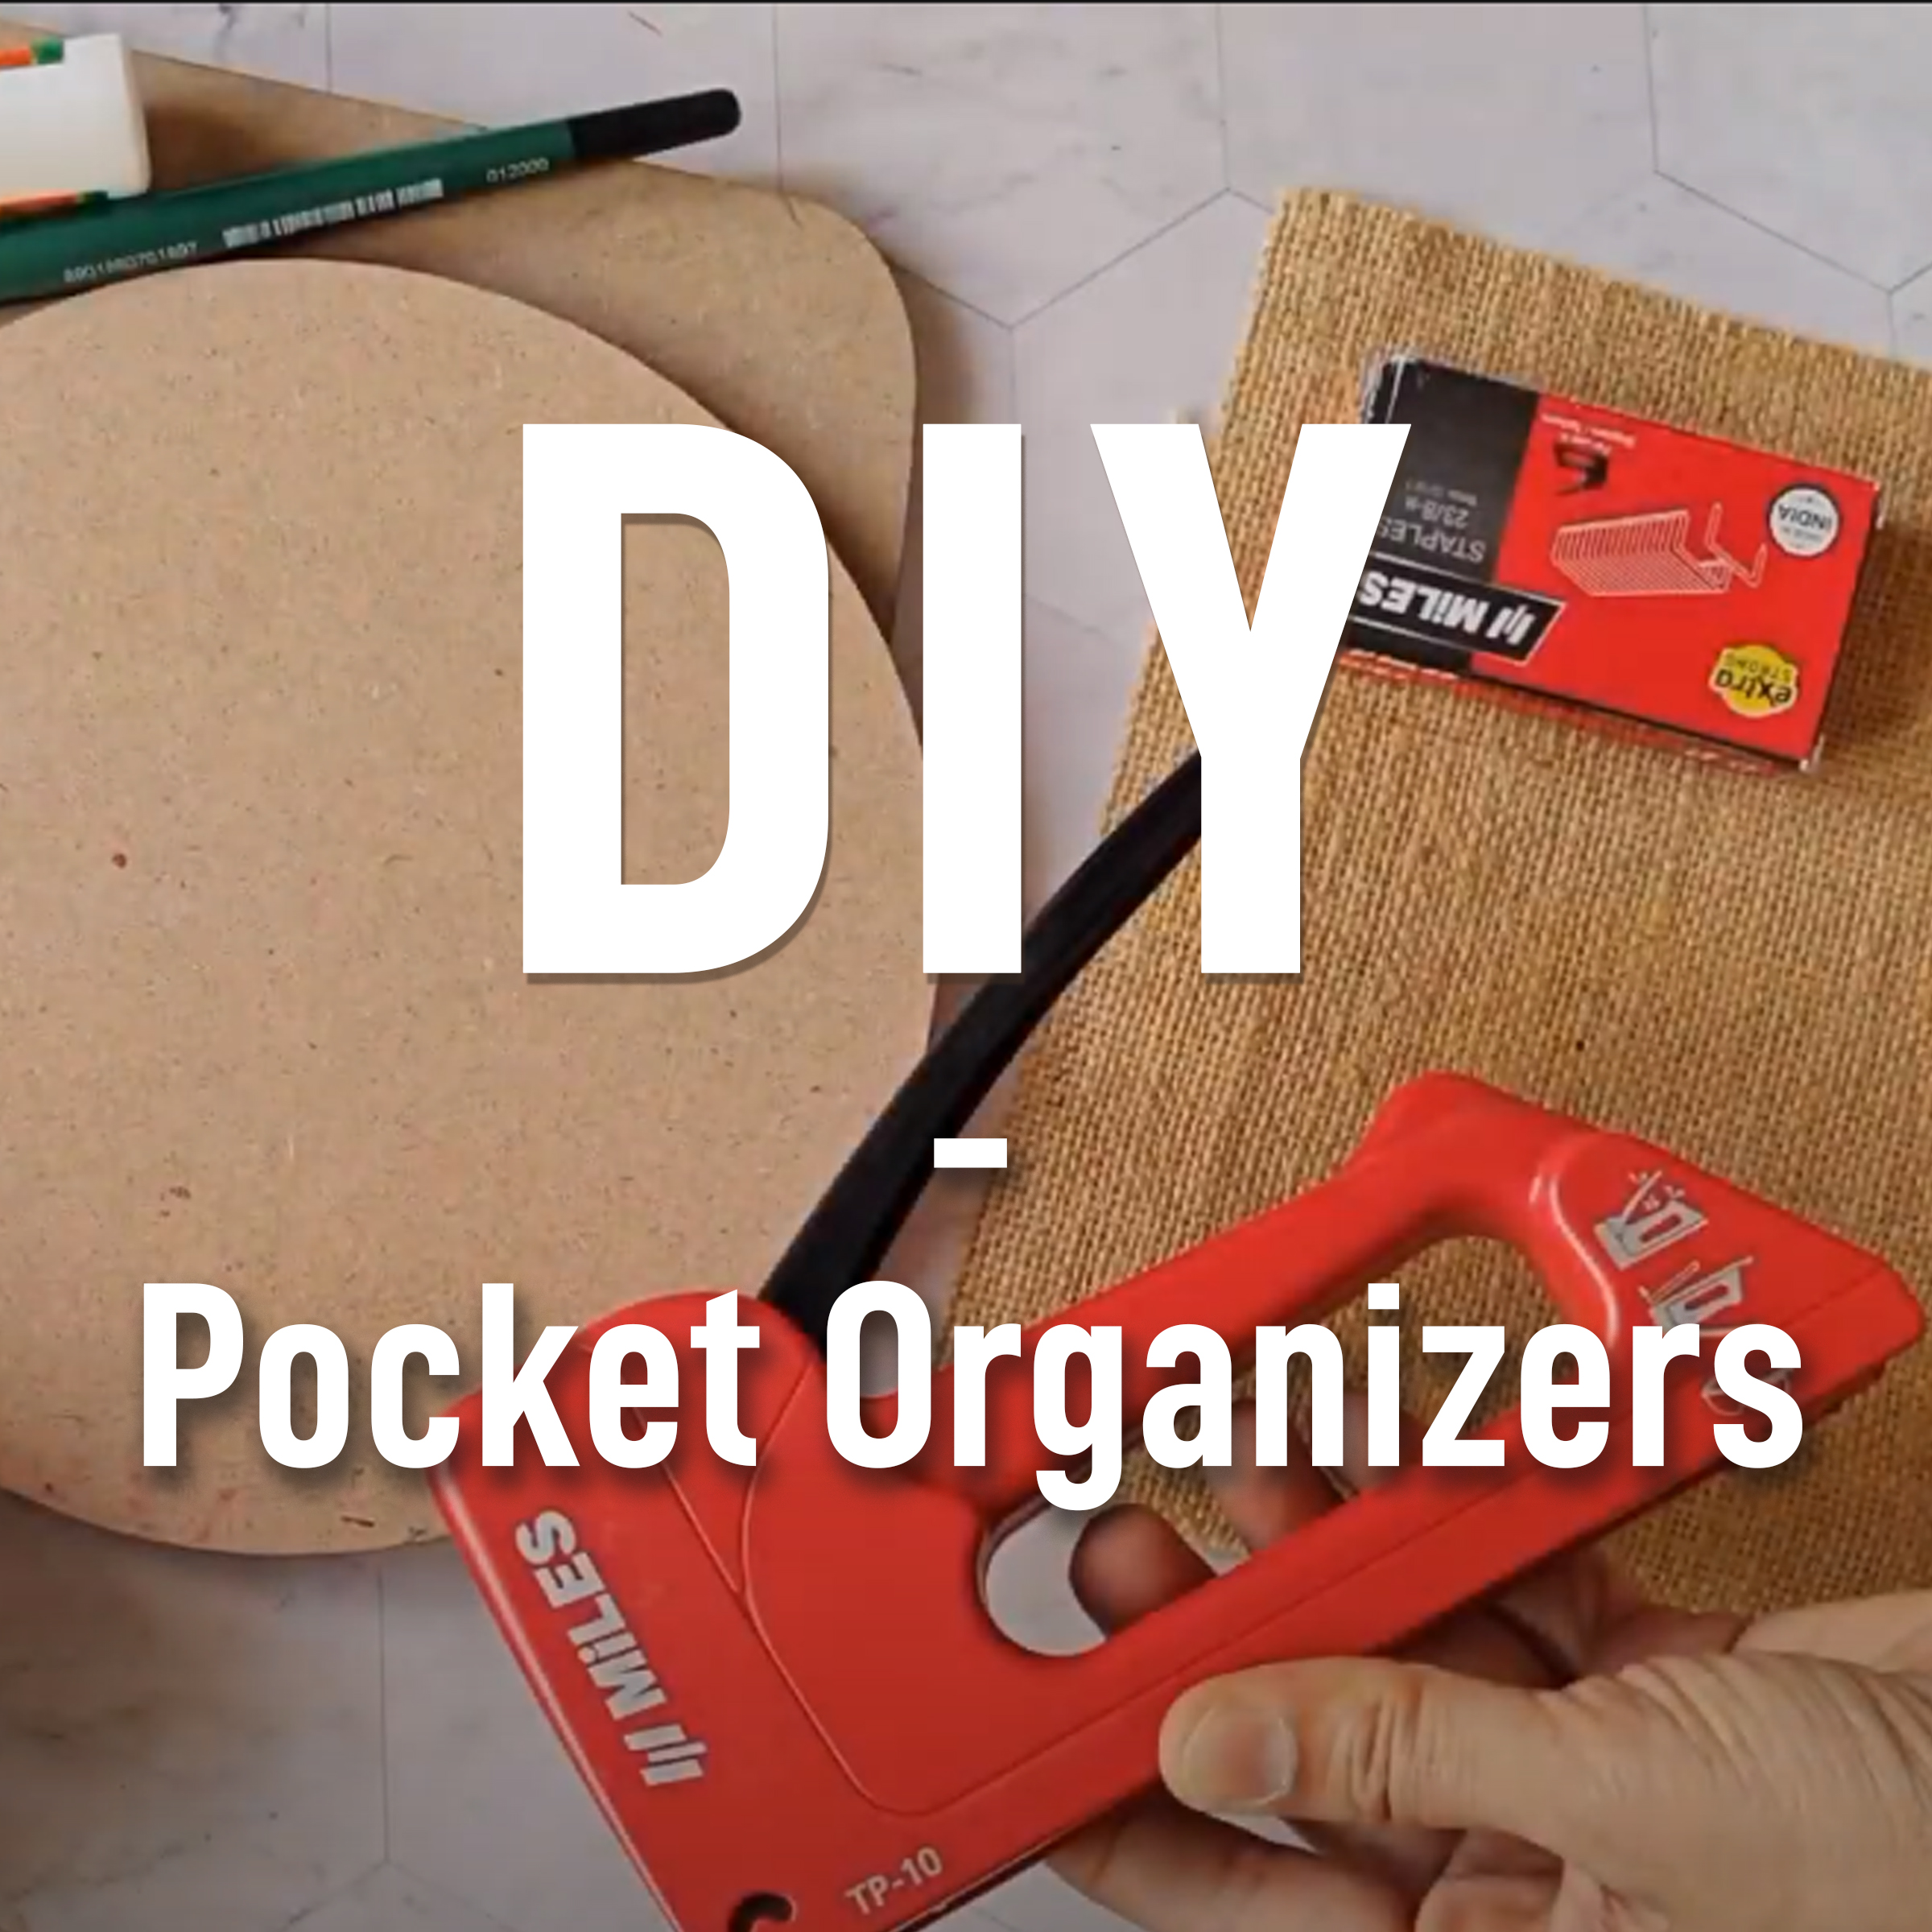
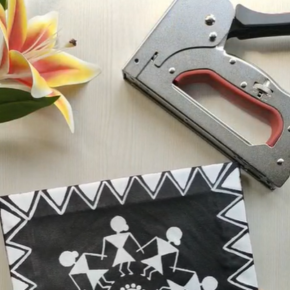
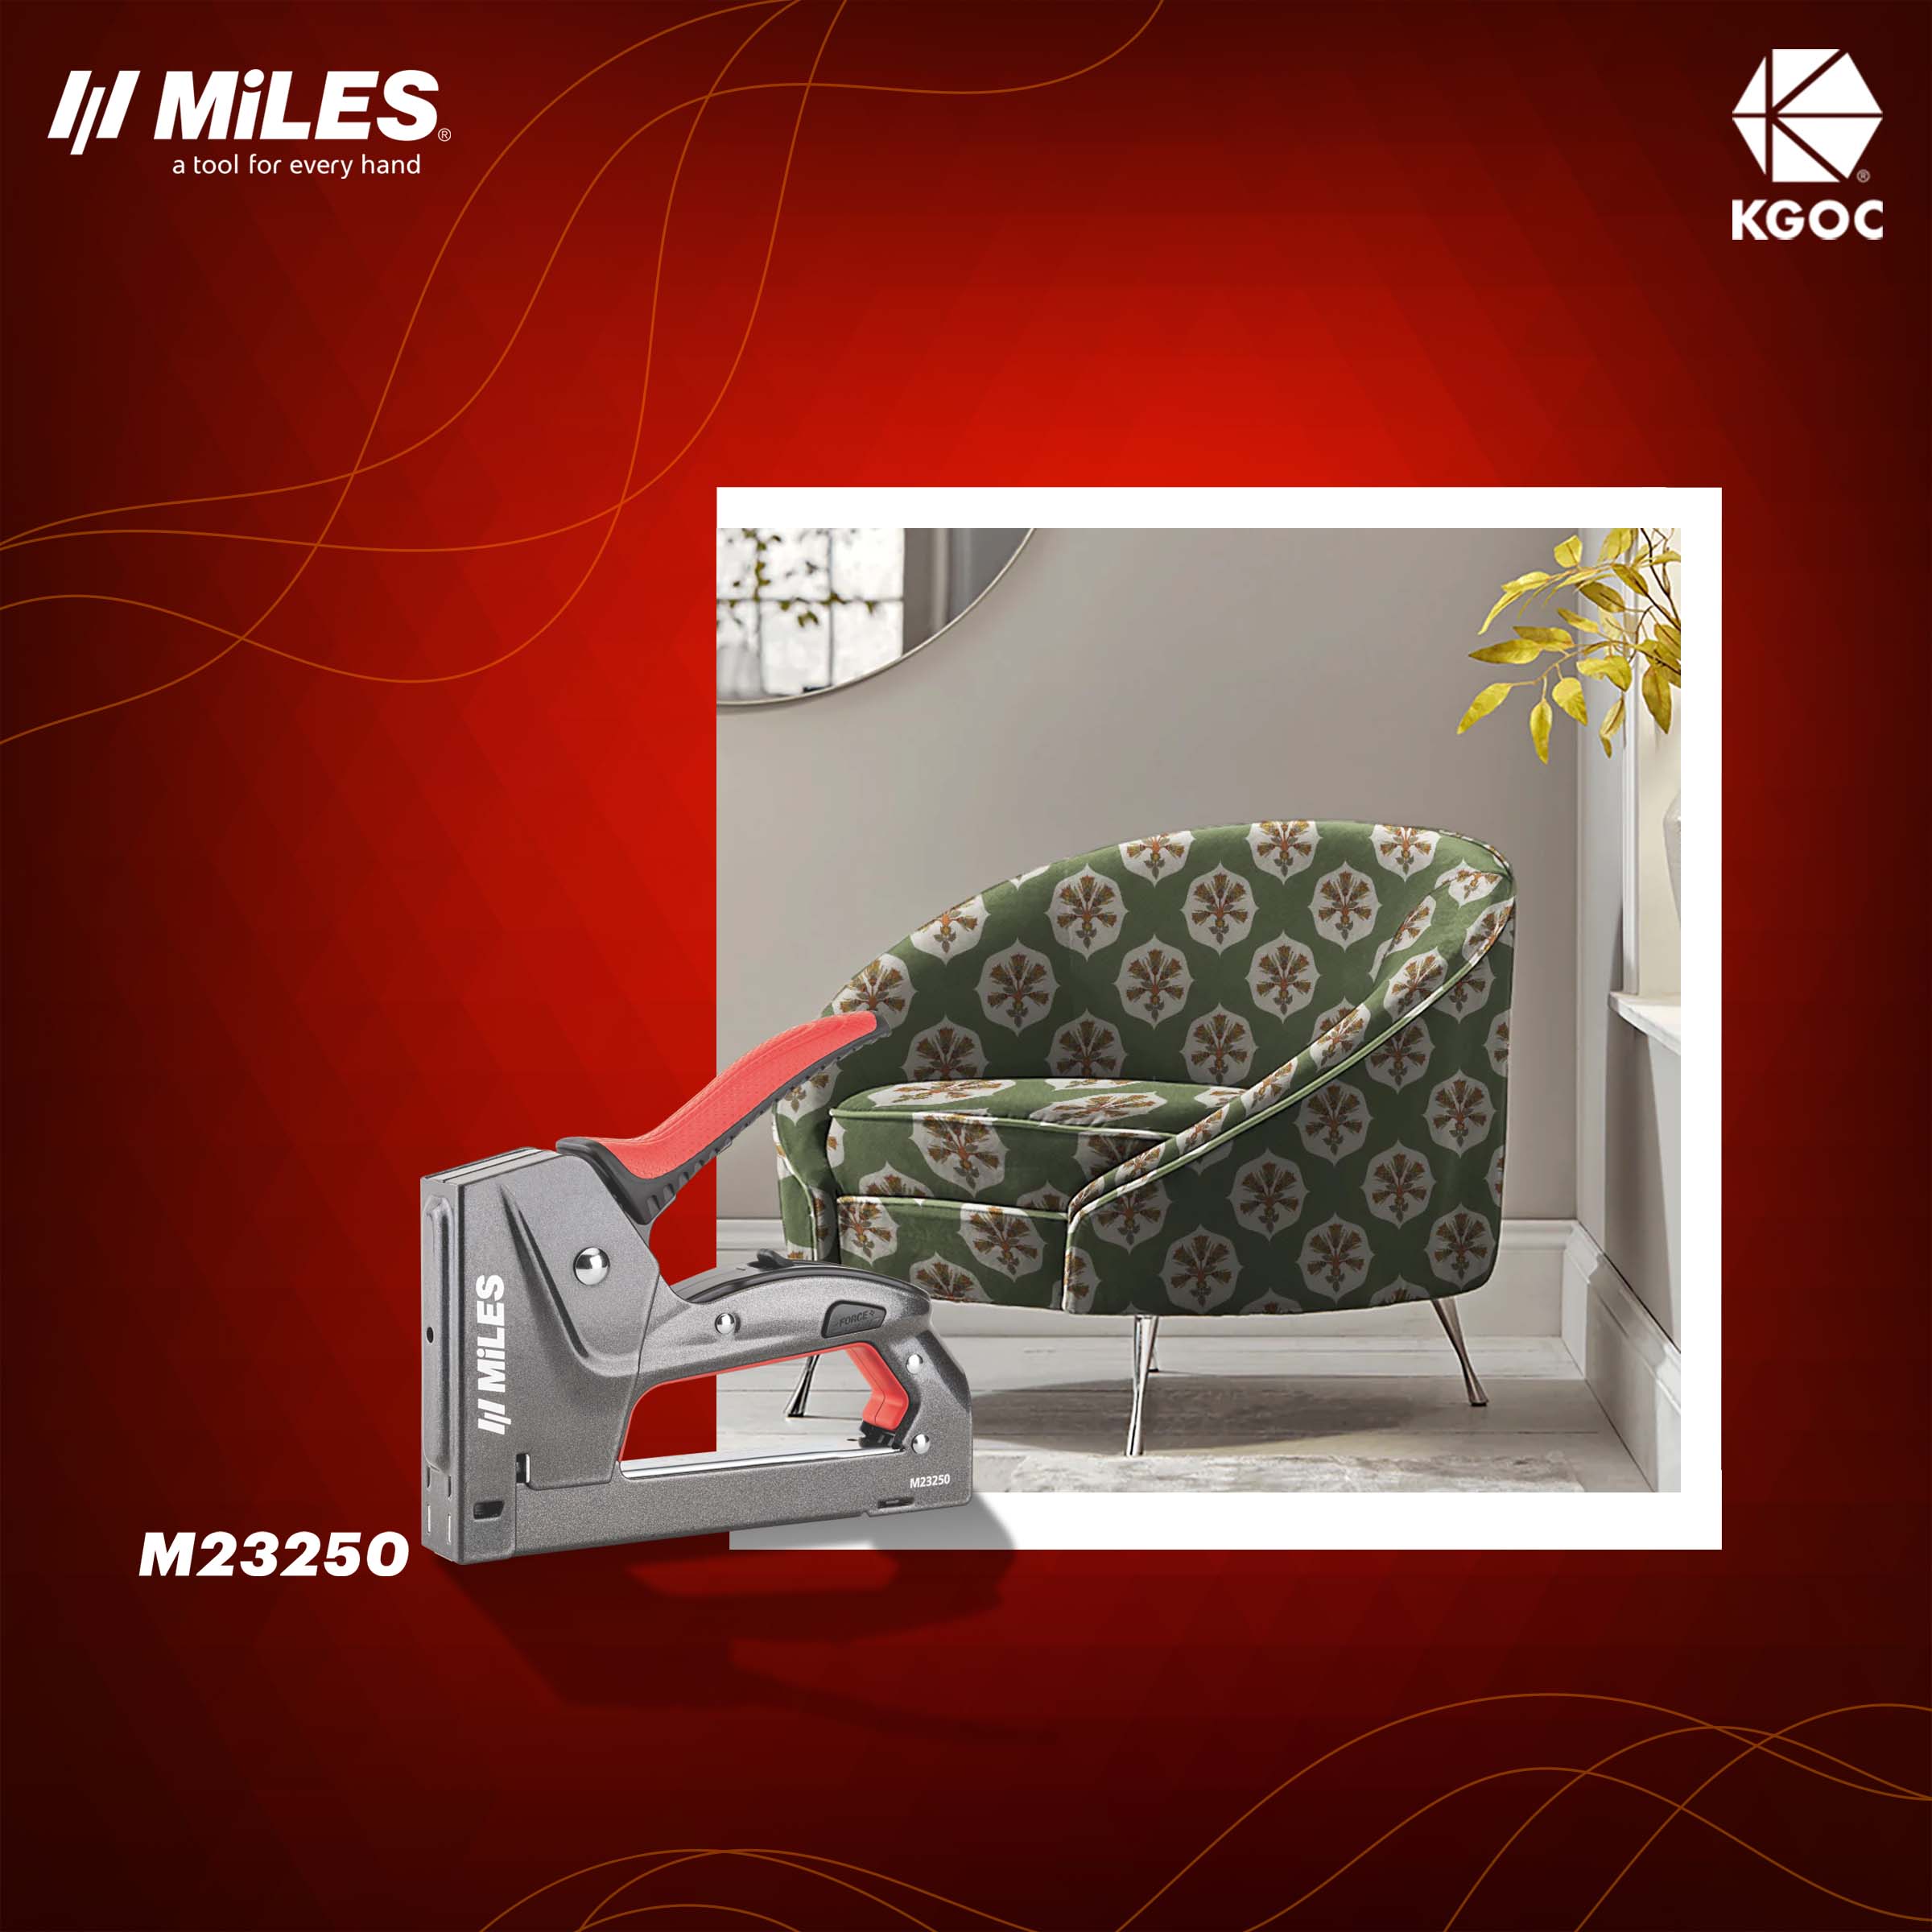
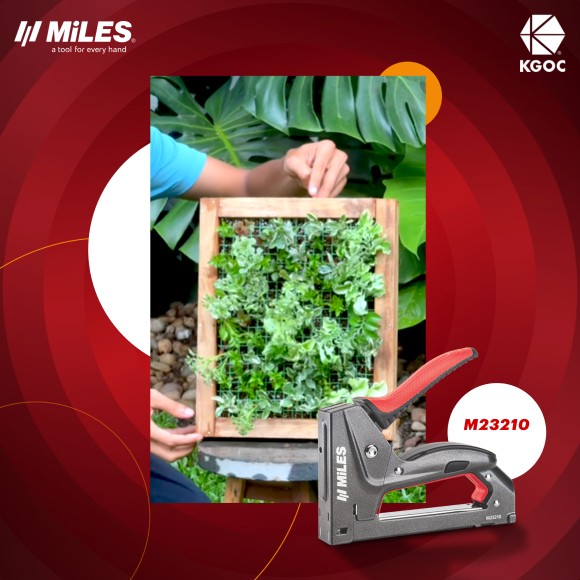
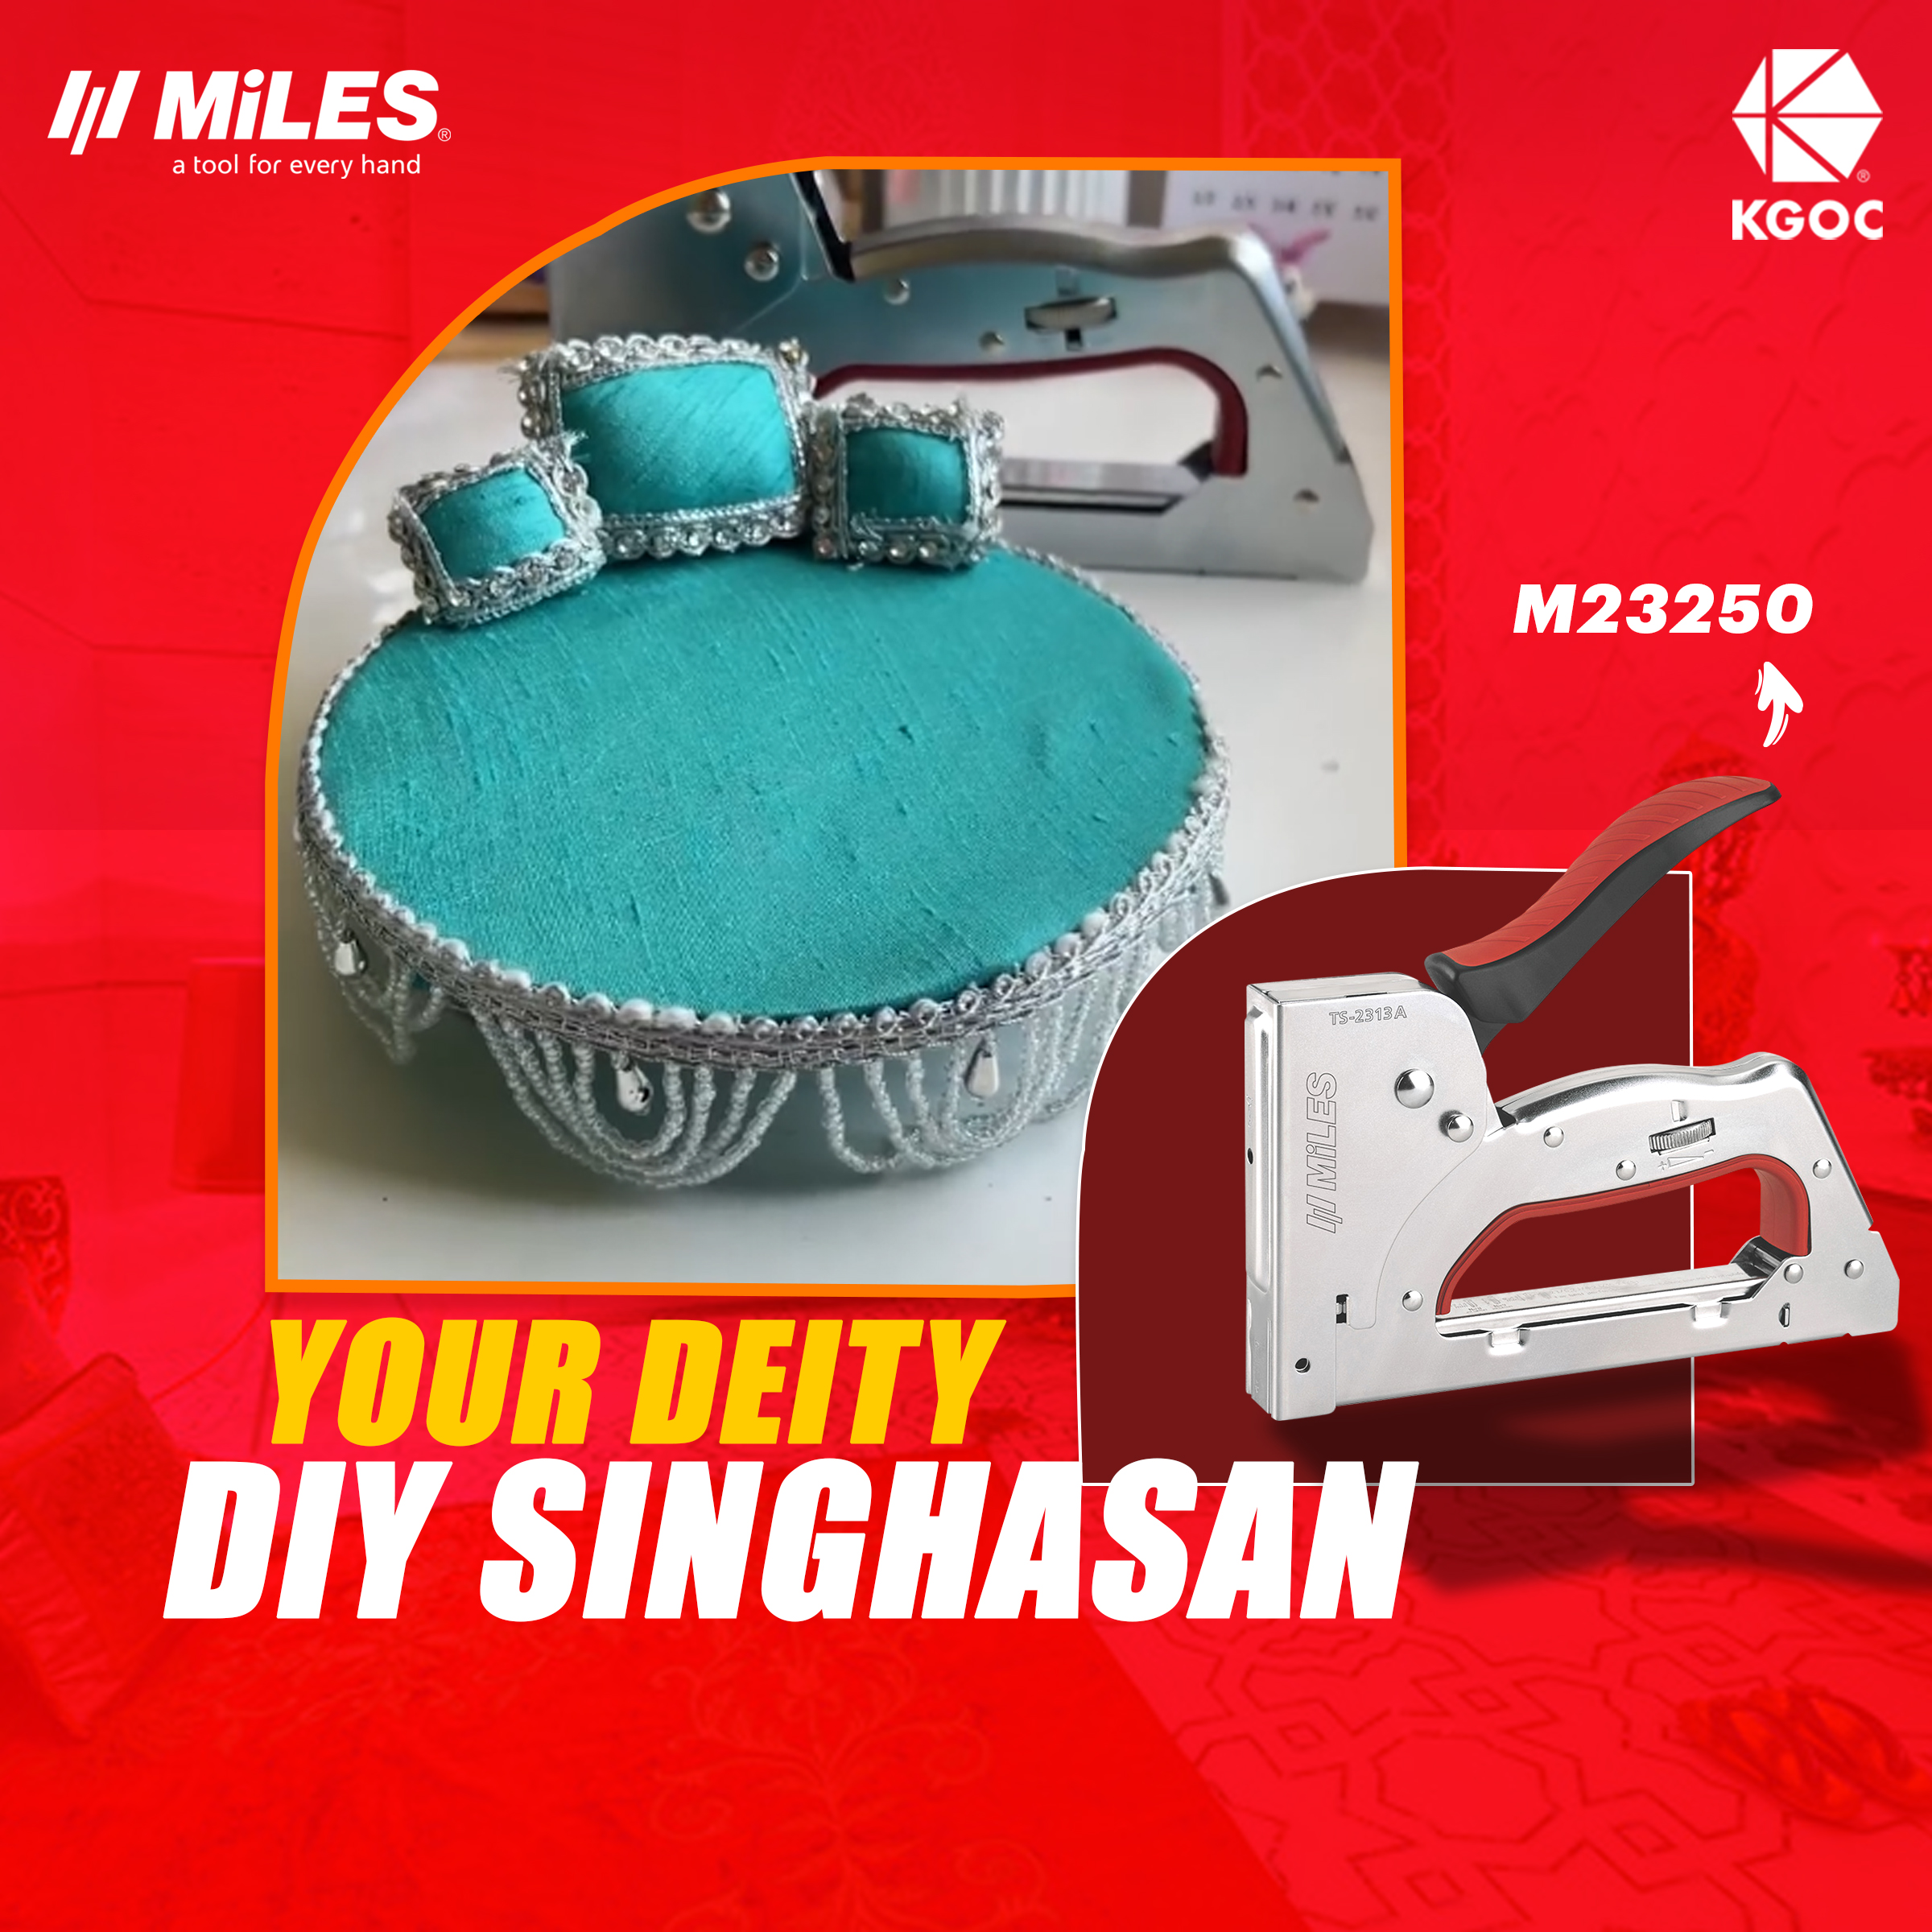
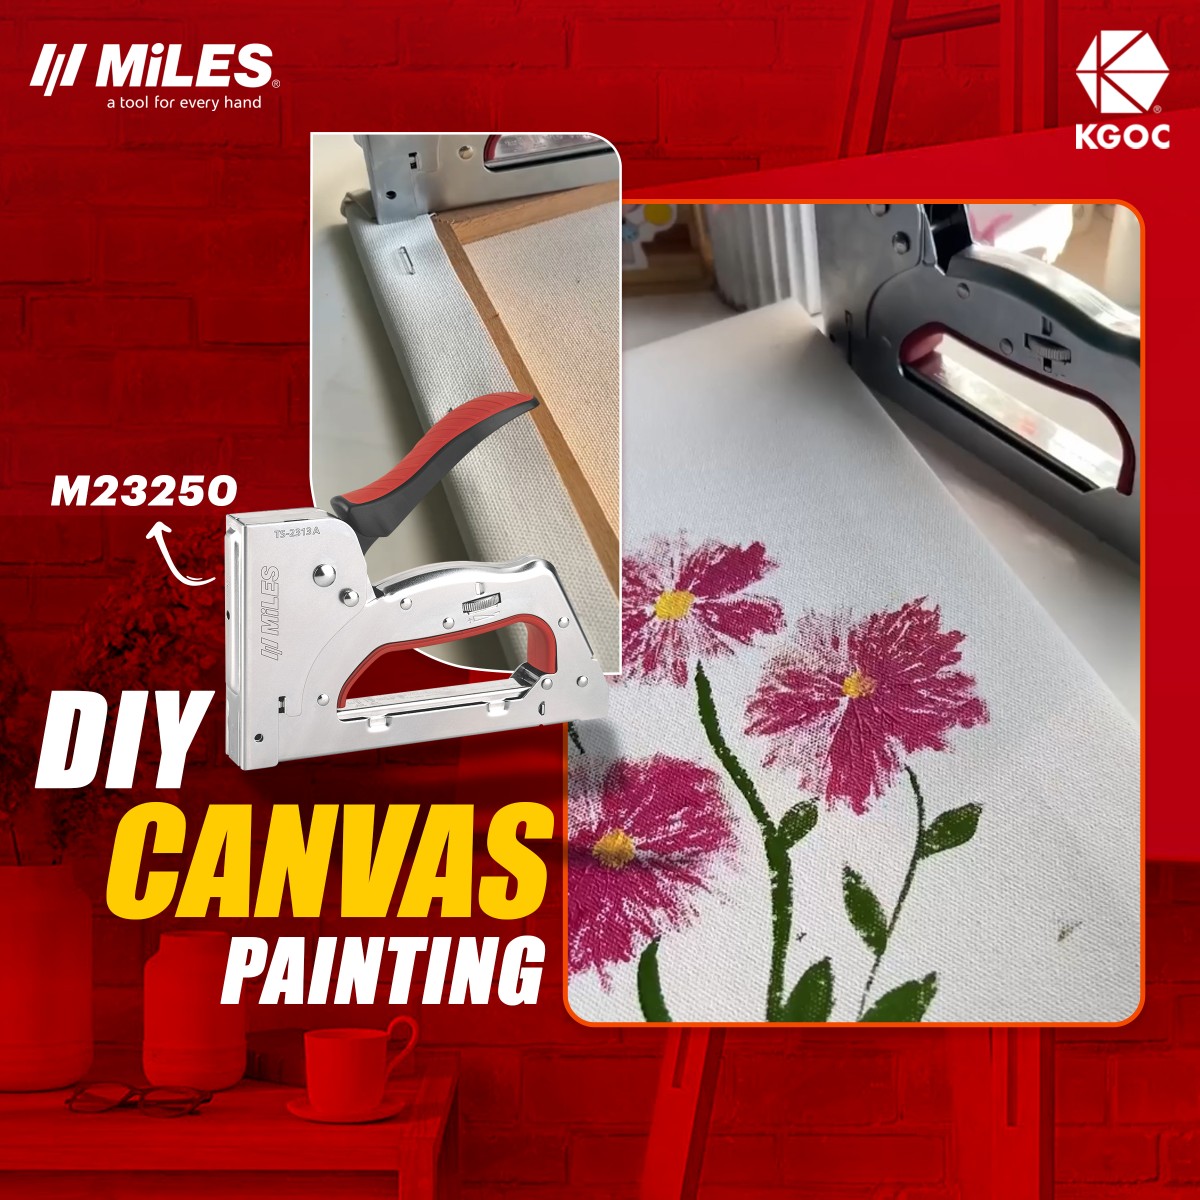
• Miles Gun Tacker
Start by measuring your scrap wood pieces and cutting them into similar-sized rectangular sections.
Arrange and join the pieces to create a sturdy cross-shaped base. Make sure the structure is stable before moving ahead.
Once the base is ready, fix the bulb holder in the centre and carefully position the wiring through the bottom of the wooden structure.
Now it is time to create the main shade.
Take your cane webbing and measure it around the embroidery hoops to determine the required length.
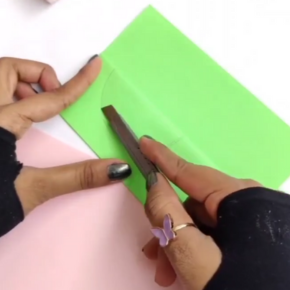
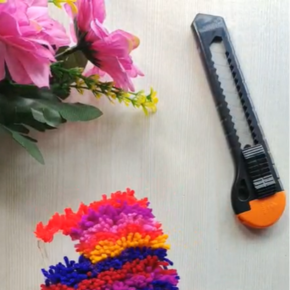
This is where the Miles Cutter comes in handy. Use it to cut the cane webbing neatly according to your measurements. Its sharp blade helps create clean edges, making it easier to shape the material without unnecessary fraying.
Measure twice and cut once to get the right fit.
Once the cane webbing is cut, wrap it around the two wooden embroidery hoops to create a cylindrical shade.
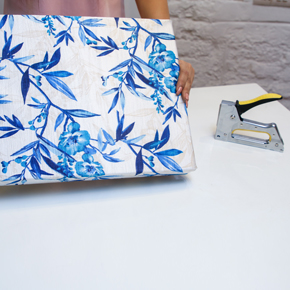
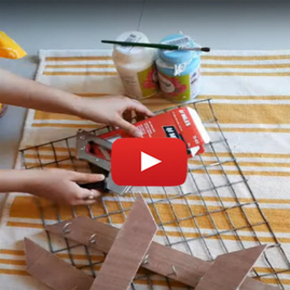
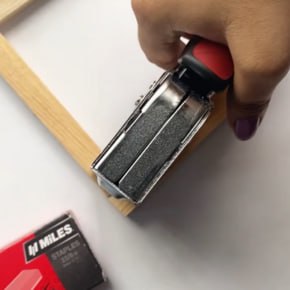
Hold the webbing firmly in position and secure it to the wooden hoops using the Miles Gun Tacker.
The gun tacker makes fastening the webbing quick and convenient. Its easy handling helps secure the material neatly to the wooden frame, giving the lampshade a clean and finished appearance.
Make sure the webbing is evenly stretched before securing the remaining sections.
Once the lampshade is complete, move on to the wooden base.
Apply a coat of brown spray paint to the wood to give it a warm, rustic finish. Keep the electrical components protected while painting and allow the paint to dry completely.
Once everything is dry, fit the LED bulb into the holder and carefully place the finished lampshade over the base.
Your DIY lamp is ready.
Place your handmade lamp beside a reading chair, on a side table, or in an empty corner that needs a little character.
The combination of natural cane, wooden elements, and warm lighting creates a simple yet stylish look without requiring an expensive décor piece.
What makes this project even better is that you are giving leftover materials a completely new purpose.
With a little creativity and dependable tools like the Miles Cutter and Miles Gun Tacker, an ordinary collection of scrap materials can become something useful and beautiful.
Sometimes, the best home décor is the one you make yourself.