10 January 2026
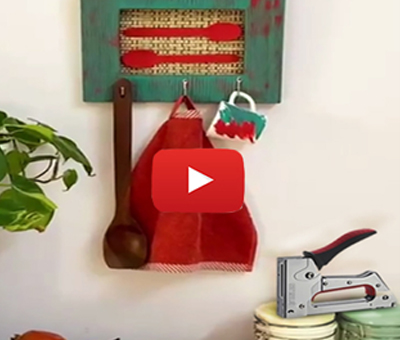
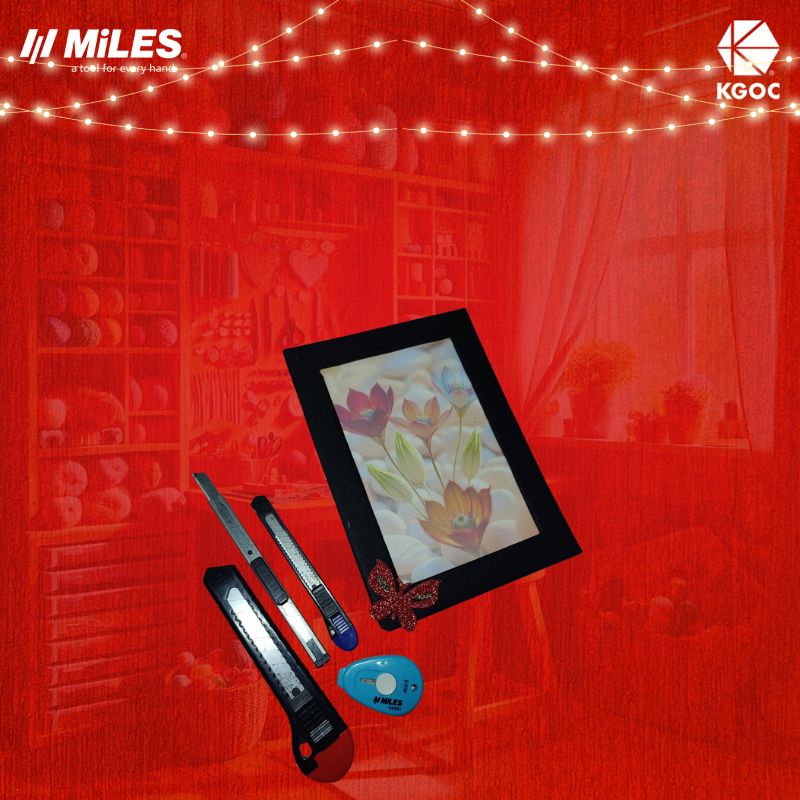
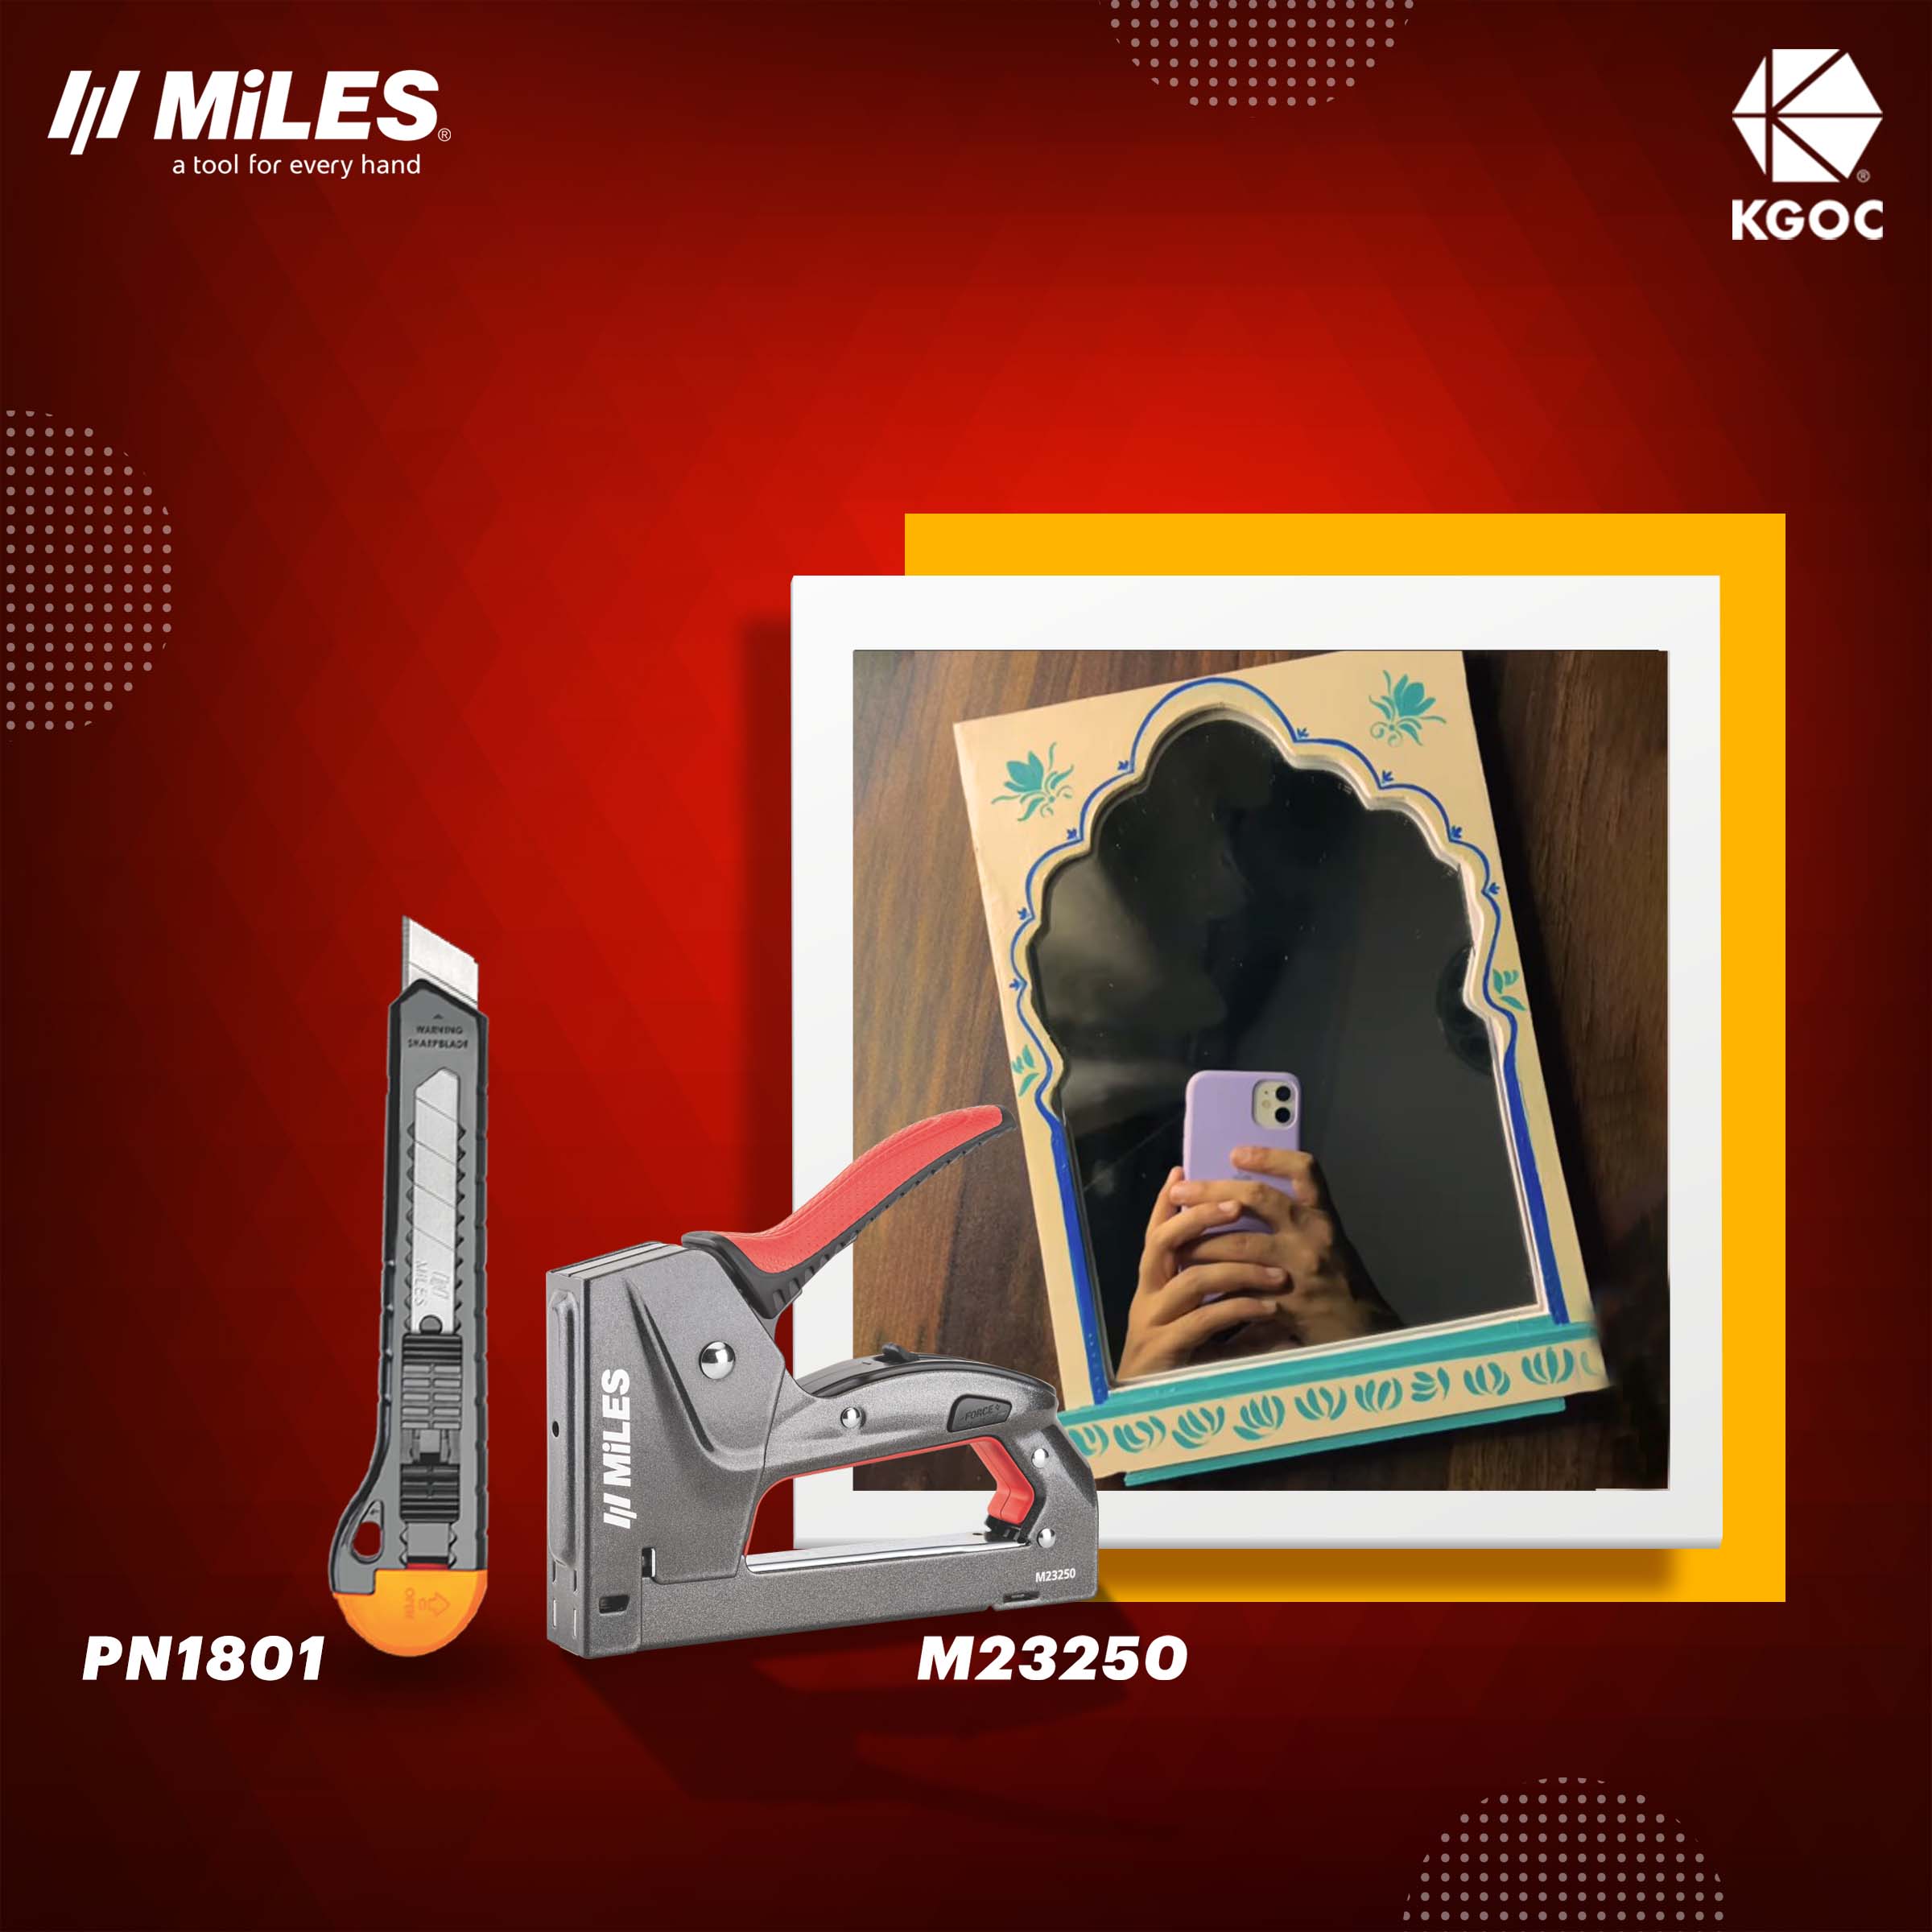
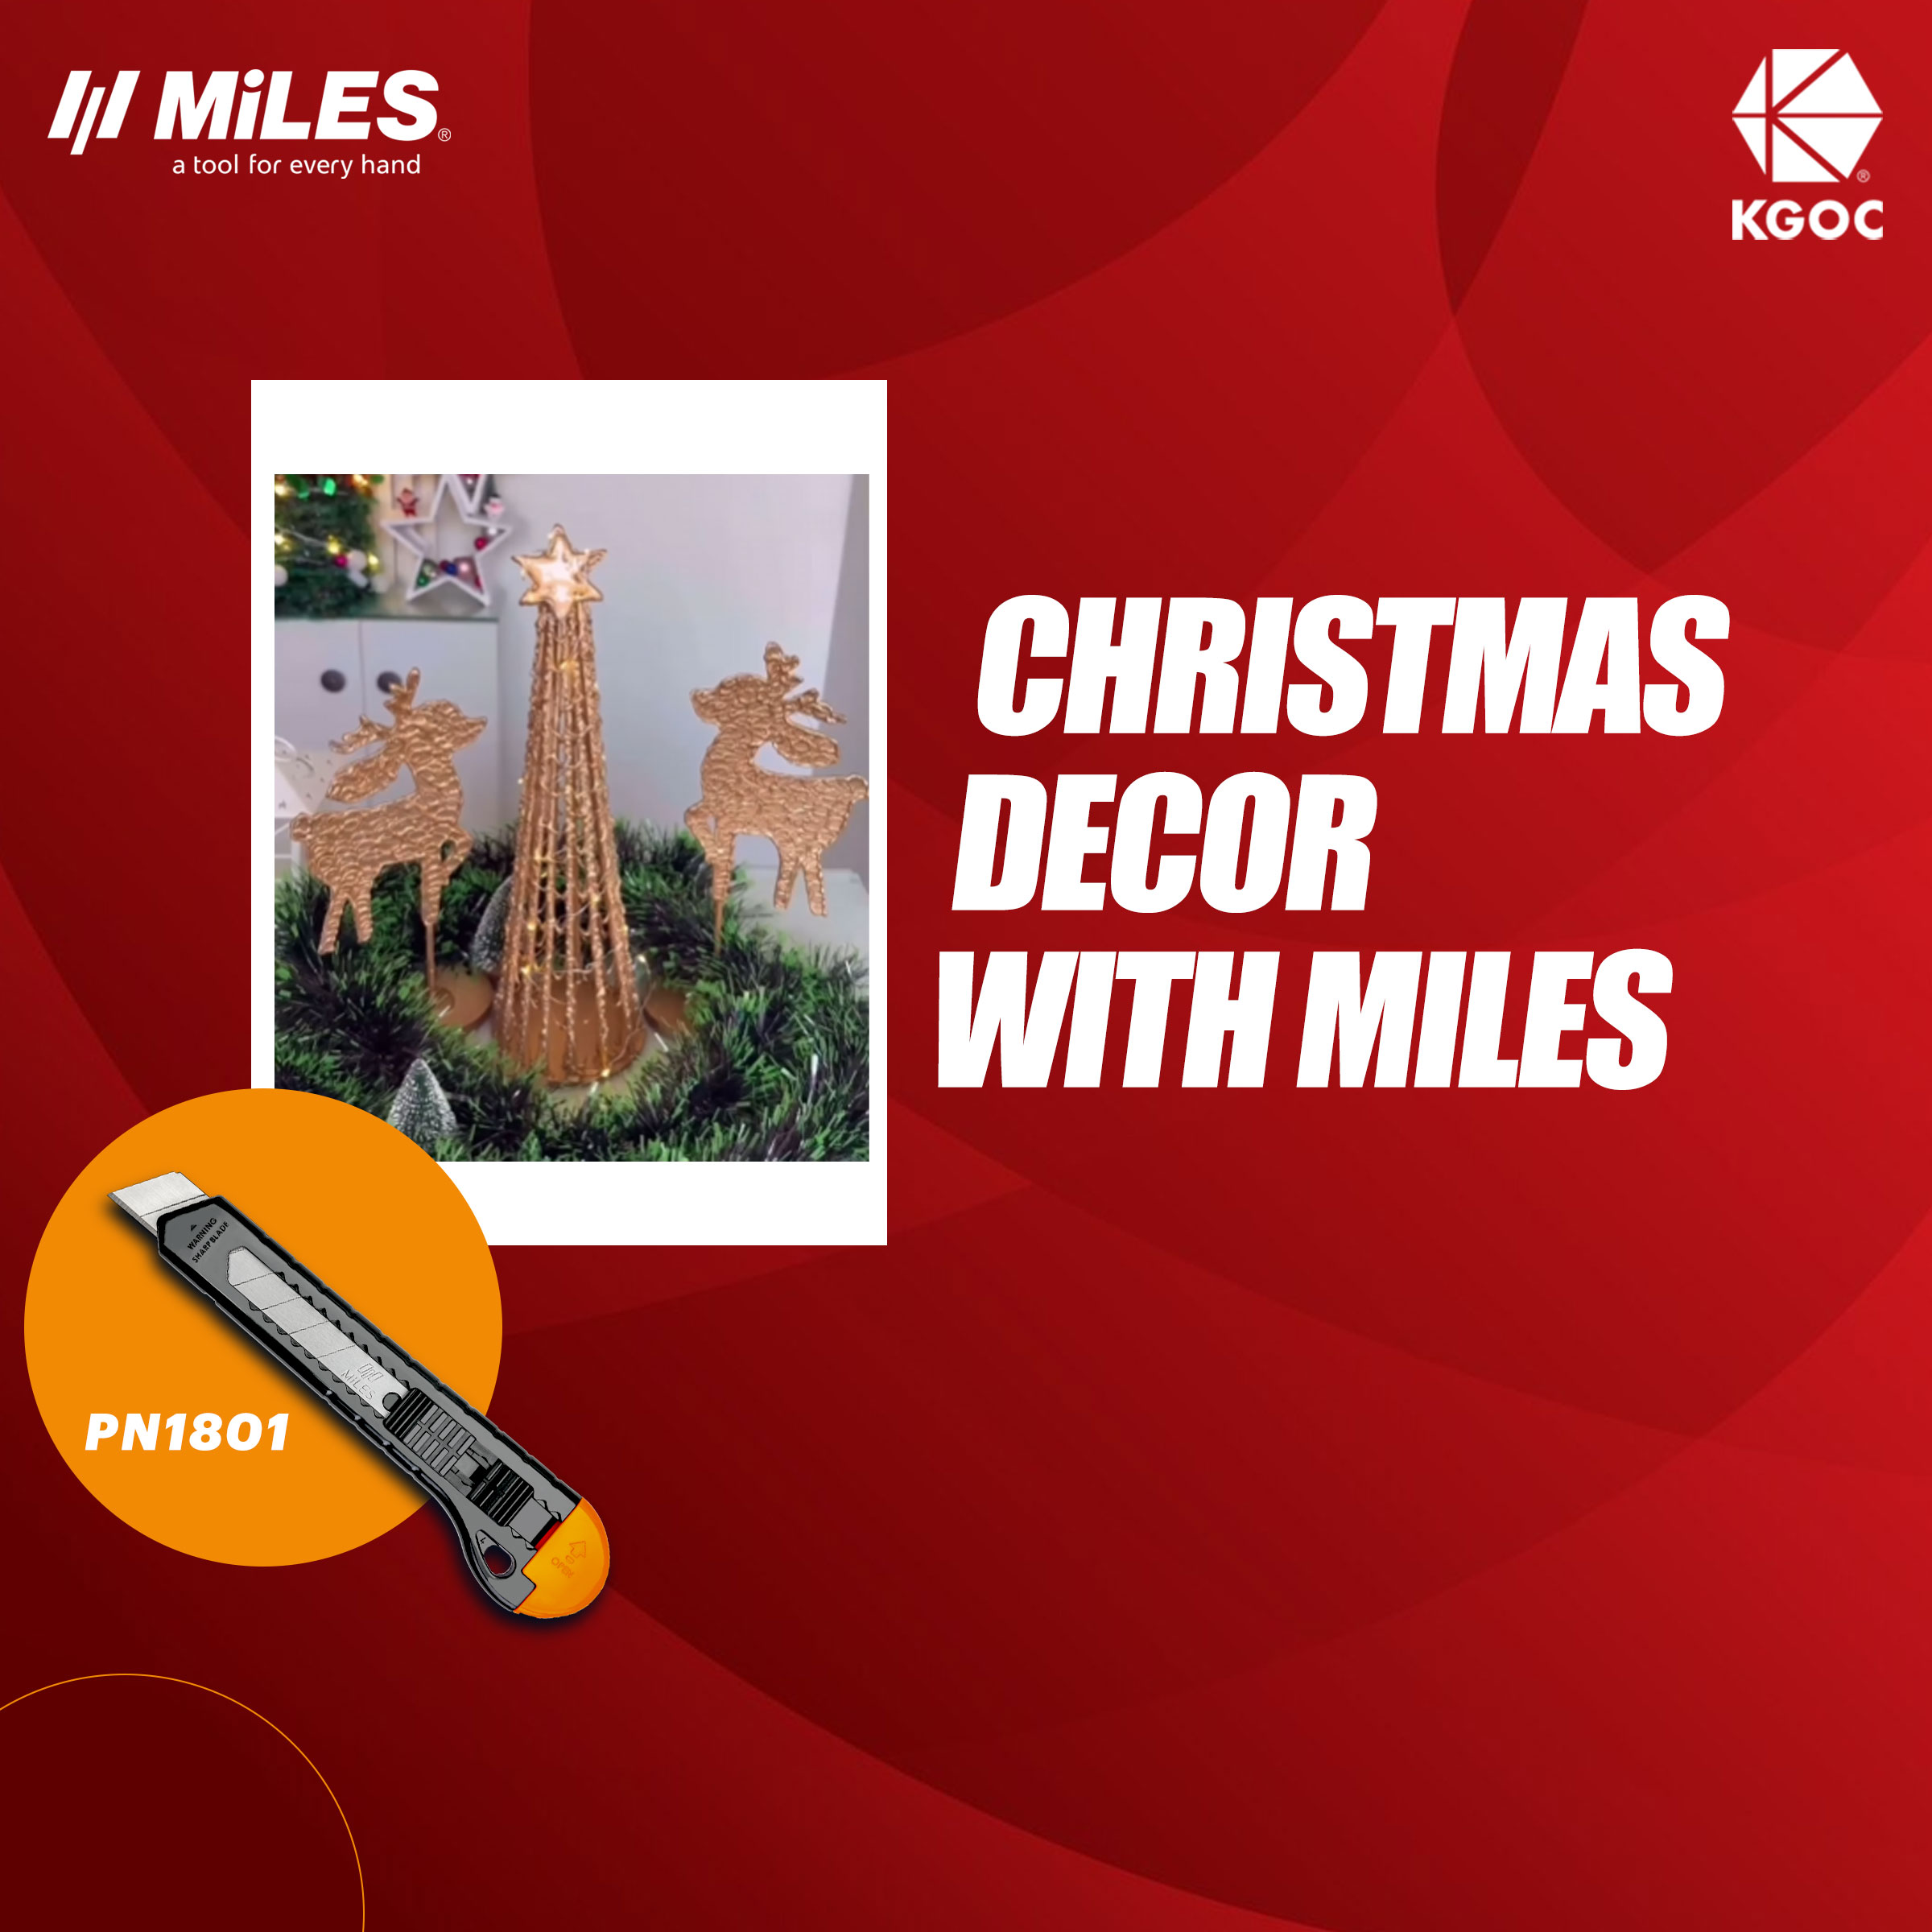
A 3D paper landscape is one of the easiest and most creative art projects you can make at home. With the Miles cutter for clean detailing and the Miles gun tacker for a strong base setup, the final artwork looks neat, layered, and professional.
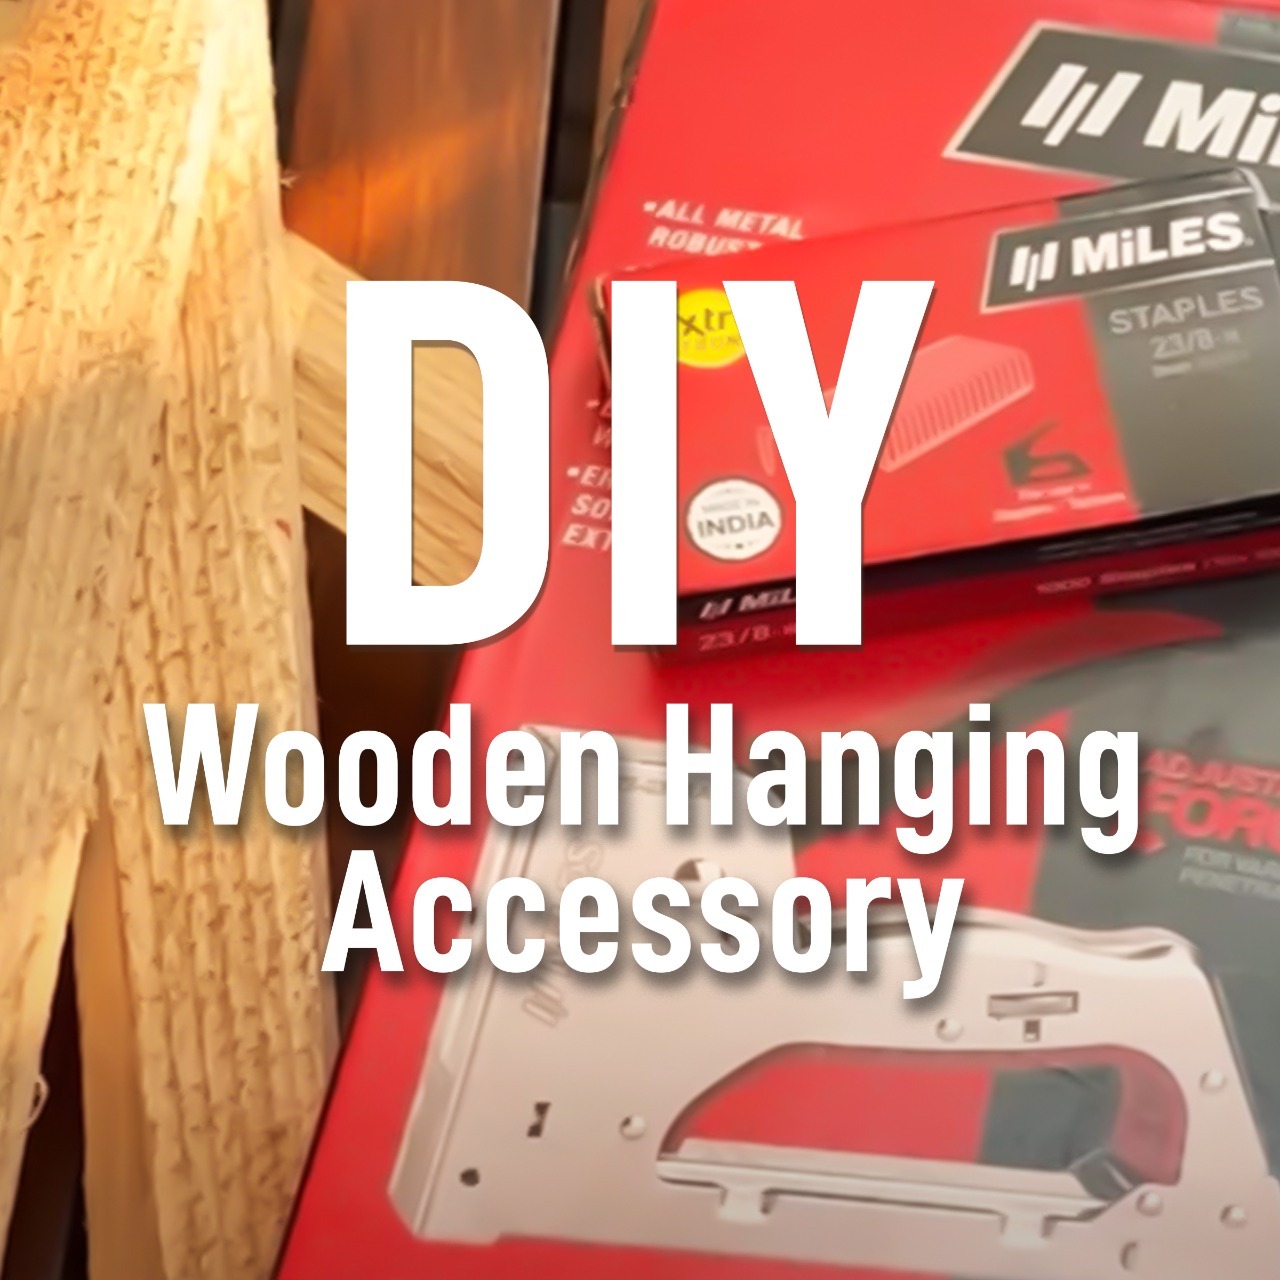
What You Need
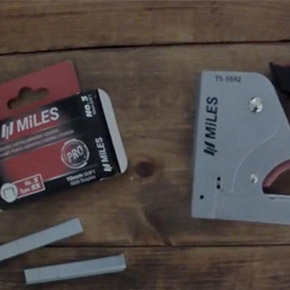
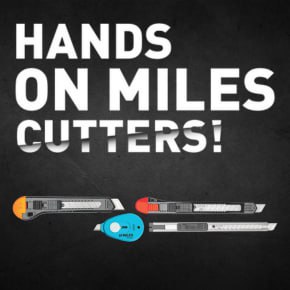
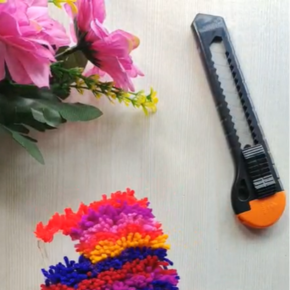
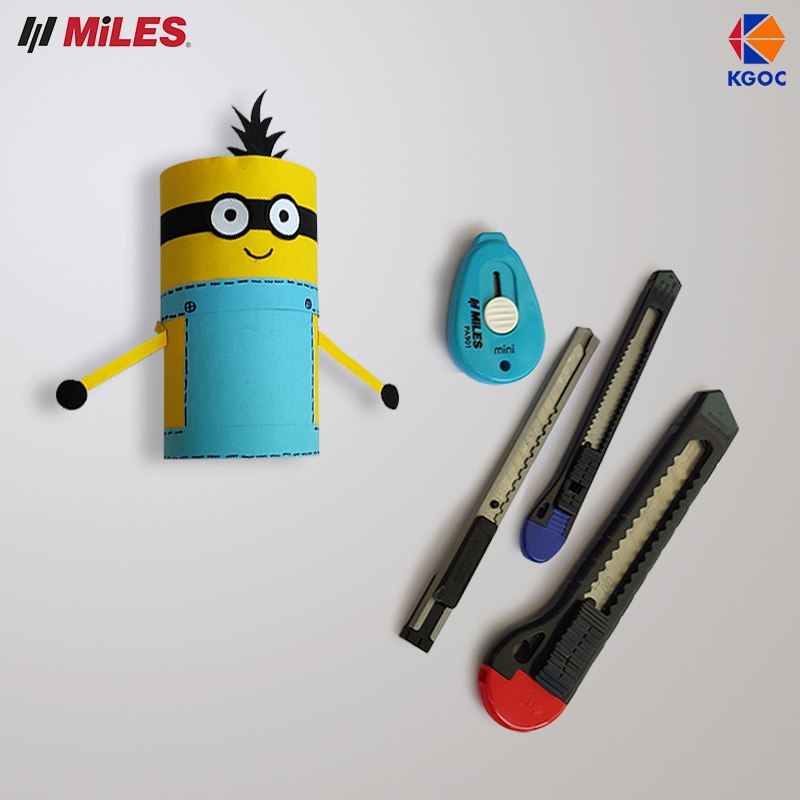
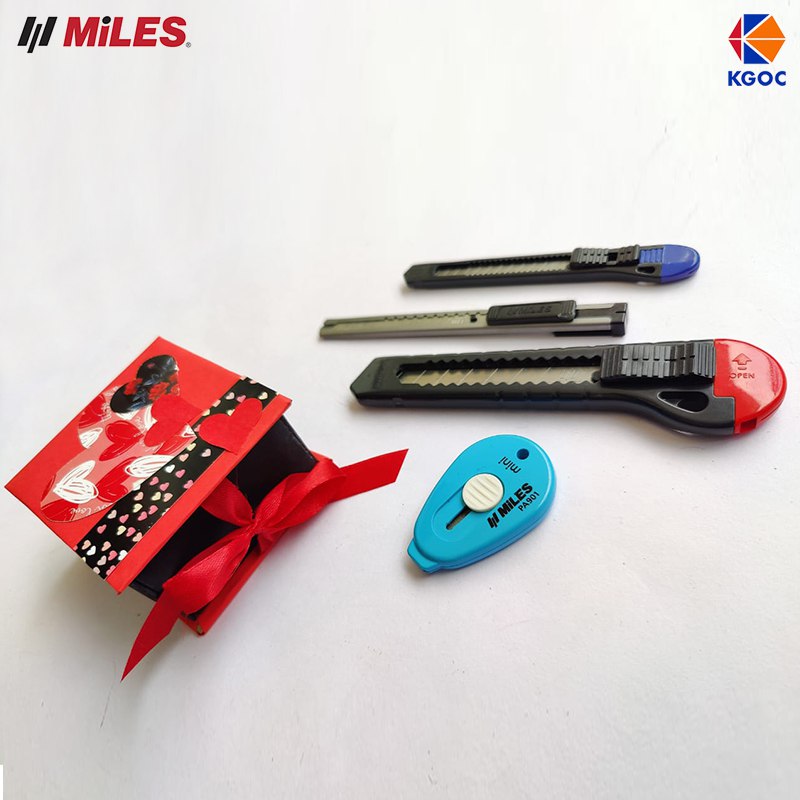
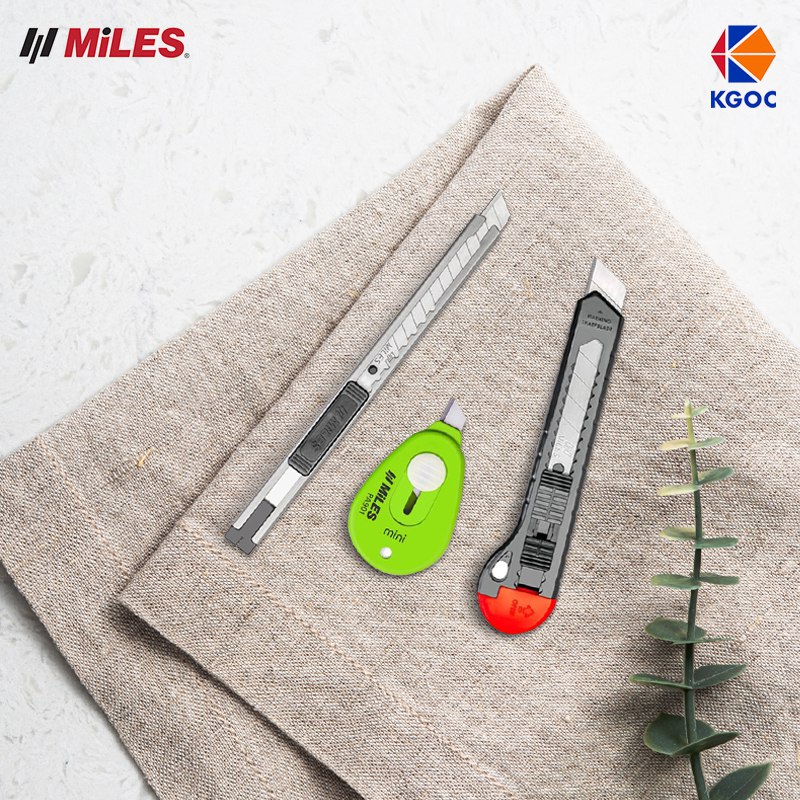
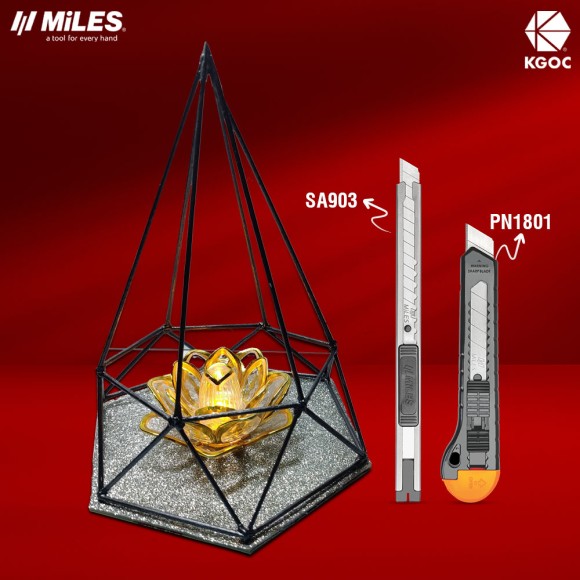
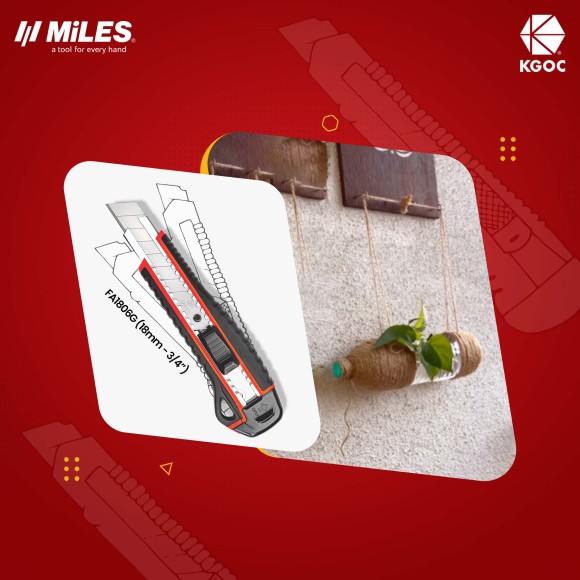
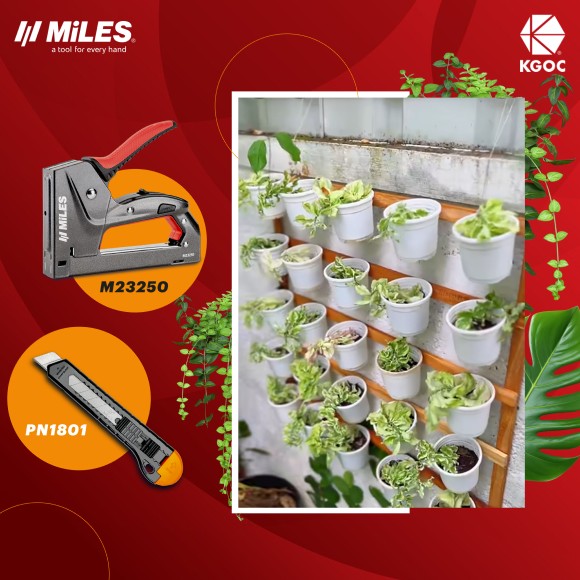
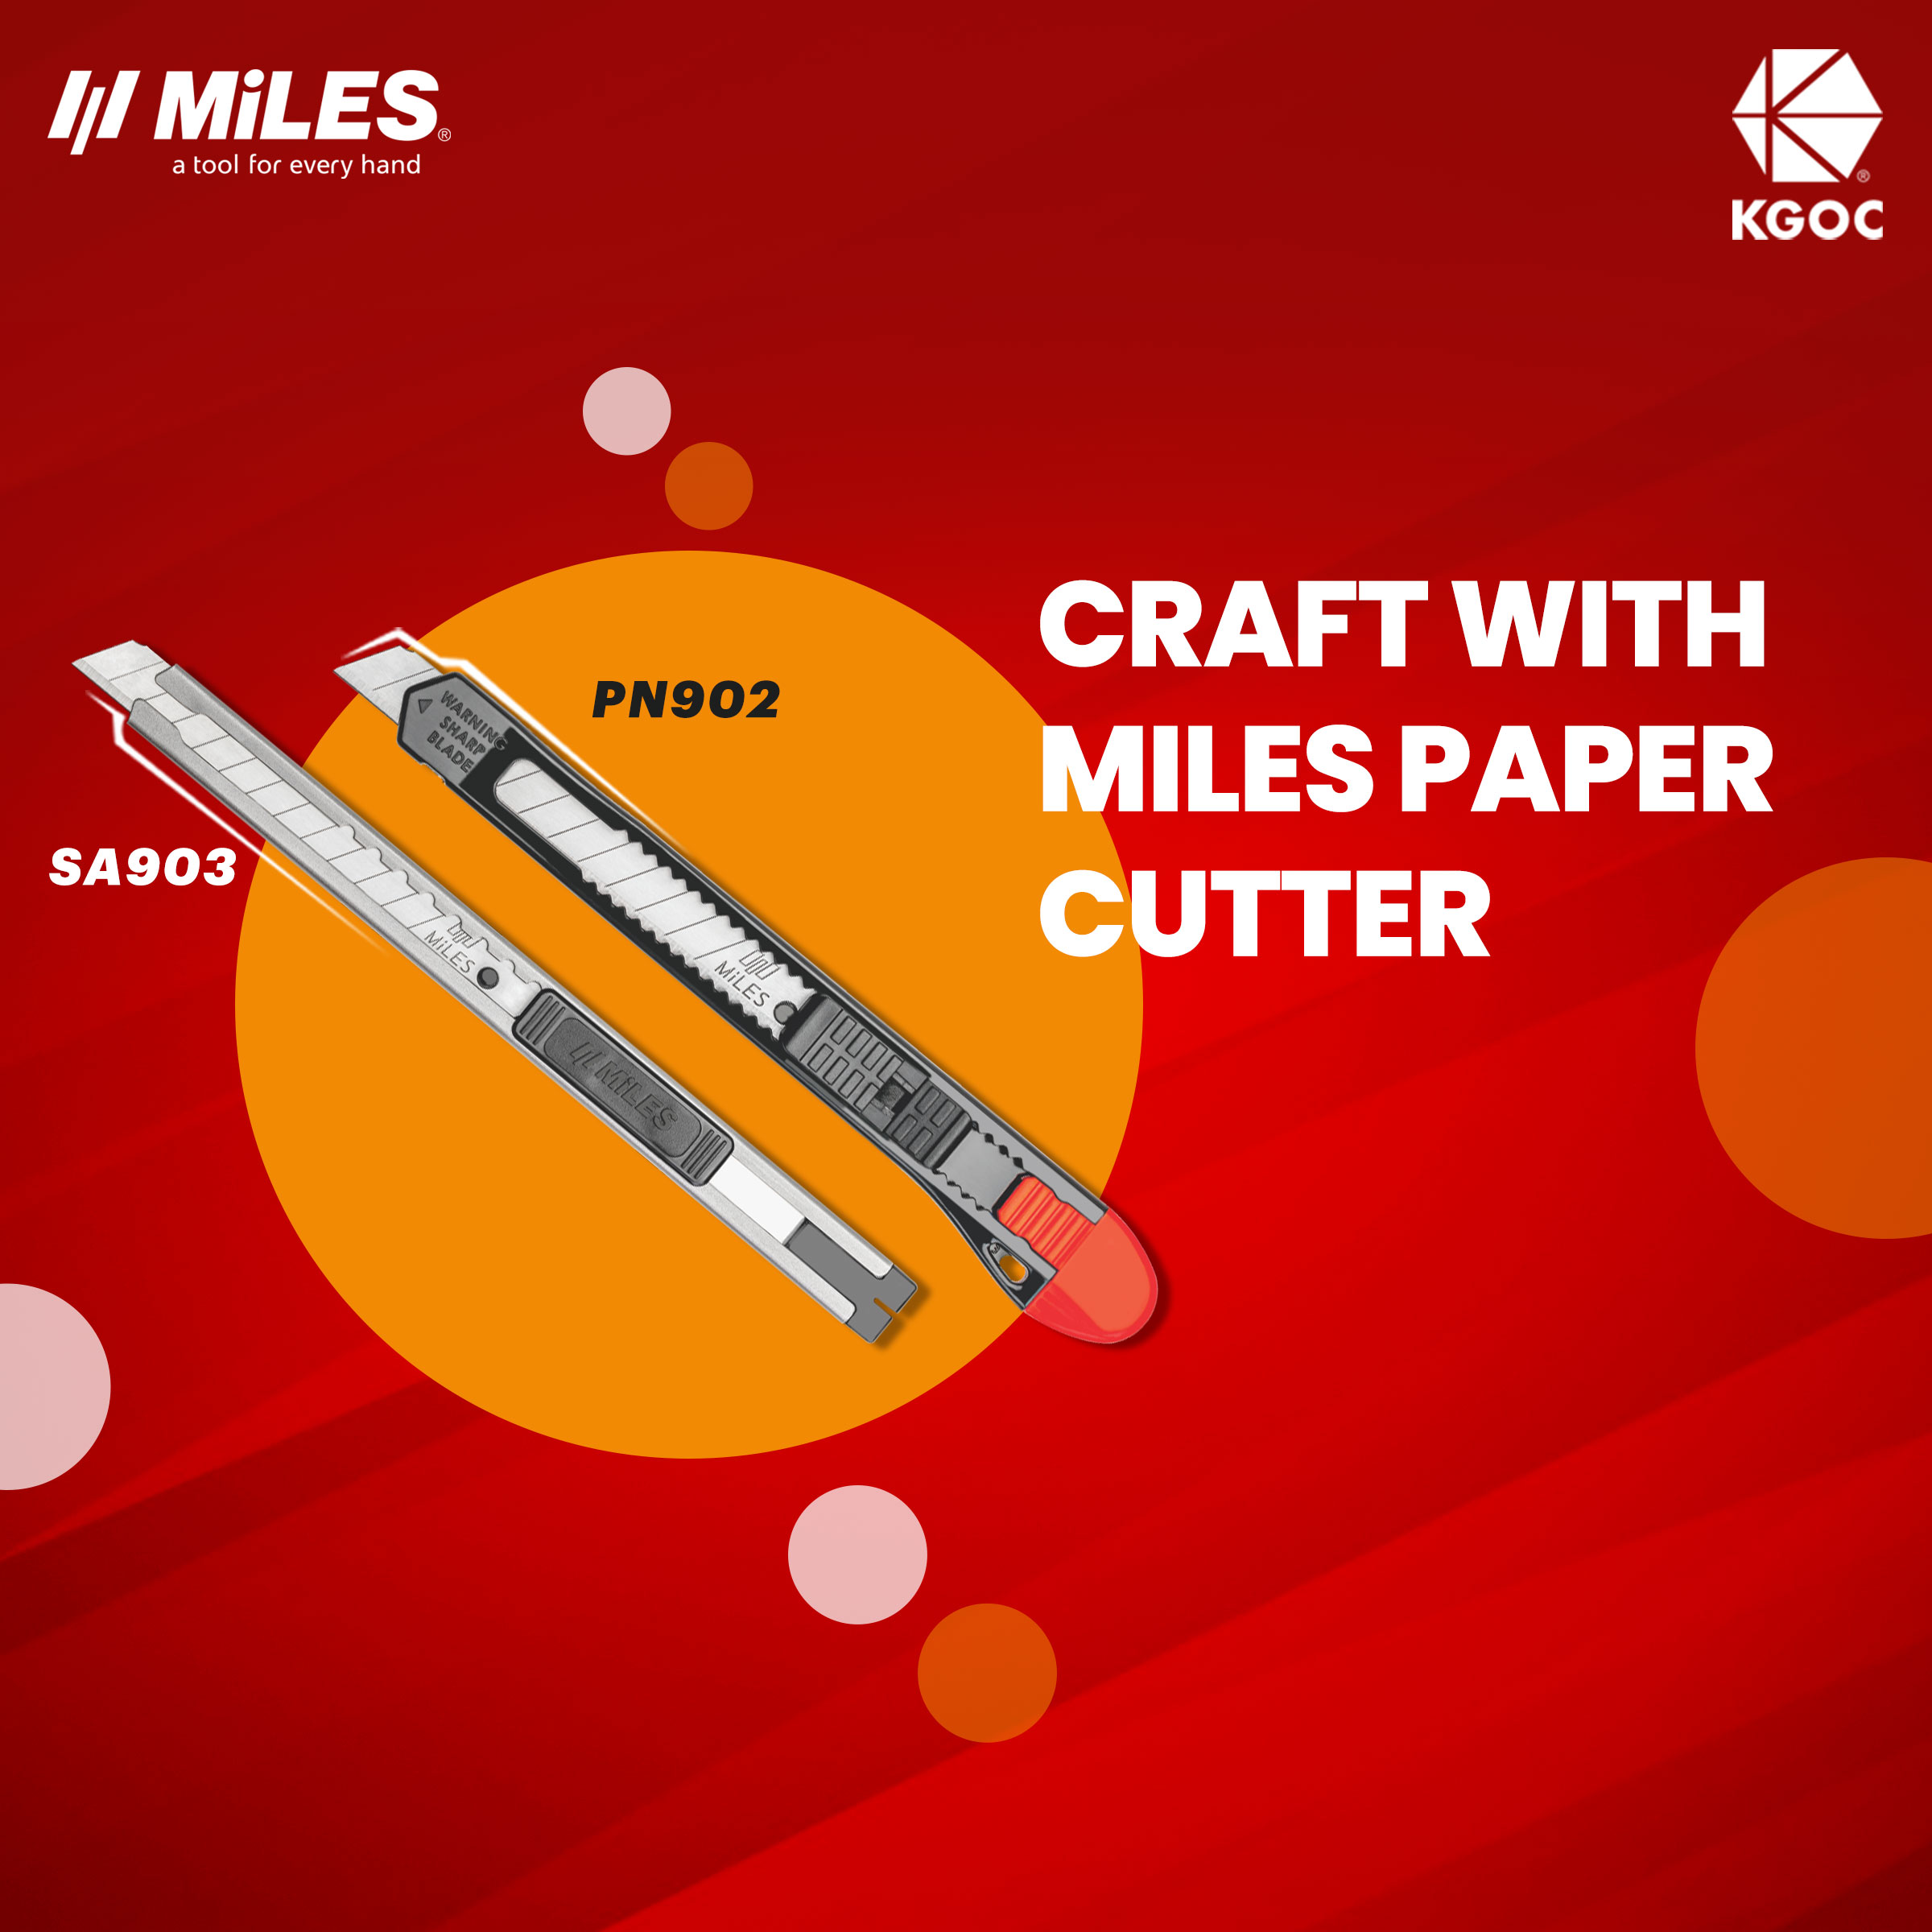
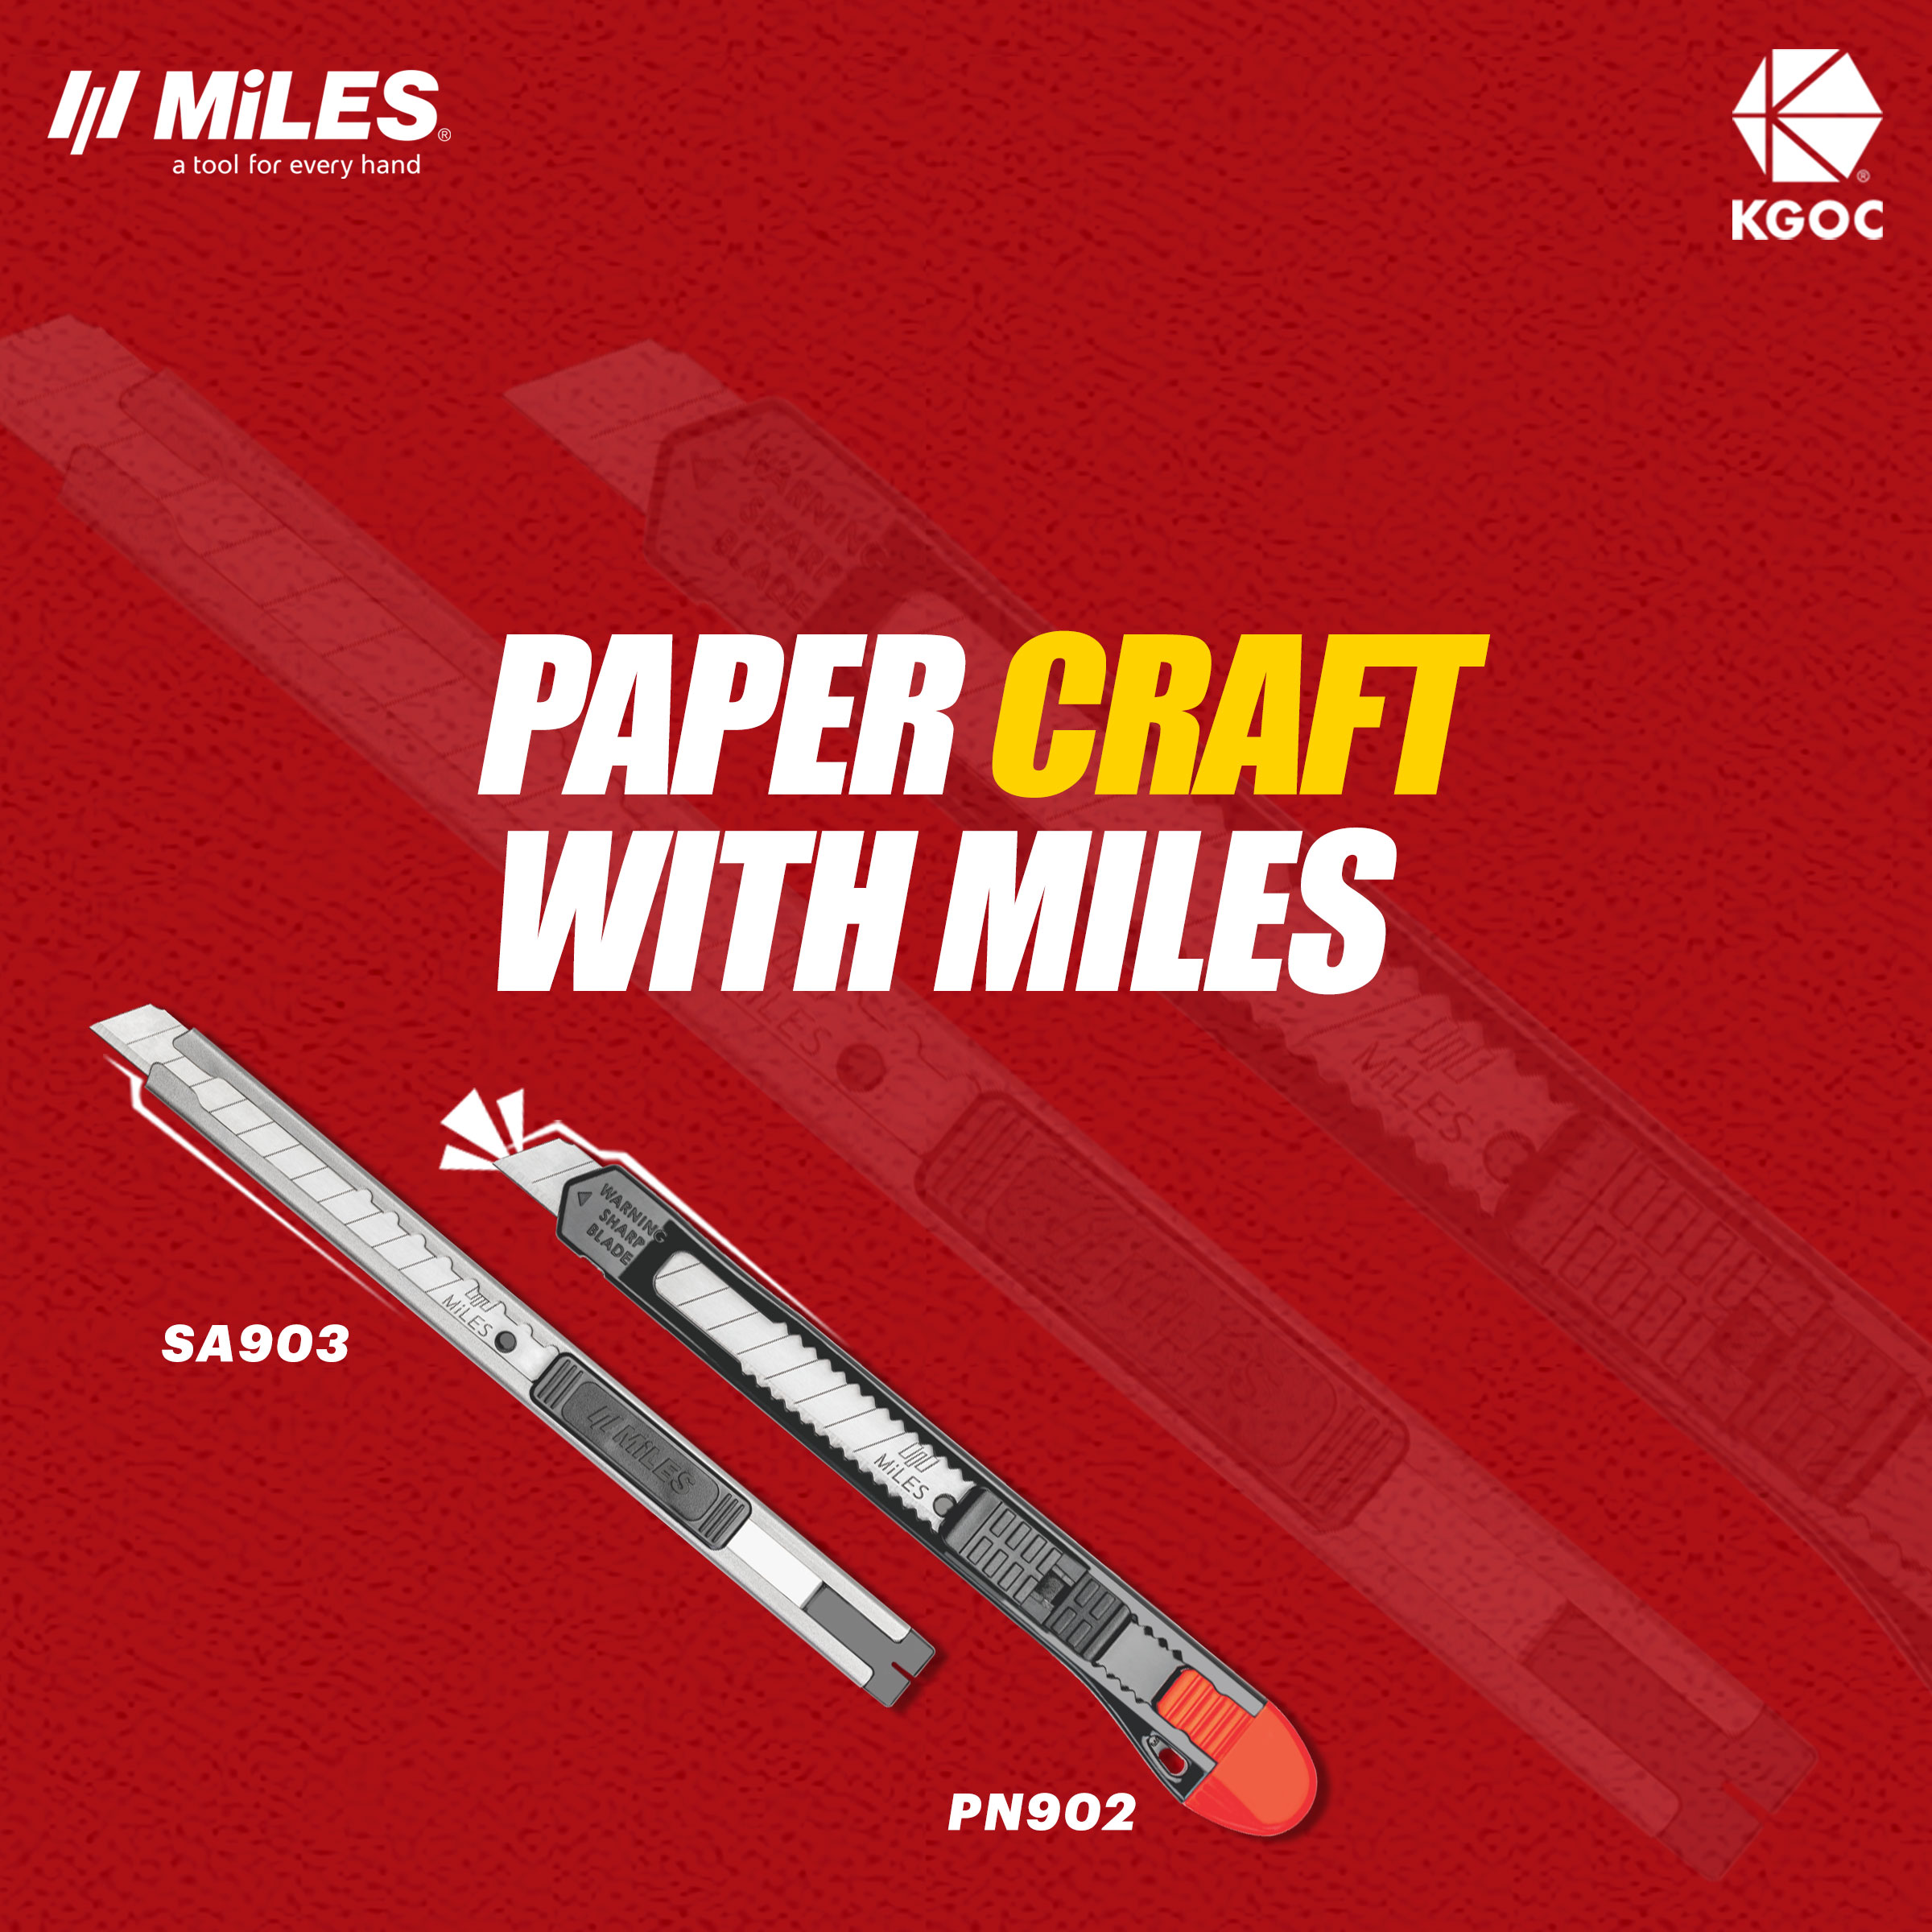
● Miles cutter
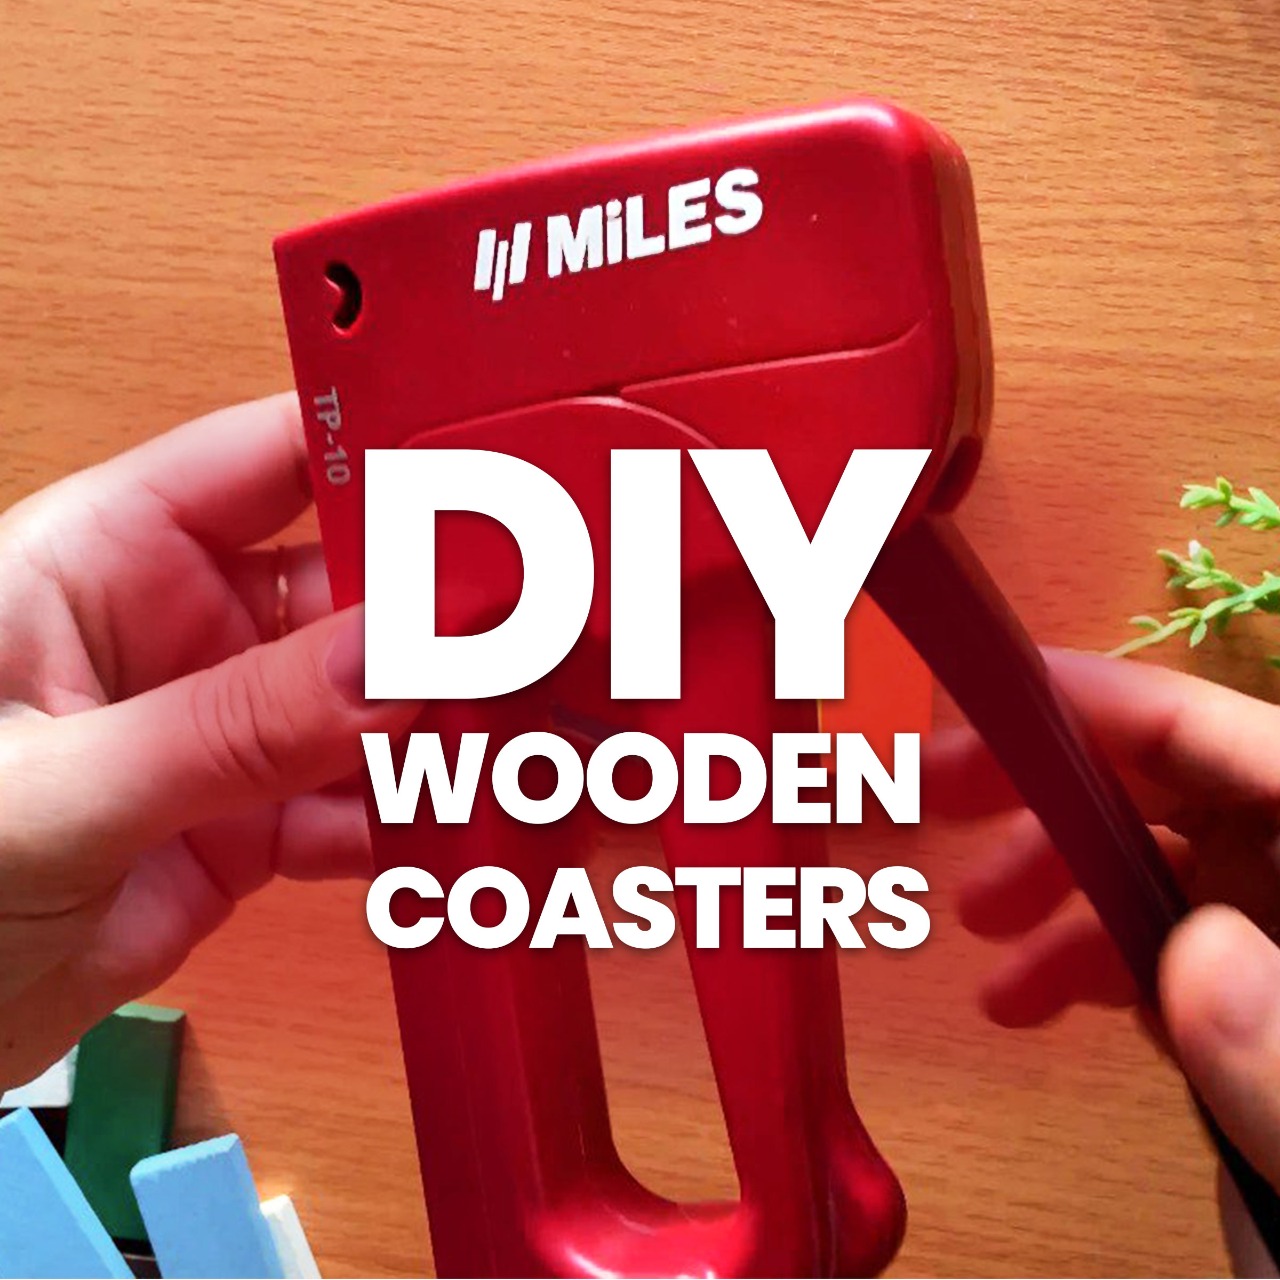
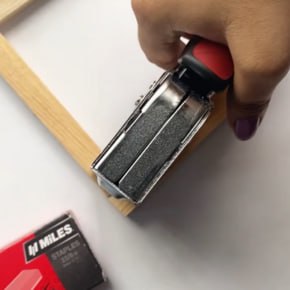
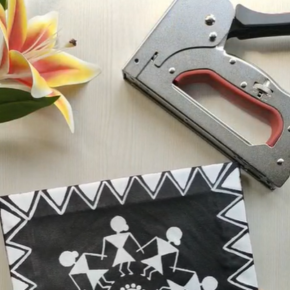
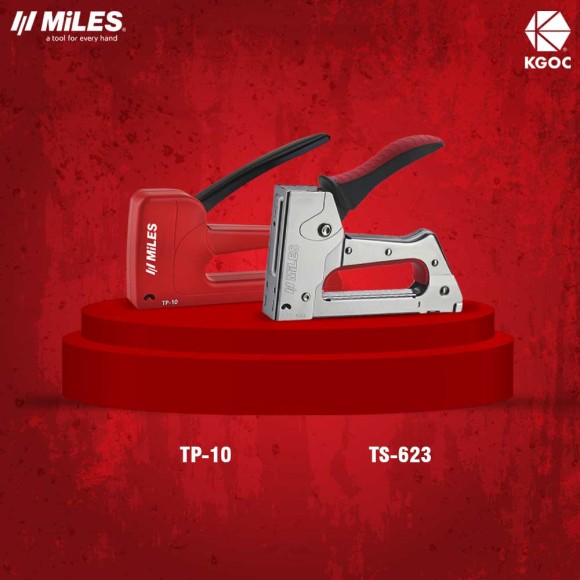
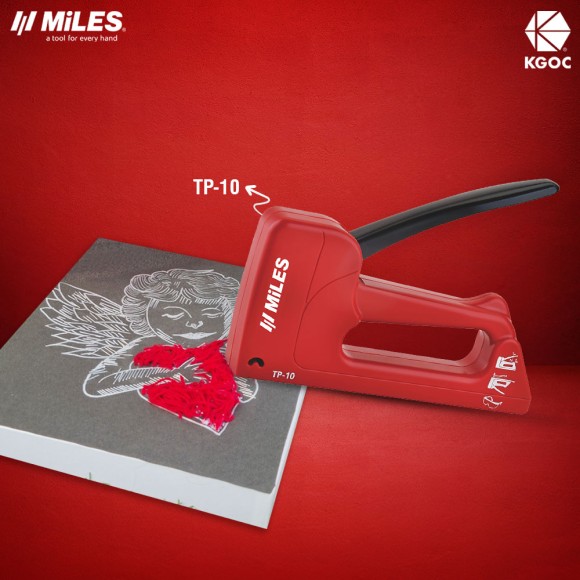
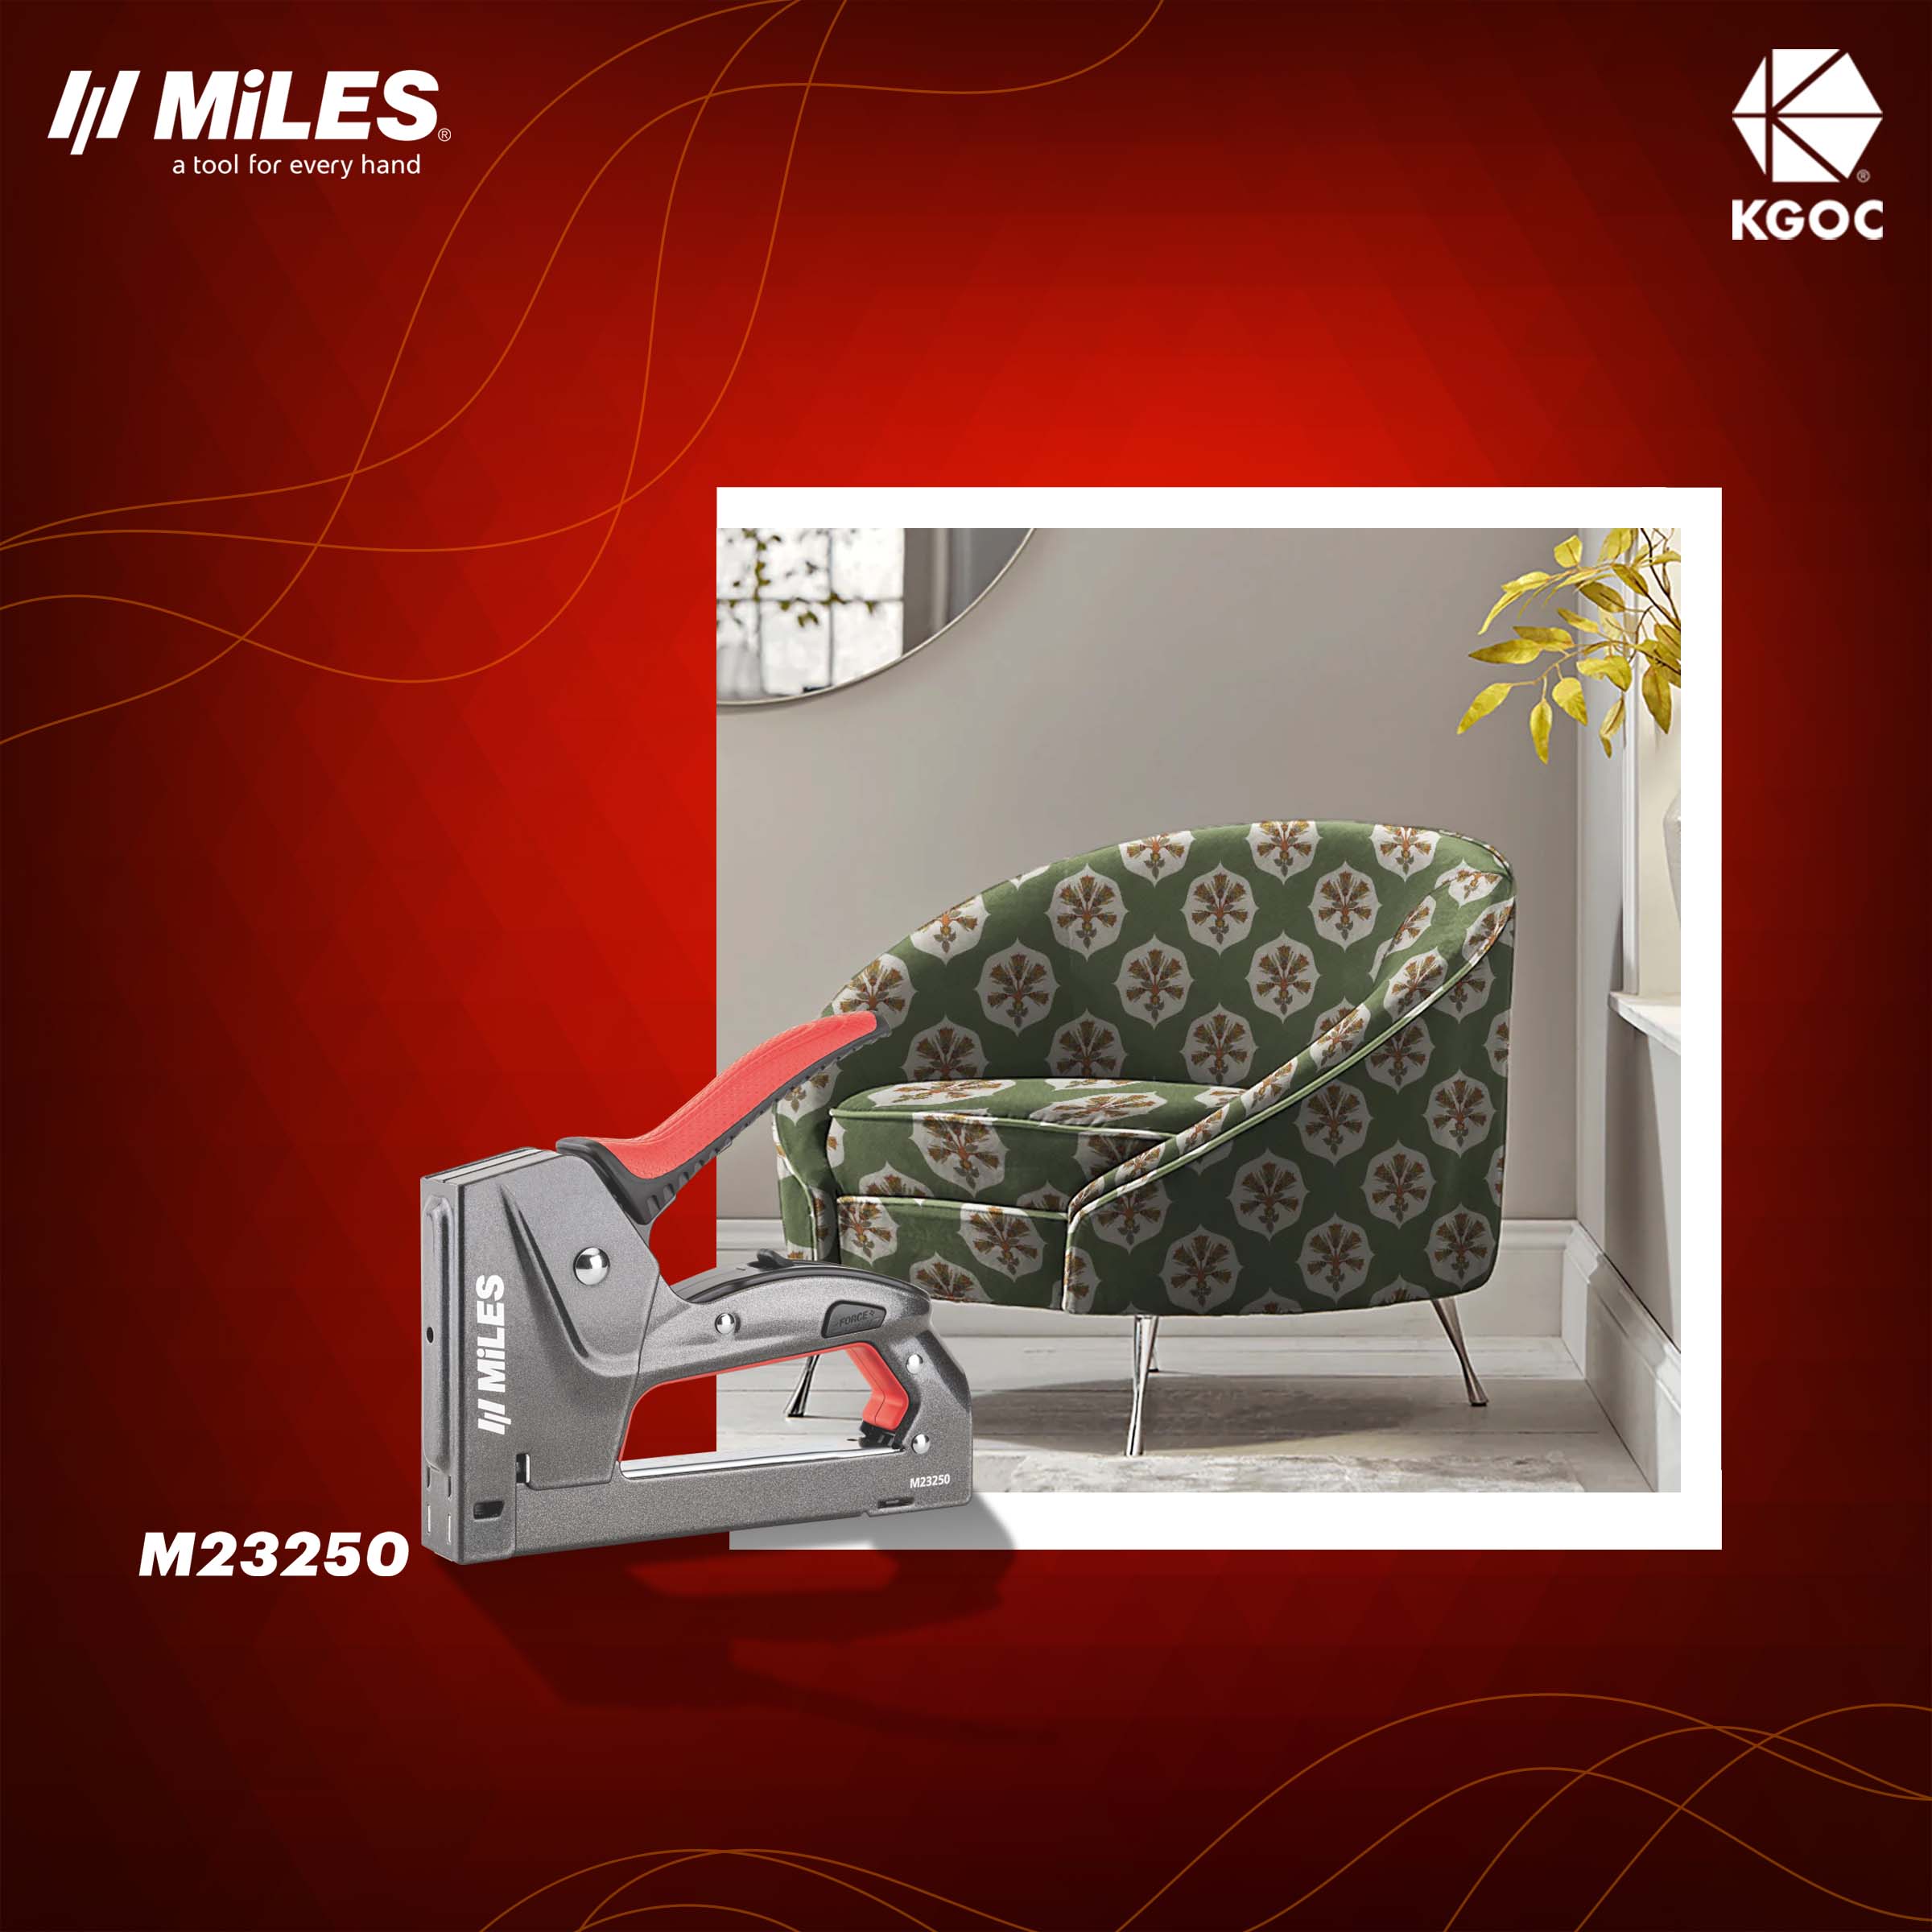
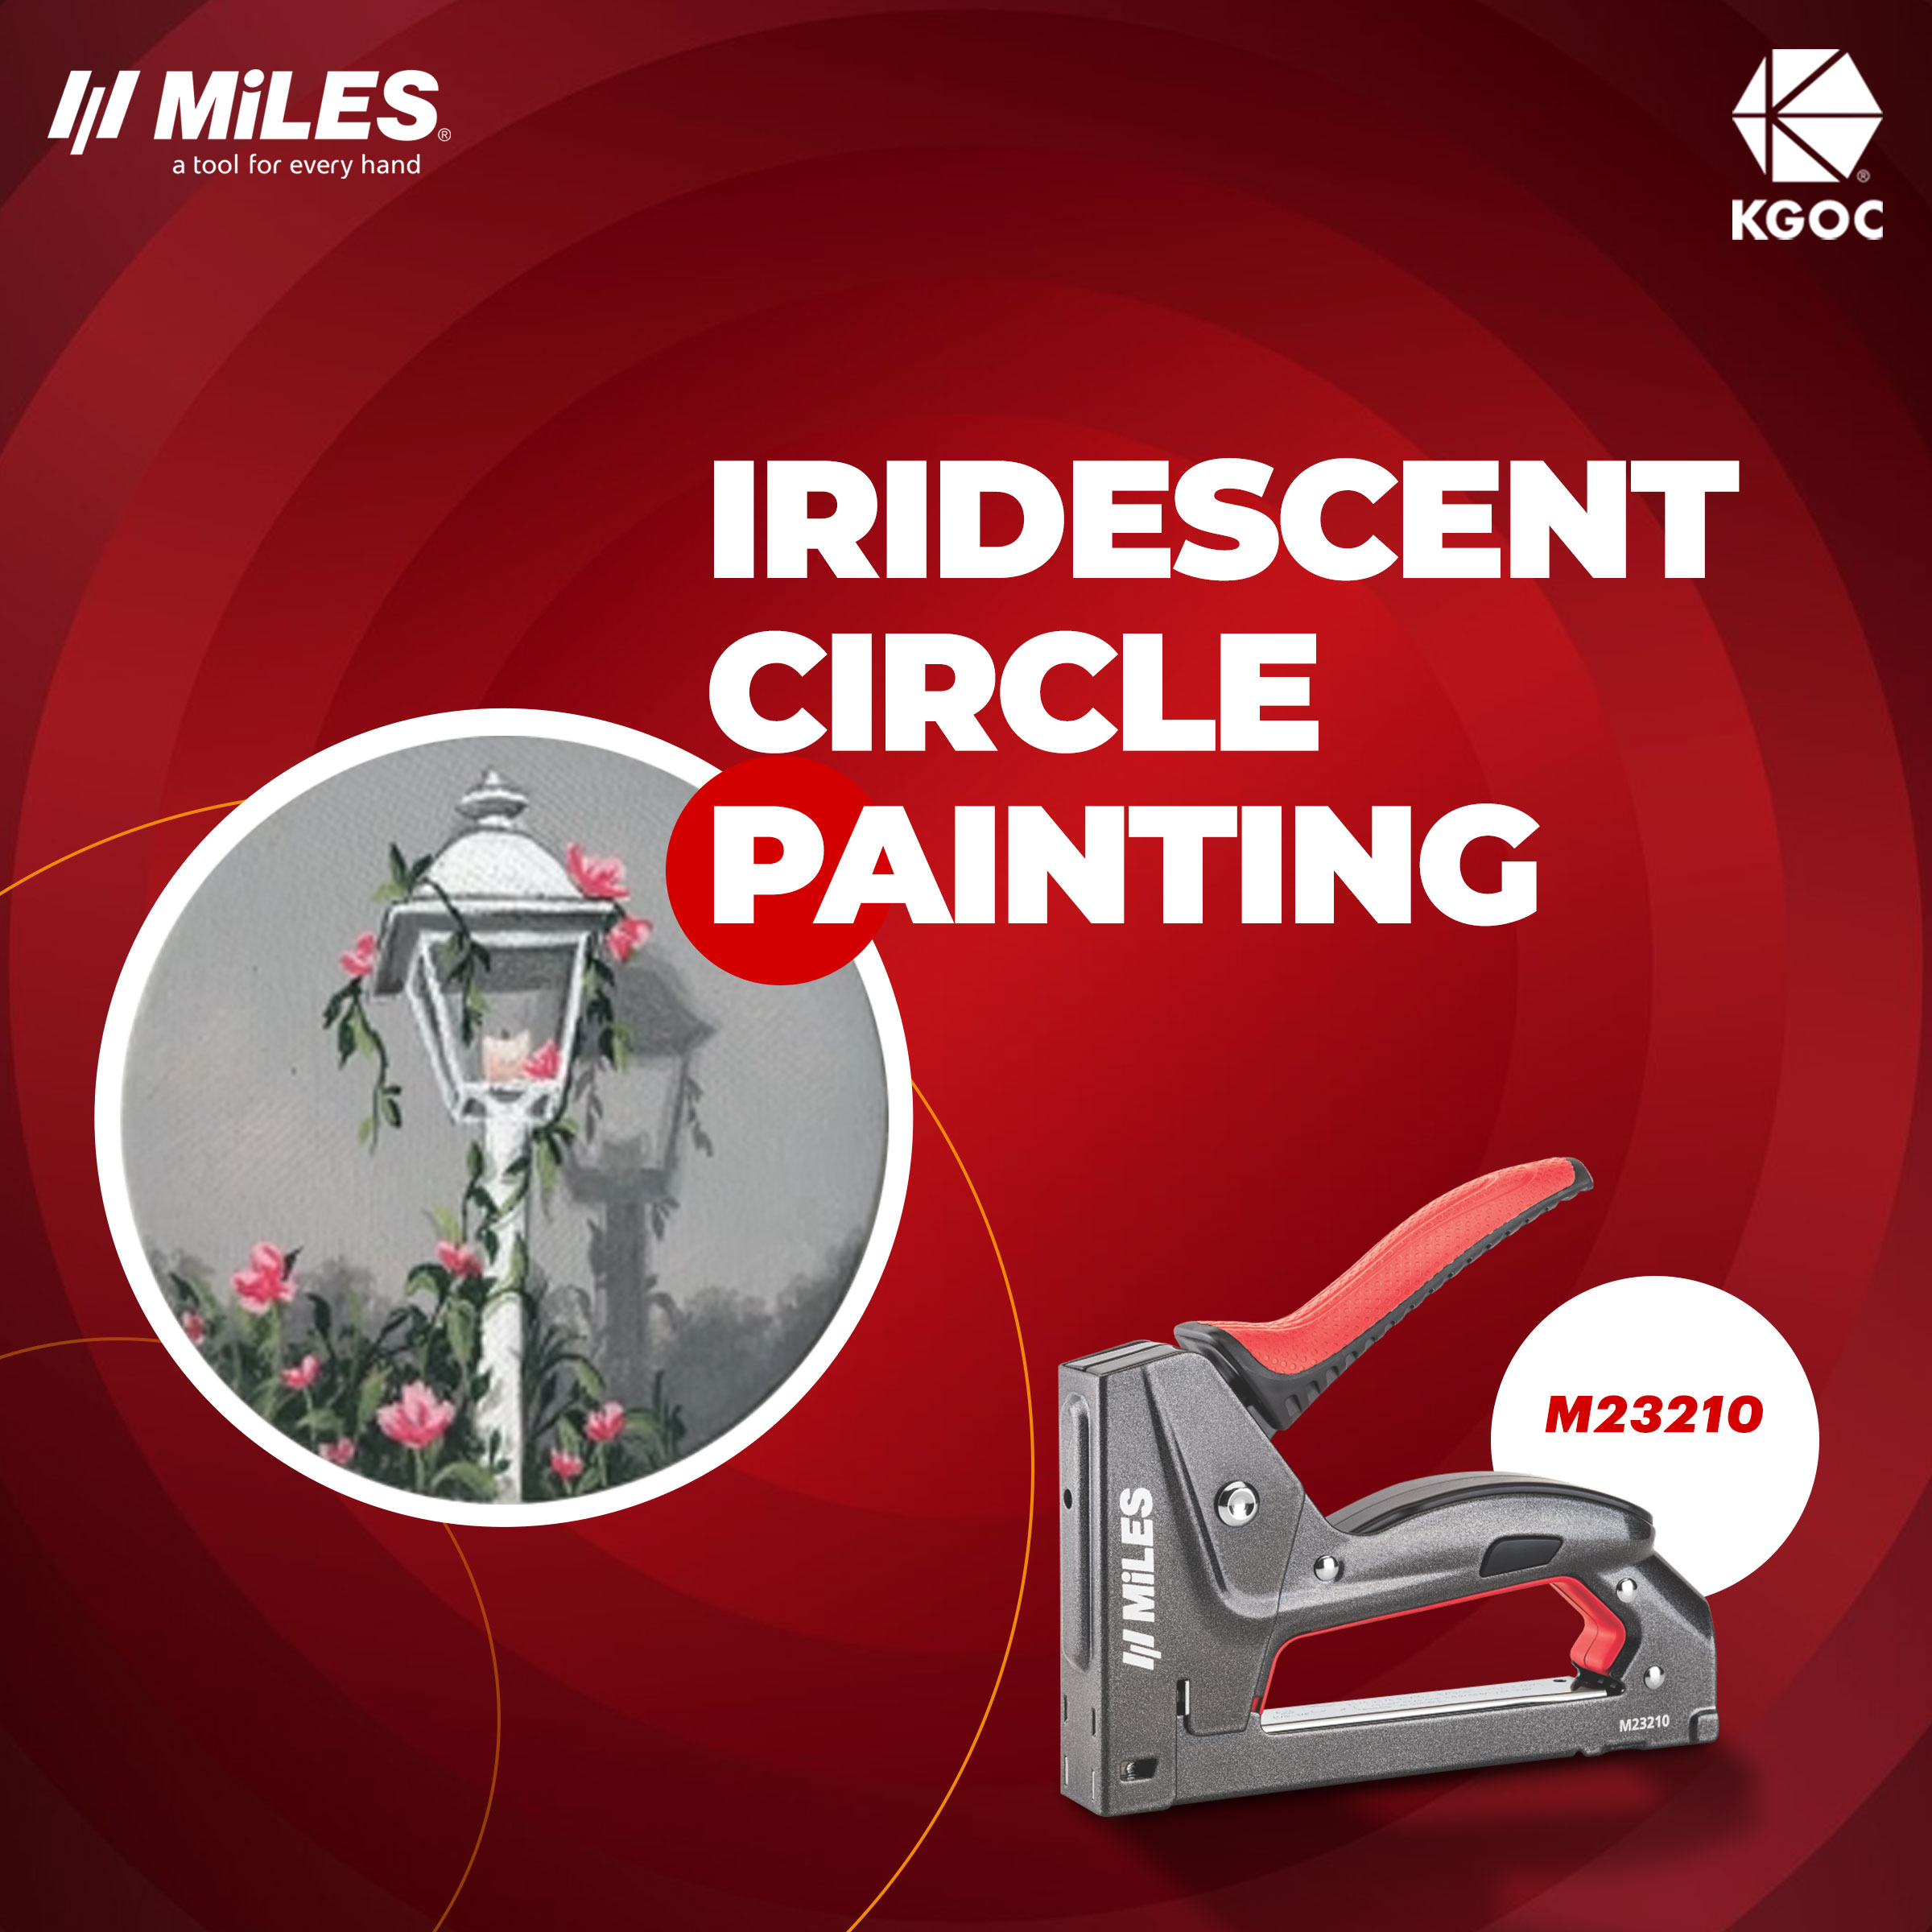
● Miles gun tacker
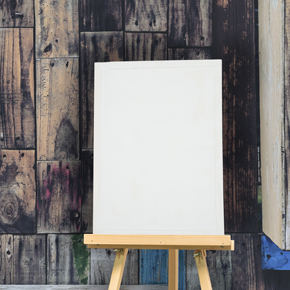
● Thick paper or cardboard base
● Coloured papers
● Glue
● Pencil and ruler
Steps to Create the Artwork
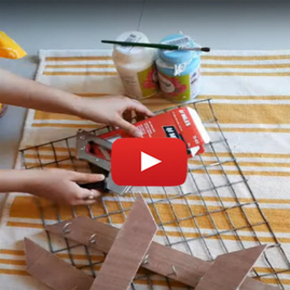
1. Prepare the Base
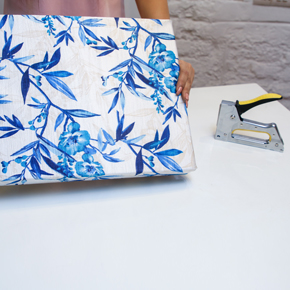
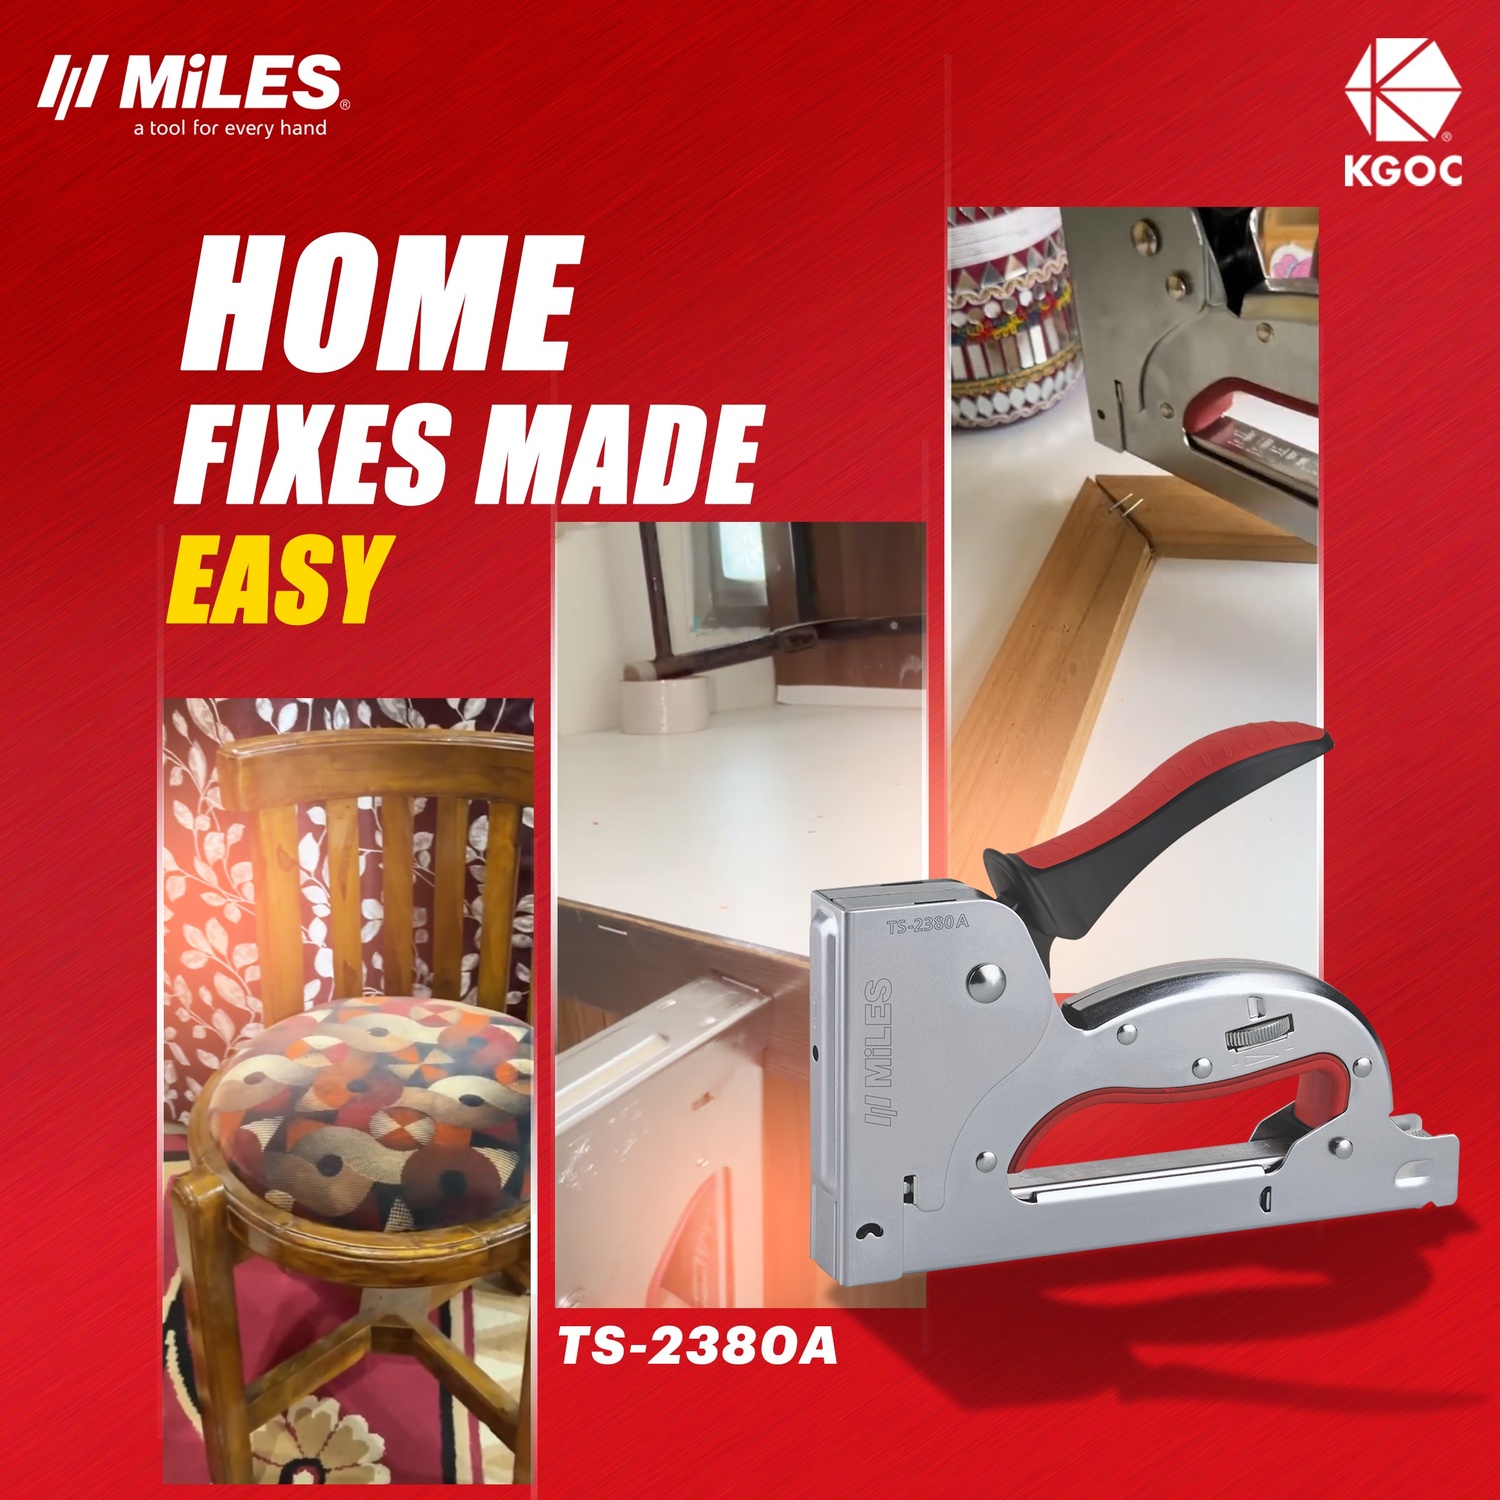
Take a thick cardboard sheet and fix it onto a wooden board using the Miles gun tacker. This keeps the surface steady while you work on the details.
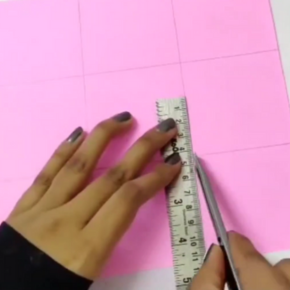
2. Plan the Landscape
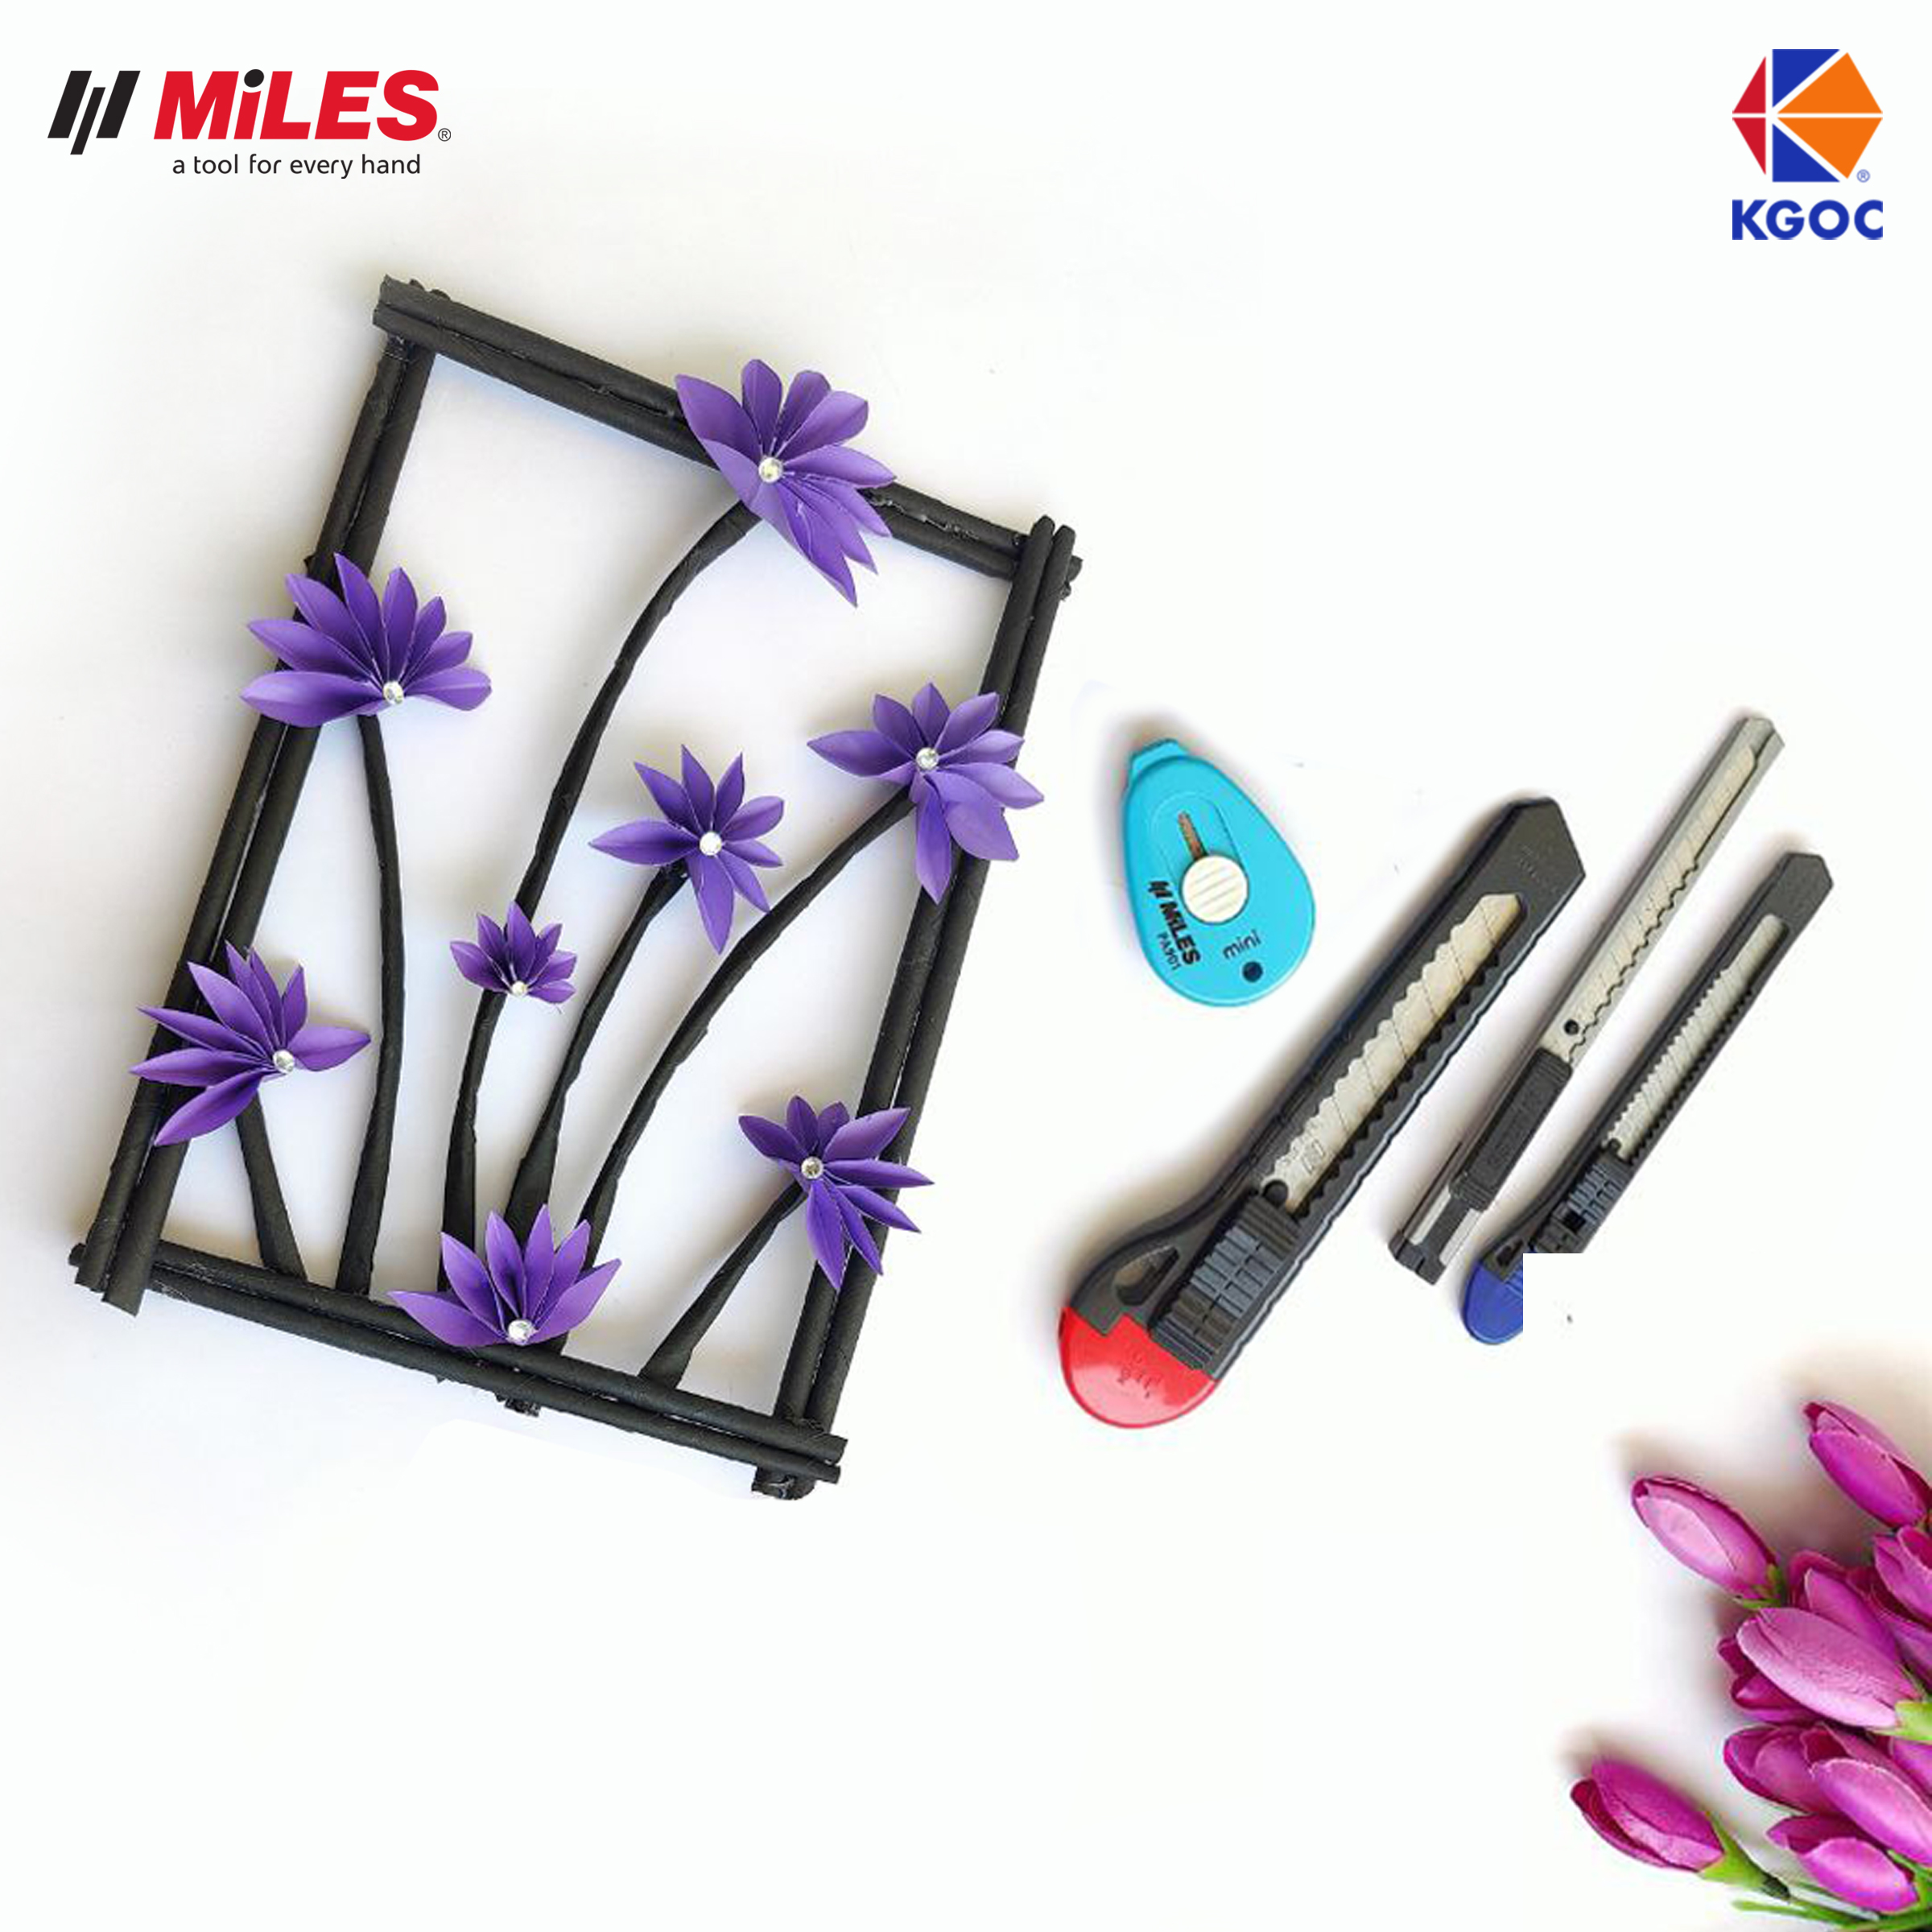
Draw simple outlines of mountains, trees, clouds, a sun, or a small house. Keep each element on a separate piece of paper because these will be layered later.
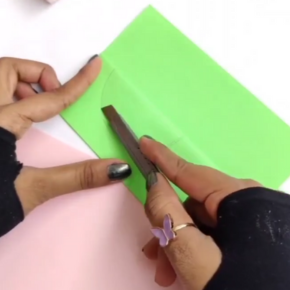
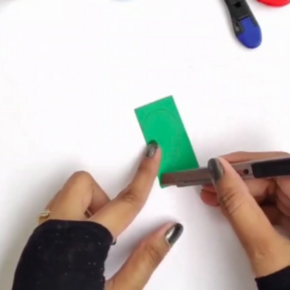
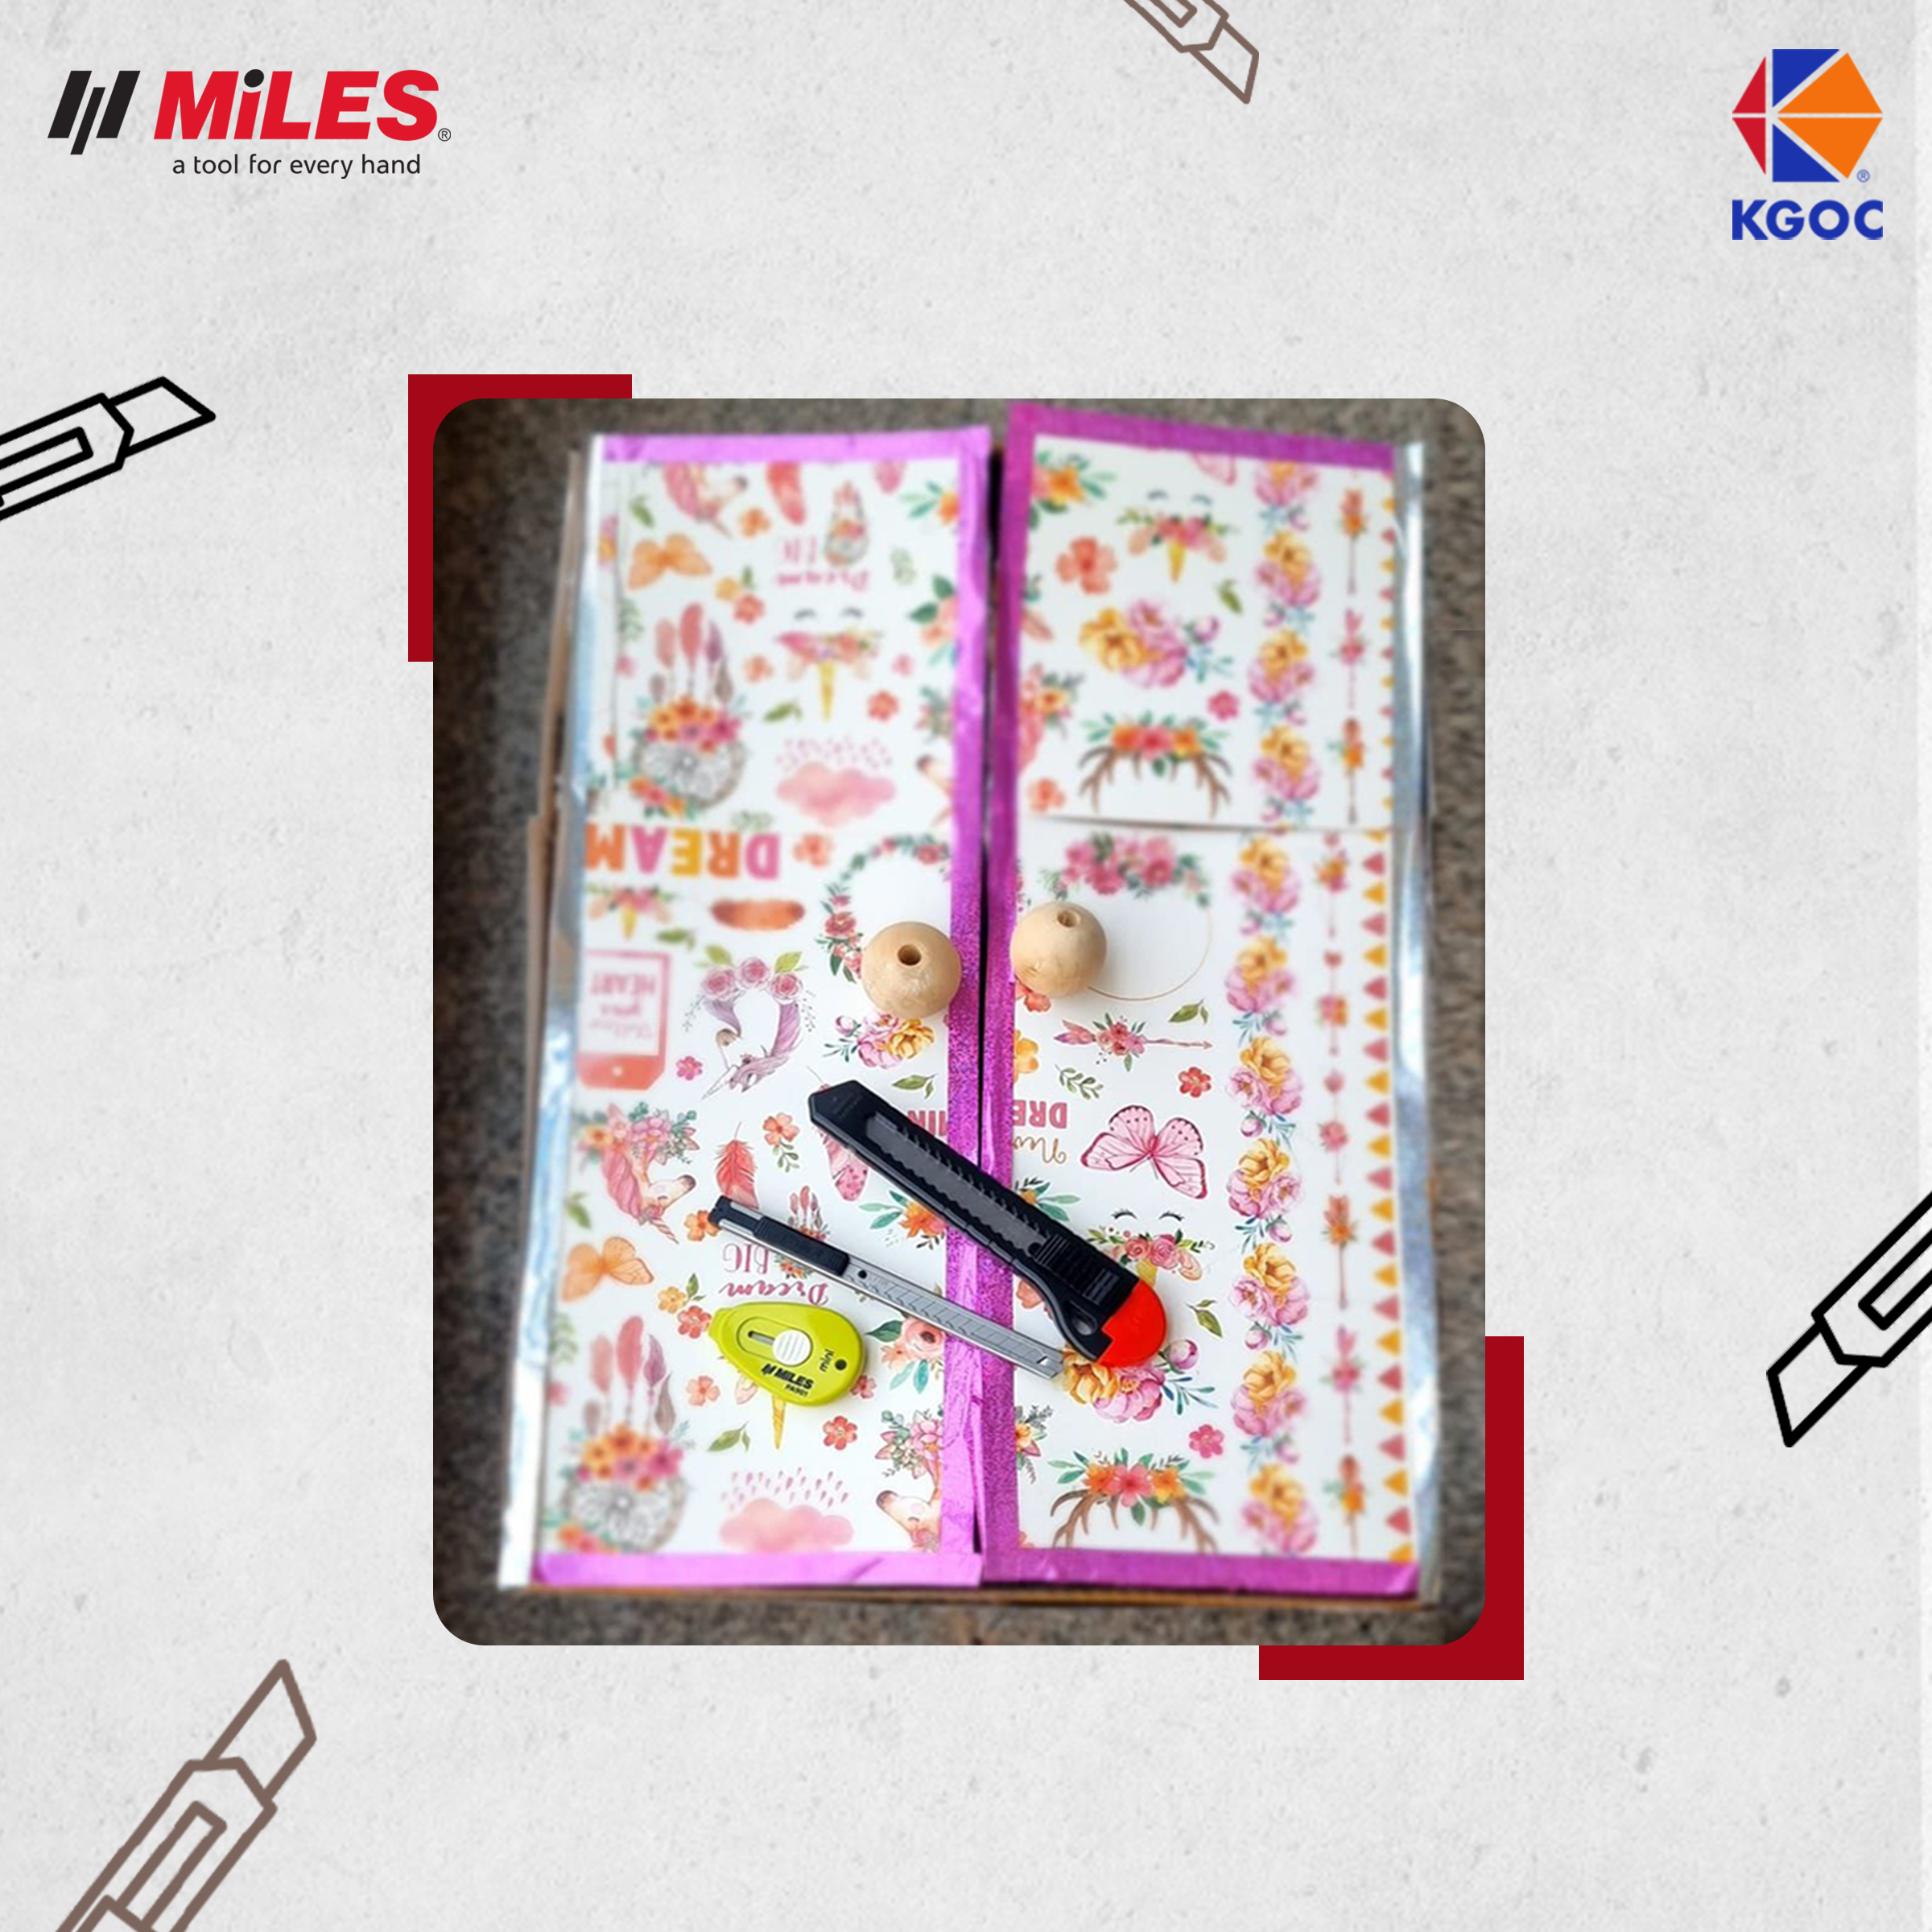
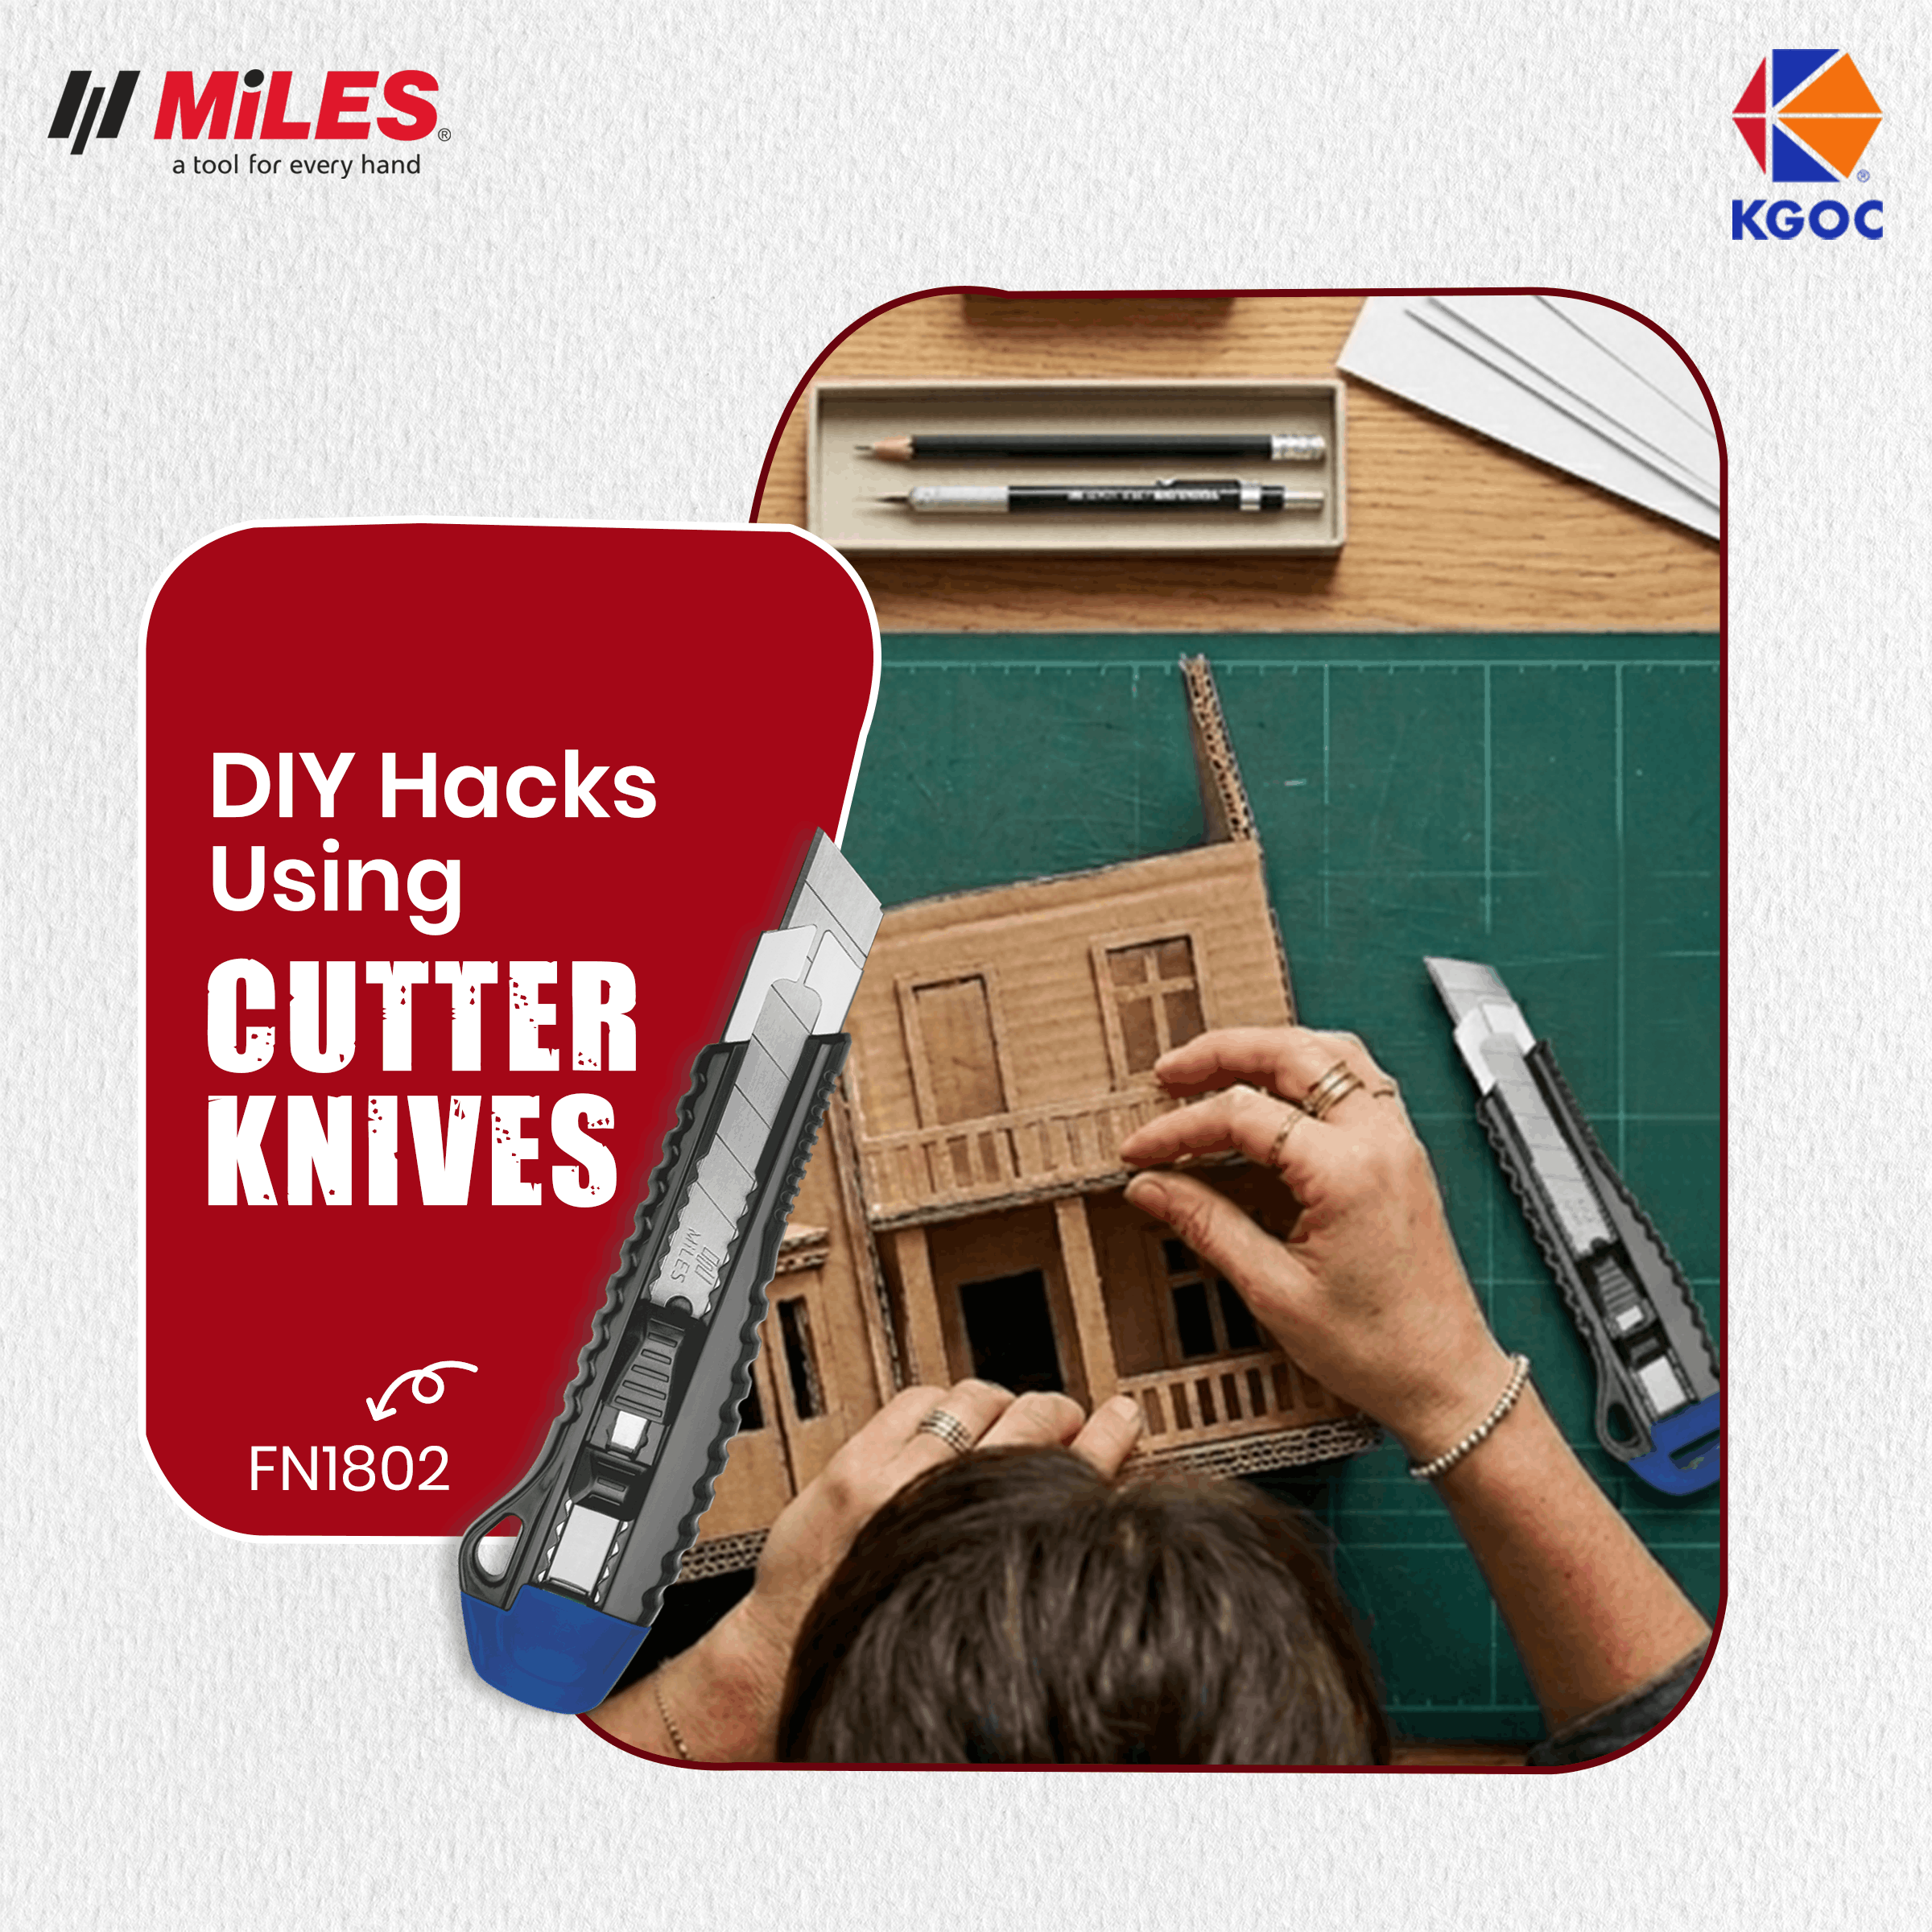
3. Cut the Layers
Use the Miles cutter to cut each shape cleanly. The sharp blade helps you get smooth curves and crisp edges, which makes the 3D effect stand out.
4. Build Depth
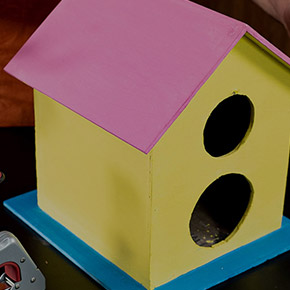
Paste the shapes in layers—start from the background (sky) and move to the foreground (trees, house, grass). Add small paper pieces behind each element to give height and create a real 3D look.
5. Fix the Edges
If you’re mounting your artwork on a frame or board, use the Miles gun tacker to secure the borders so the artwork stays firm and flat.
Final Look
A 3D paper landscape made with Miles tools looks clean, strong, and well-finished. The cutter helps you create fine details, while the gun tacker gives support and stability. It is a simple project that looks like a professional piece of paper art.